


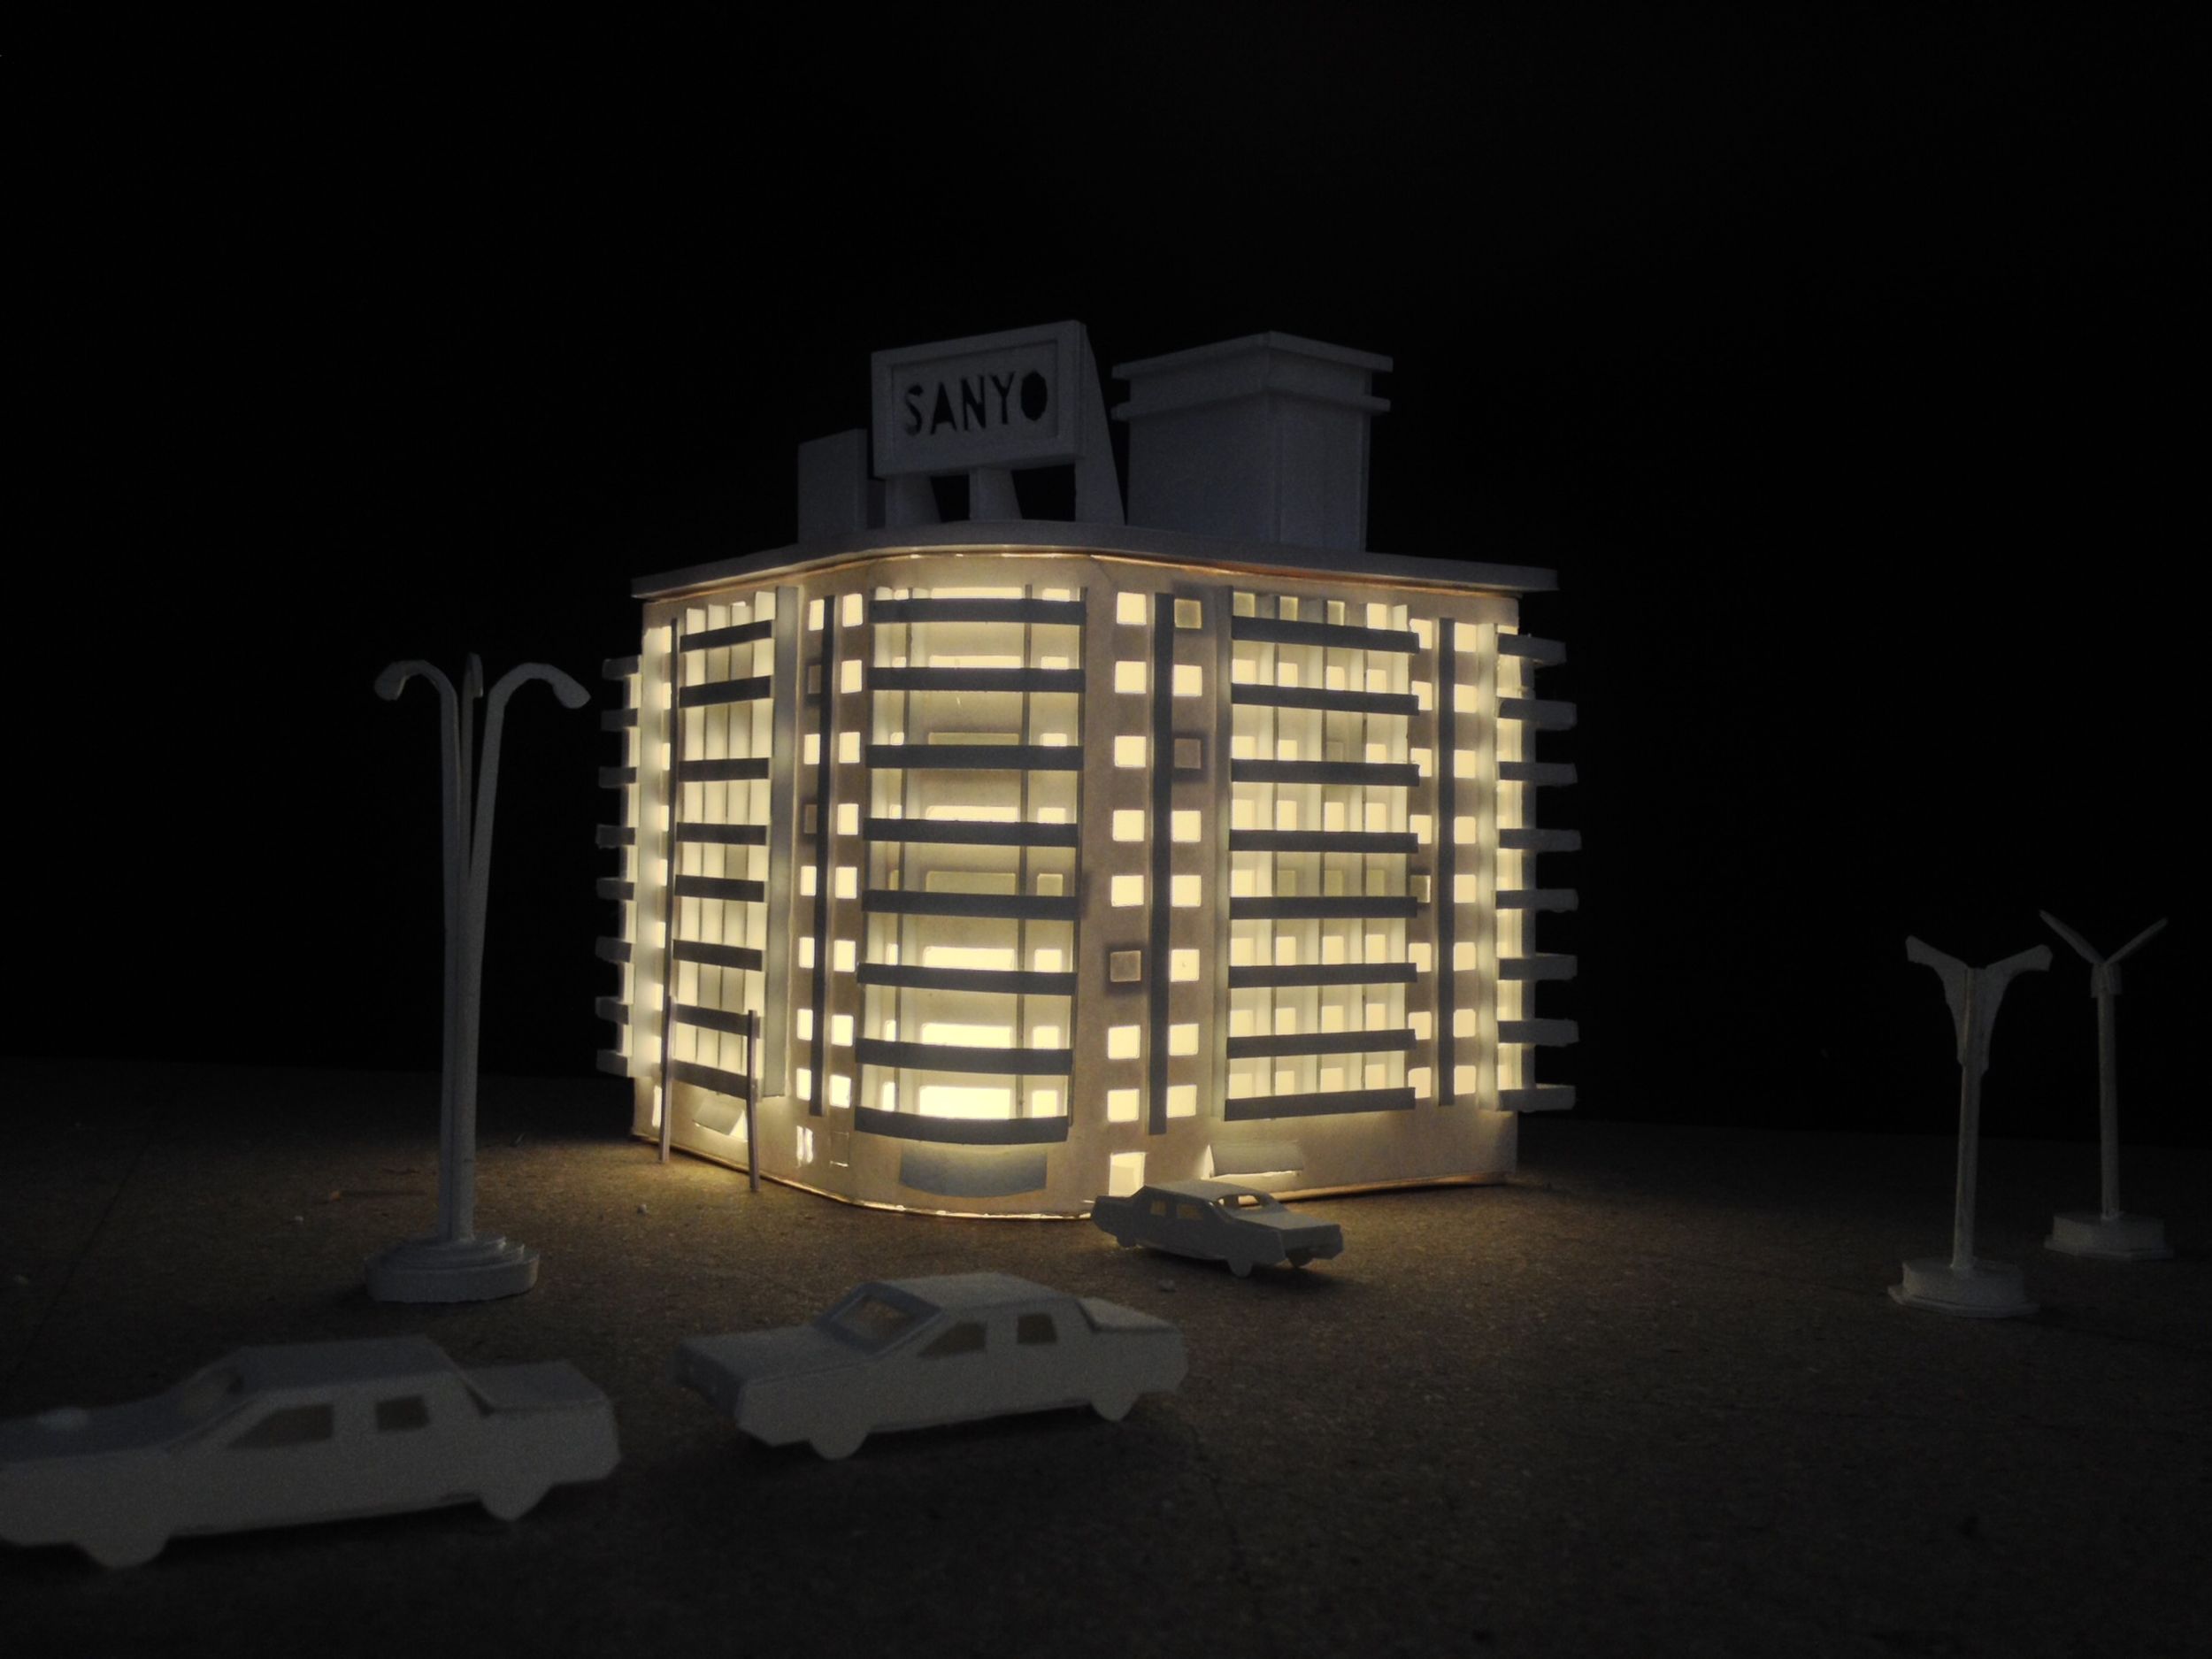
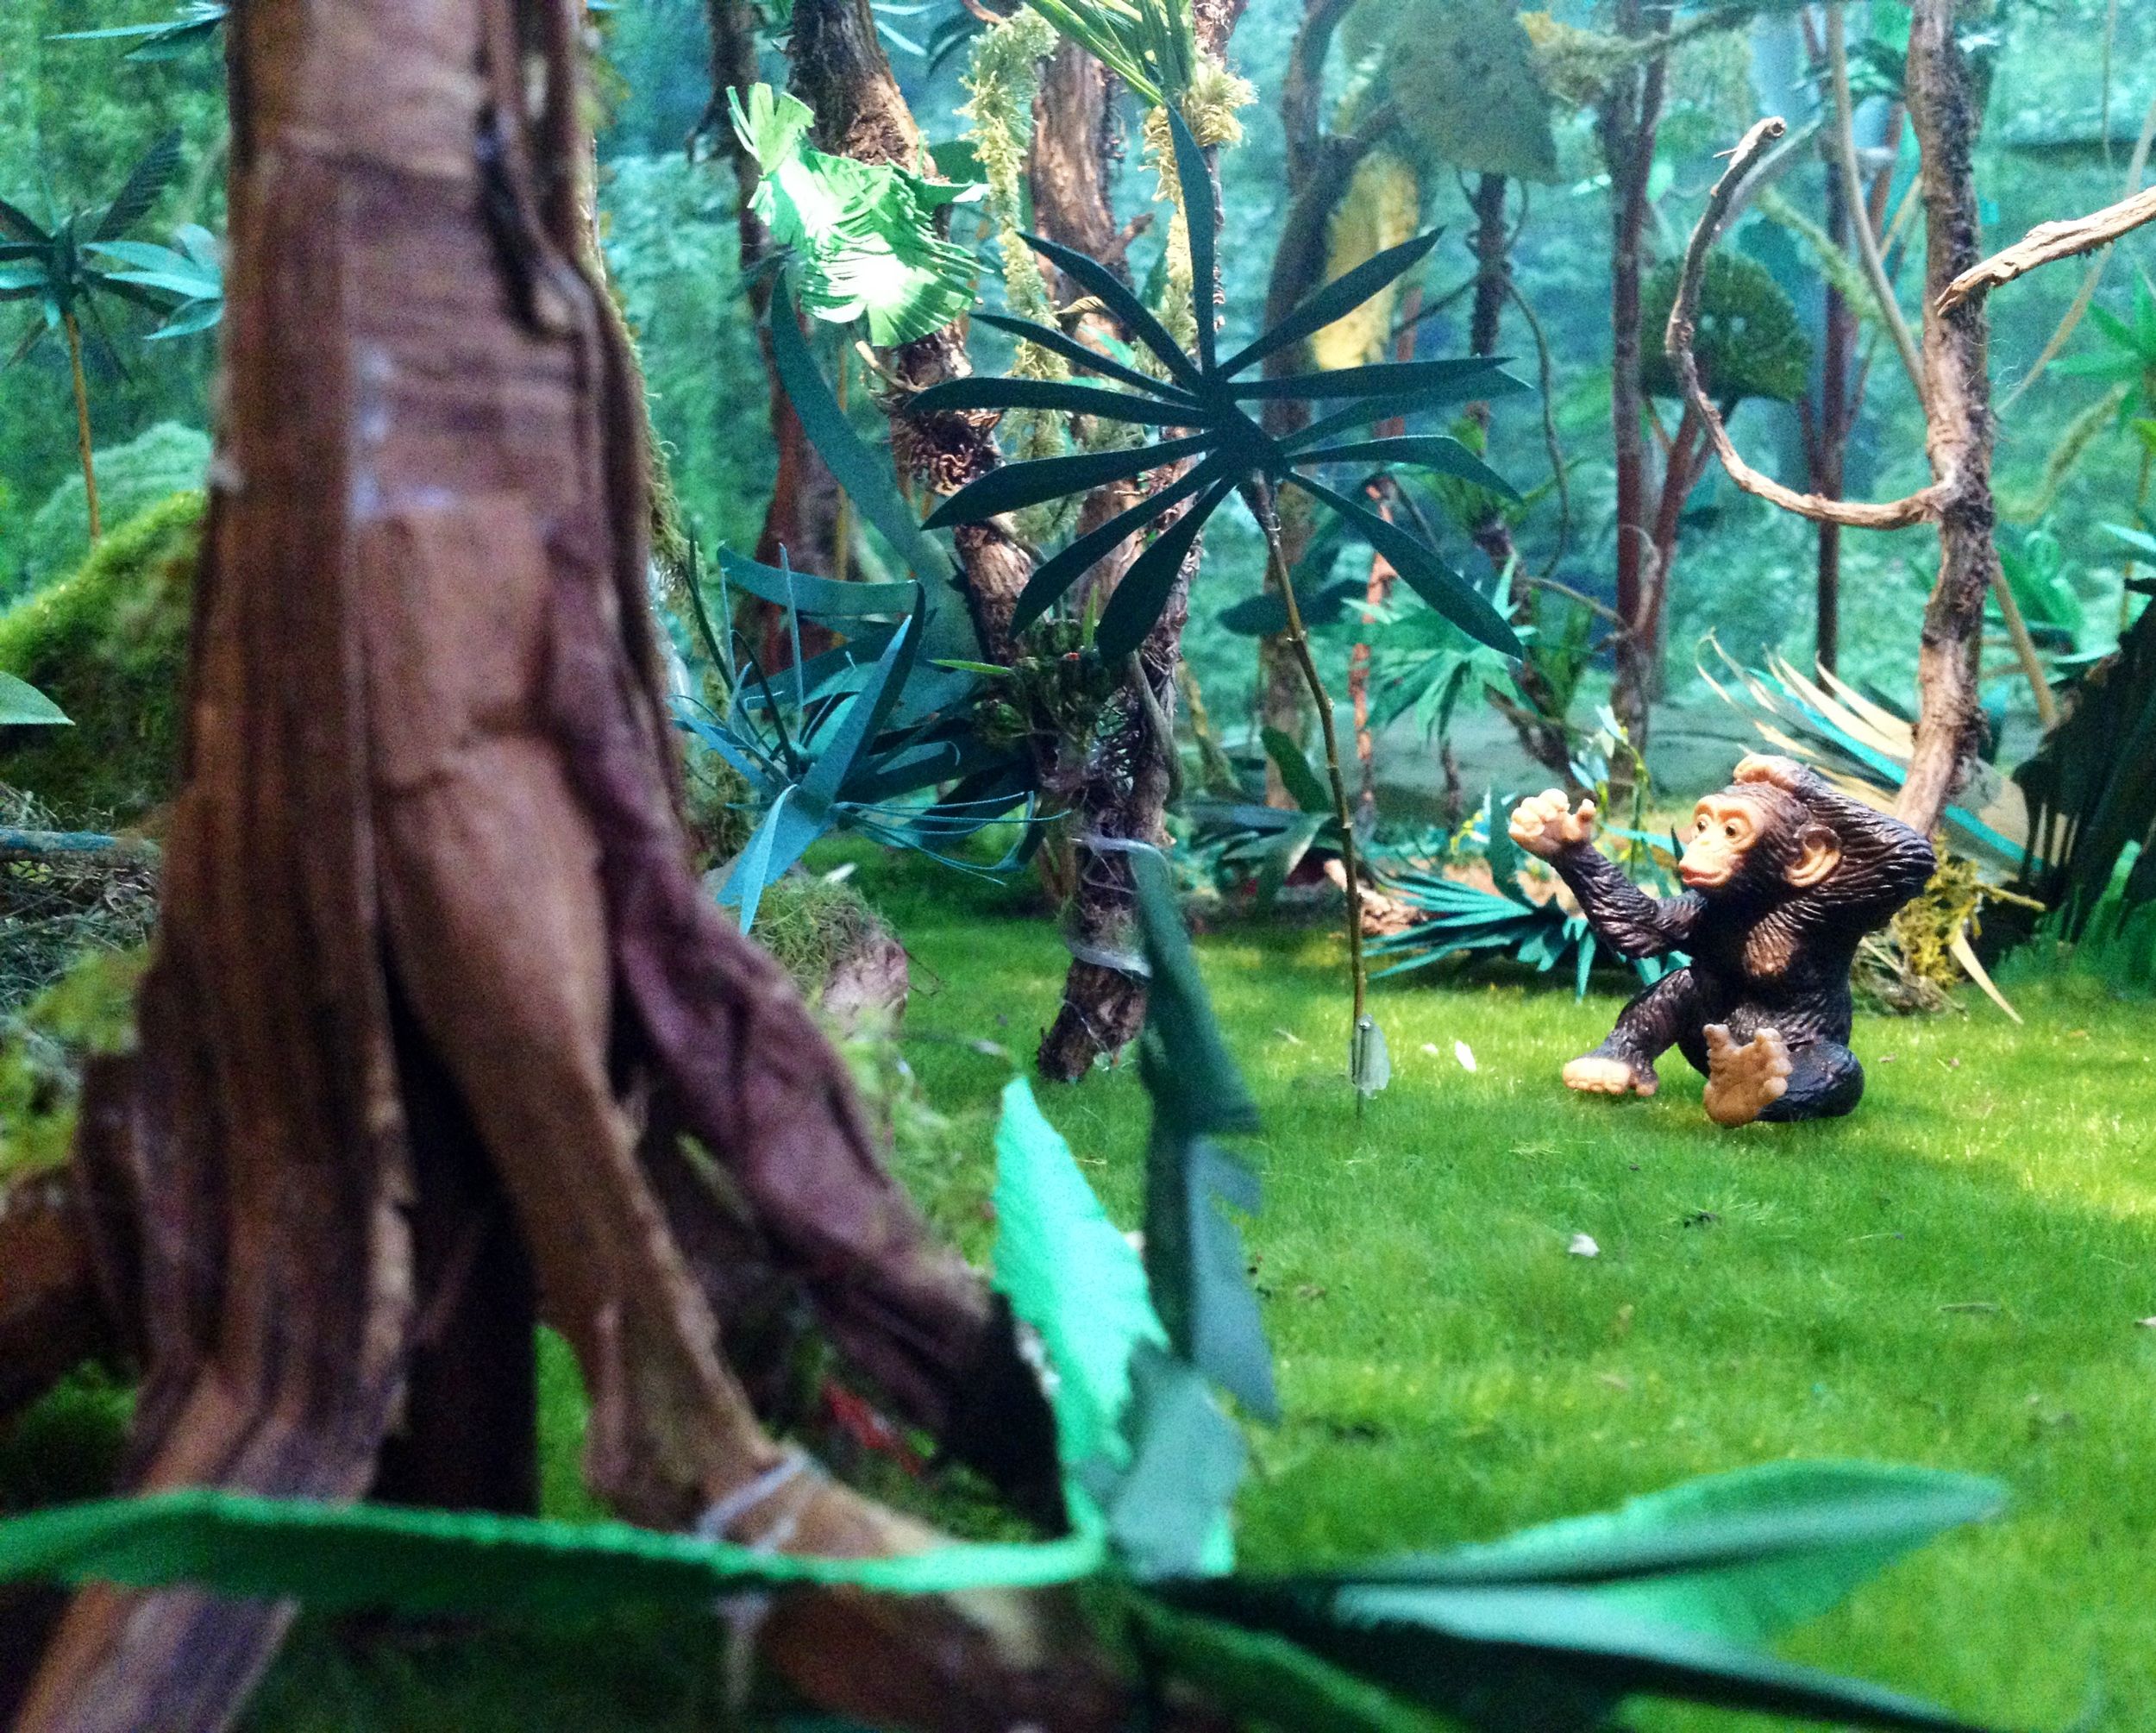
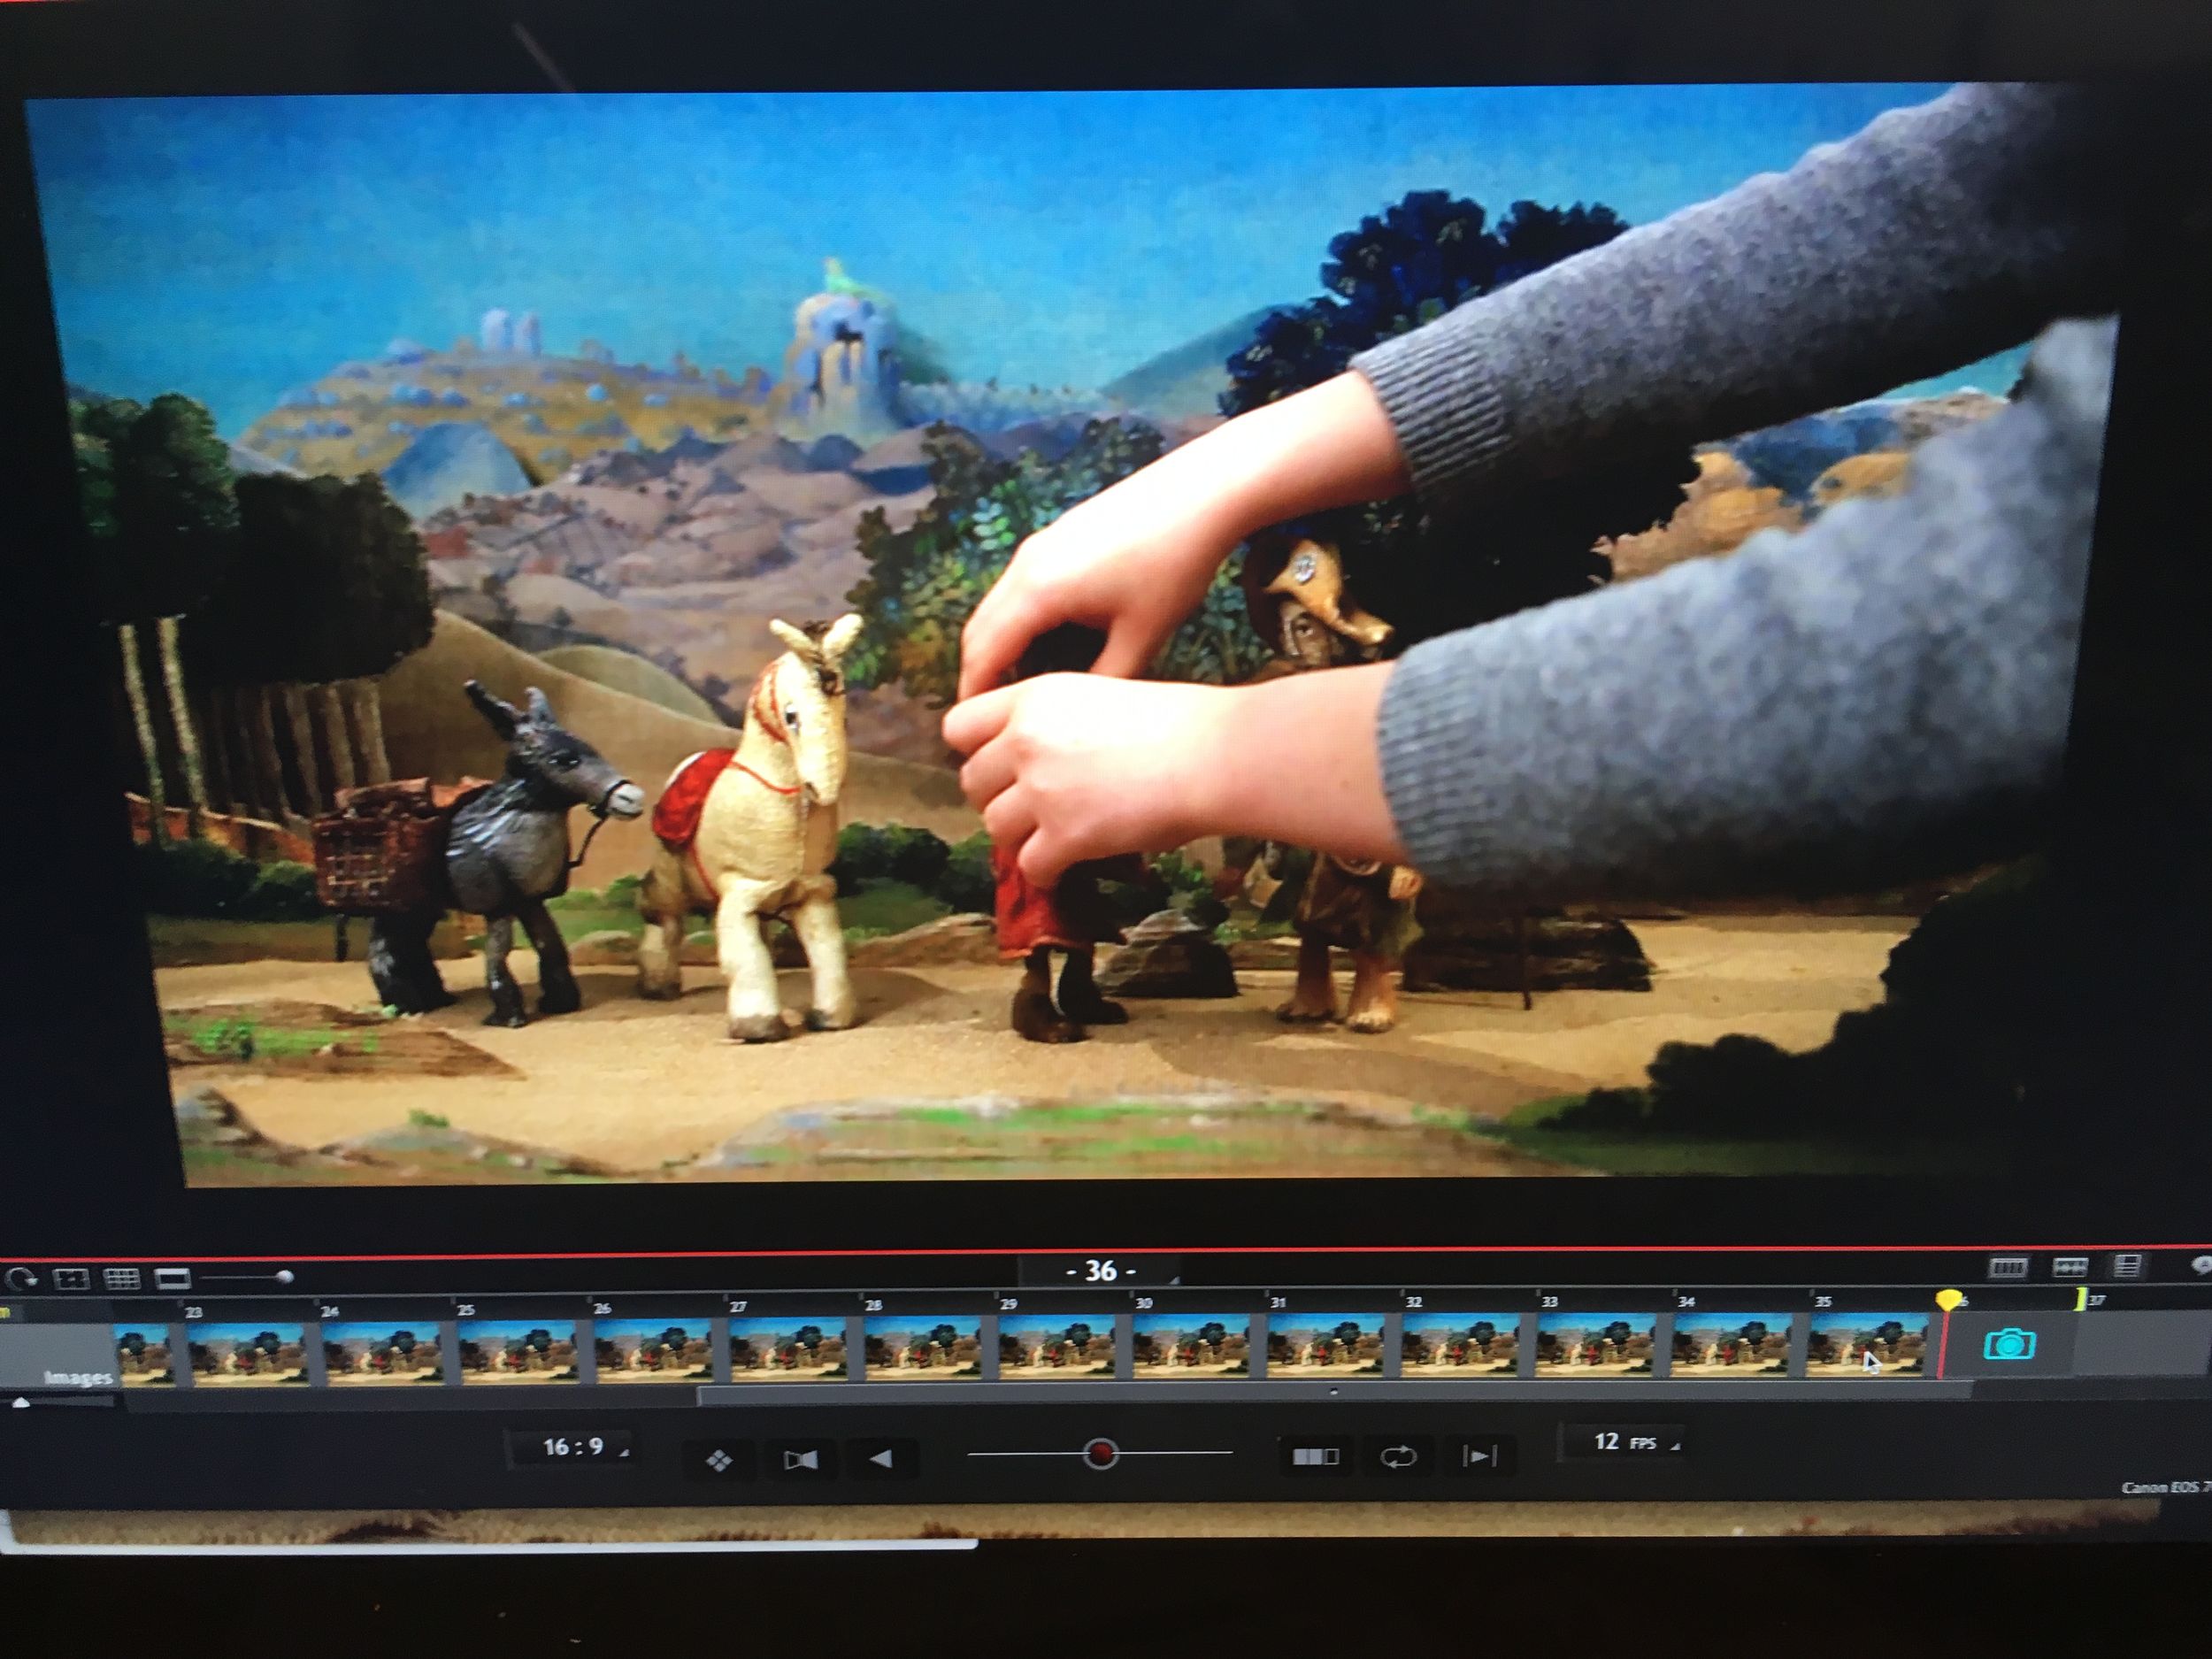
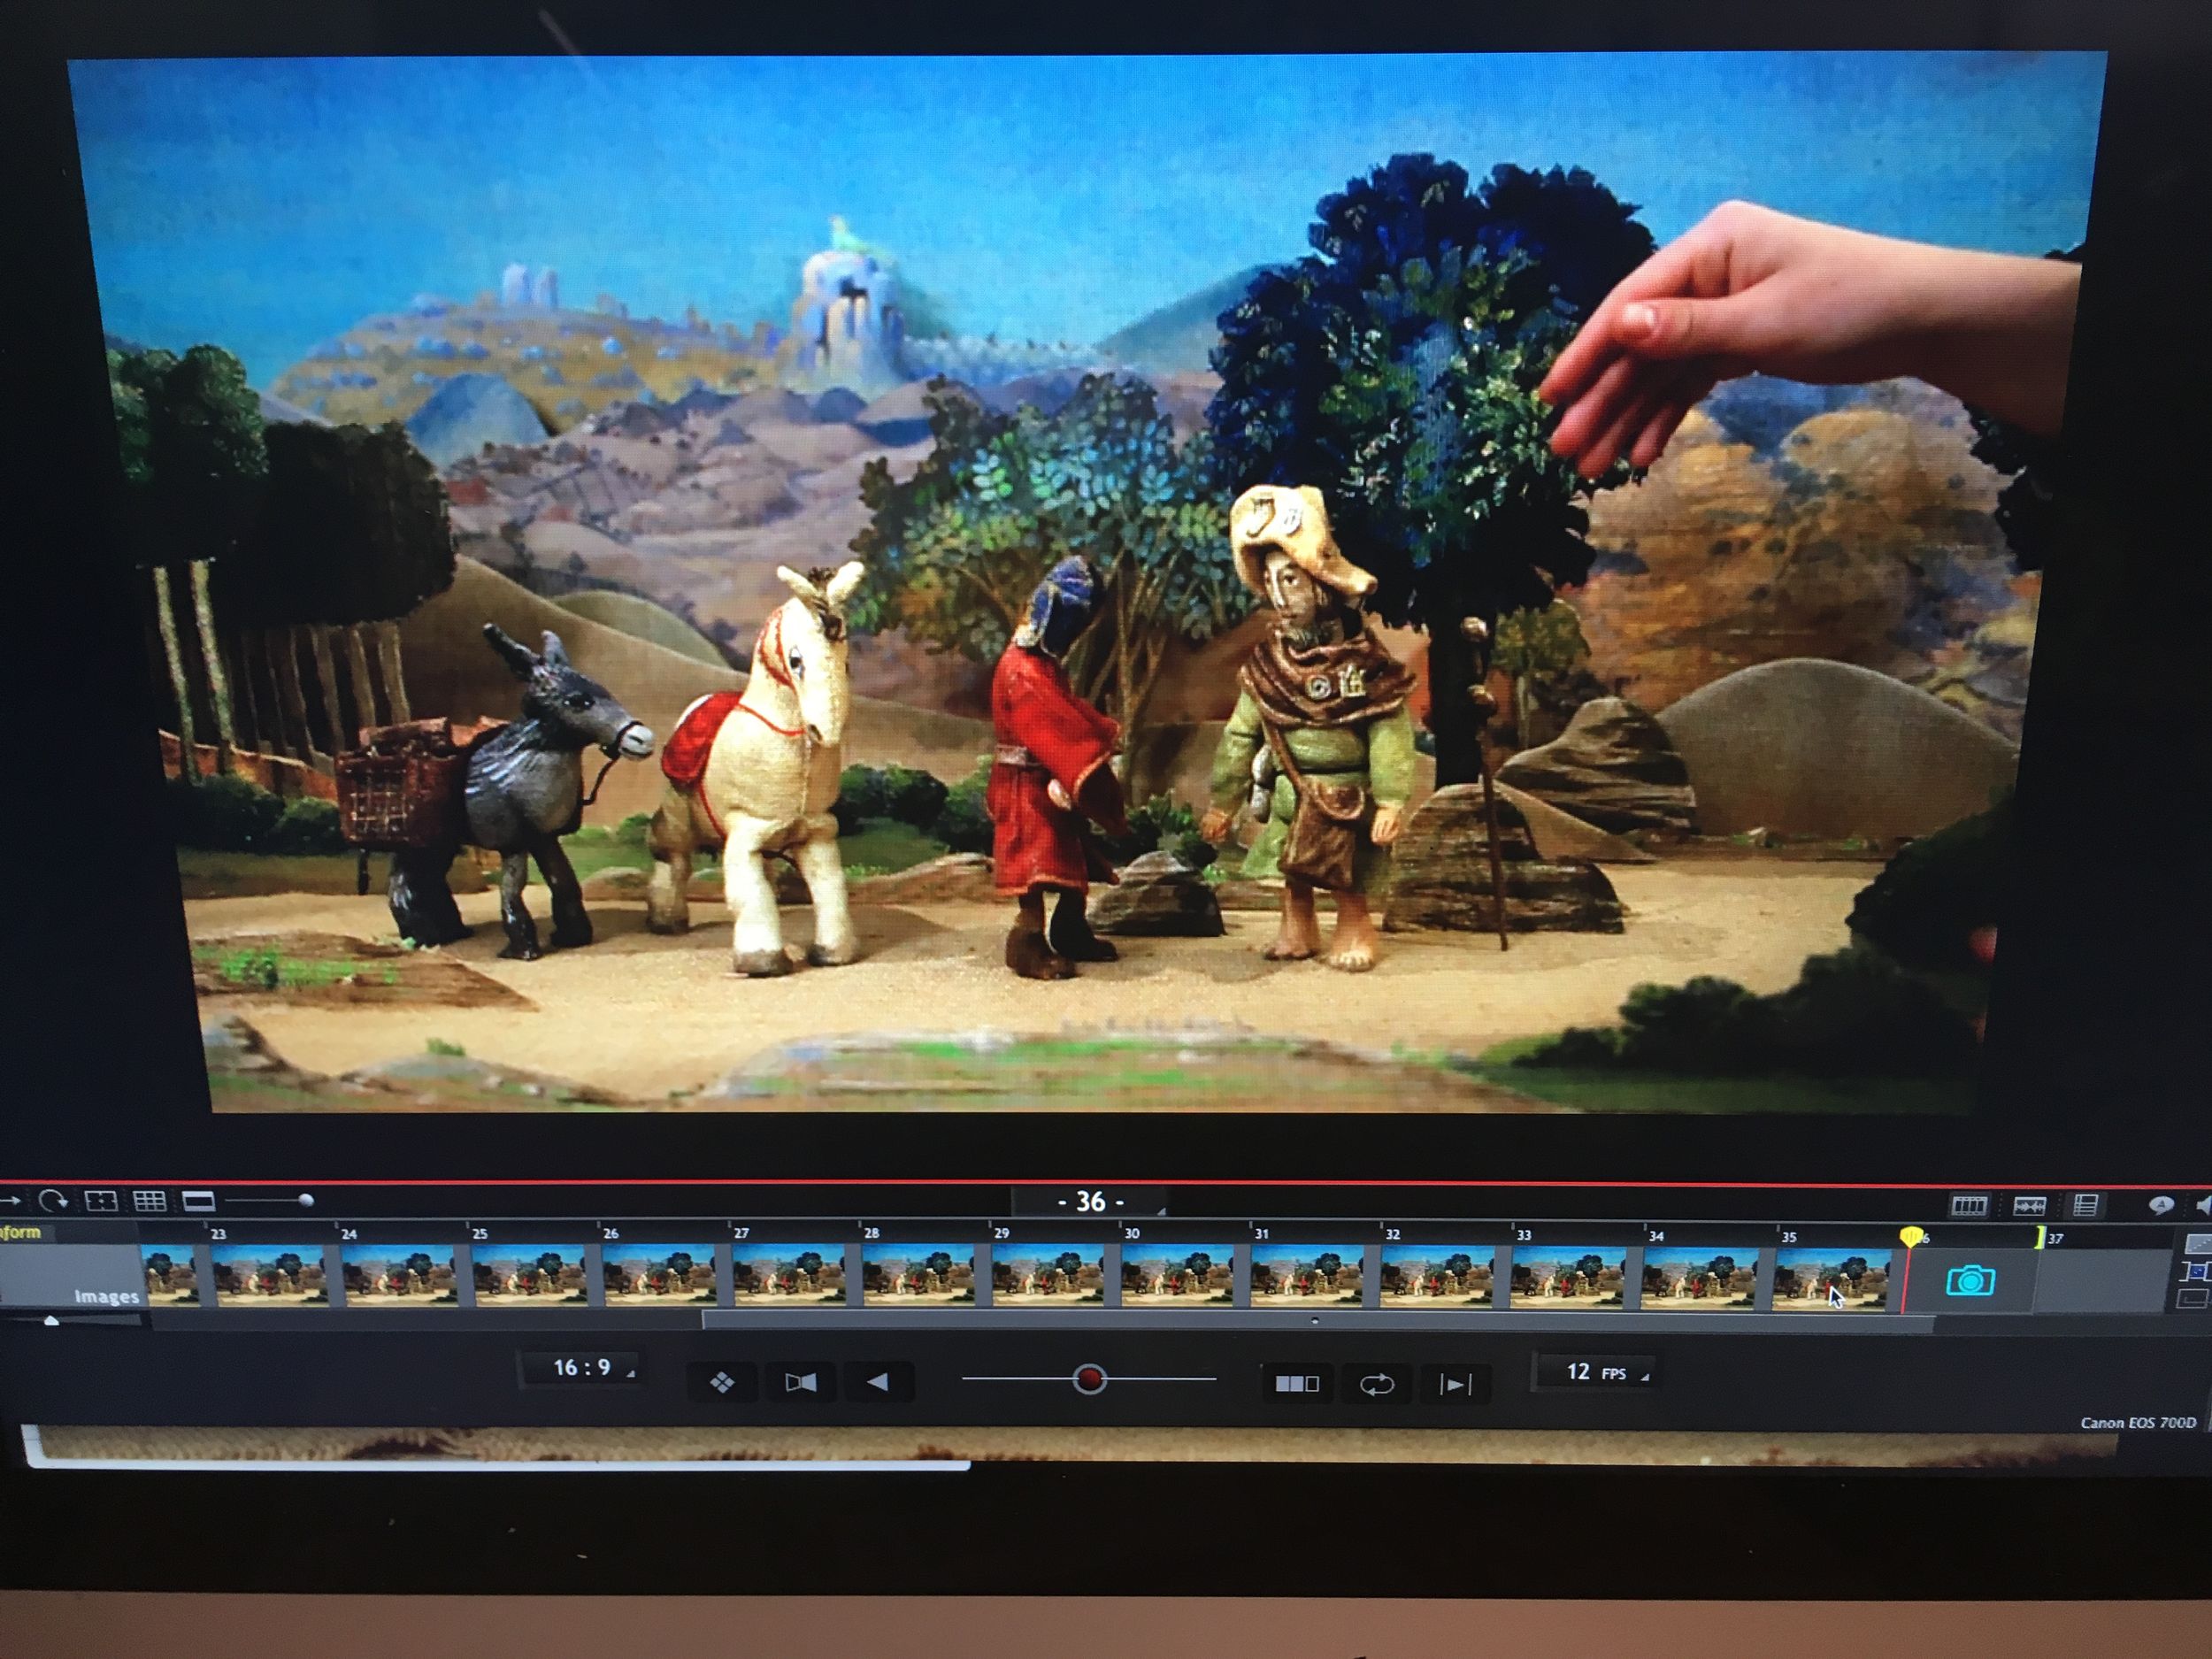
Stop-motion, also called in French "frame-by-frame animation" or "volume animation", is an animation technique that gives the illusion of movement to still objects. It consists of photographing objects or characters after each slight movement, then assembling these photos to create a film.
At the end of the training, the trainee will be able to:
Stop-motion works on the same principle as animation, but uses real objects instead of drawings. A scene composed of objects is filmed frame by frame using a specialized camera, capable of capturing one photo at a time, on film or digital media. In each shot, the objects are slightly moved so that, when the video is played back at a standard speed of 24 frames per second, they appear animated.
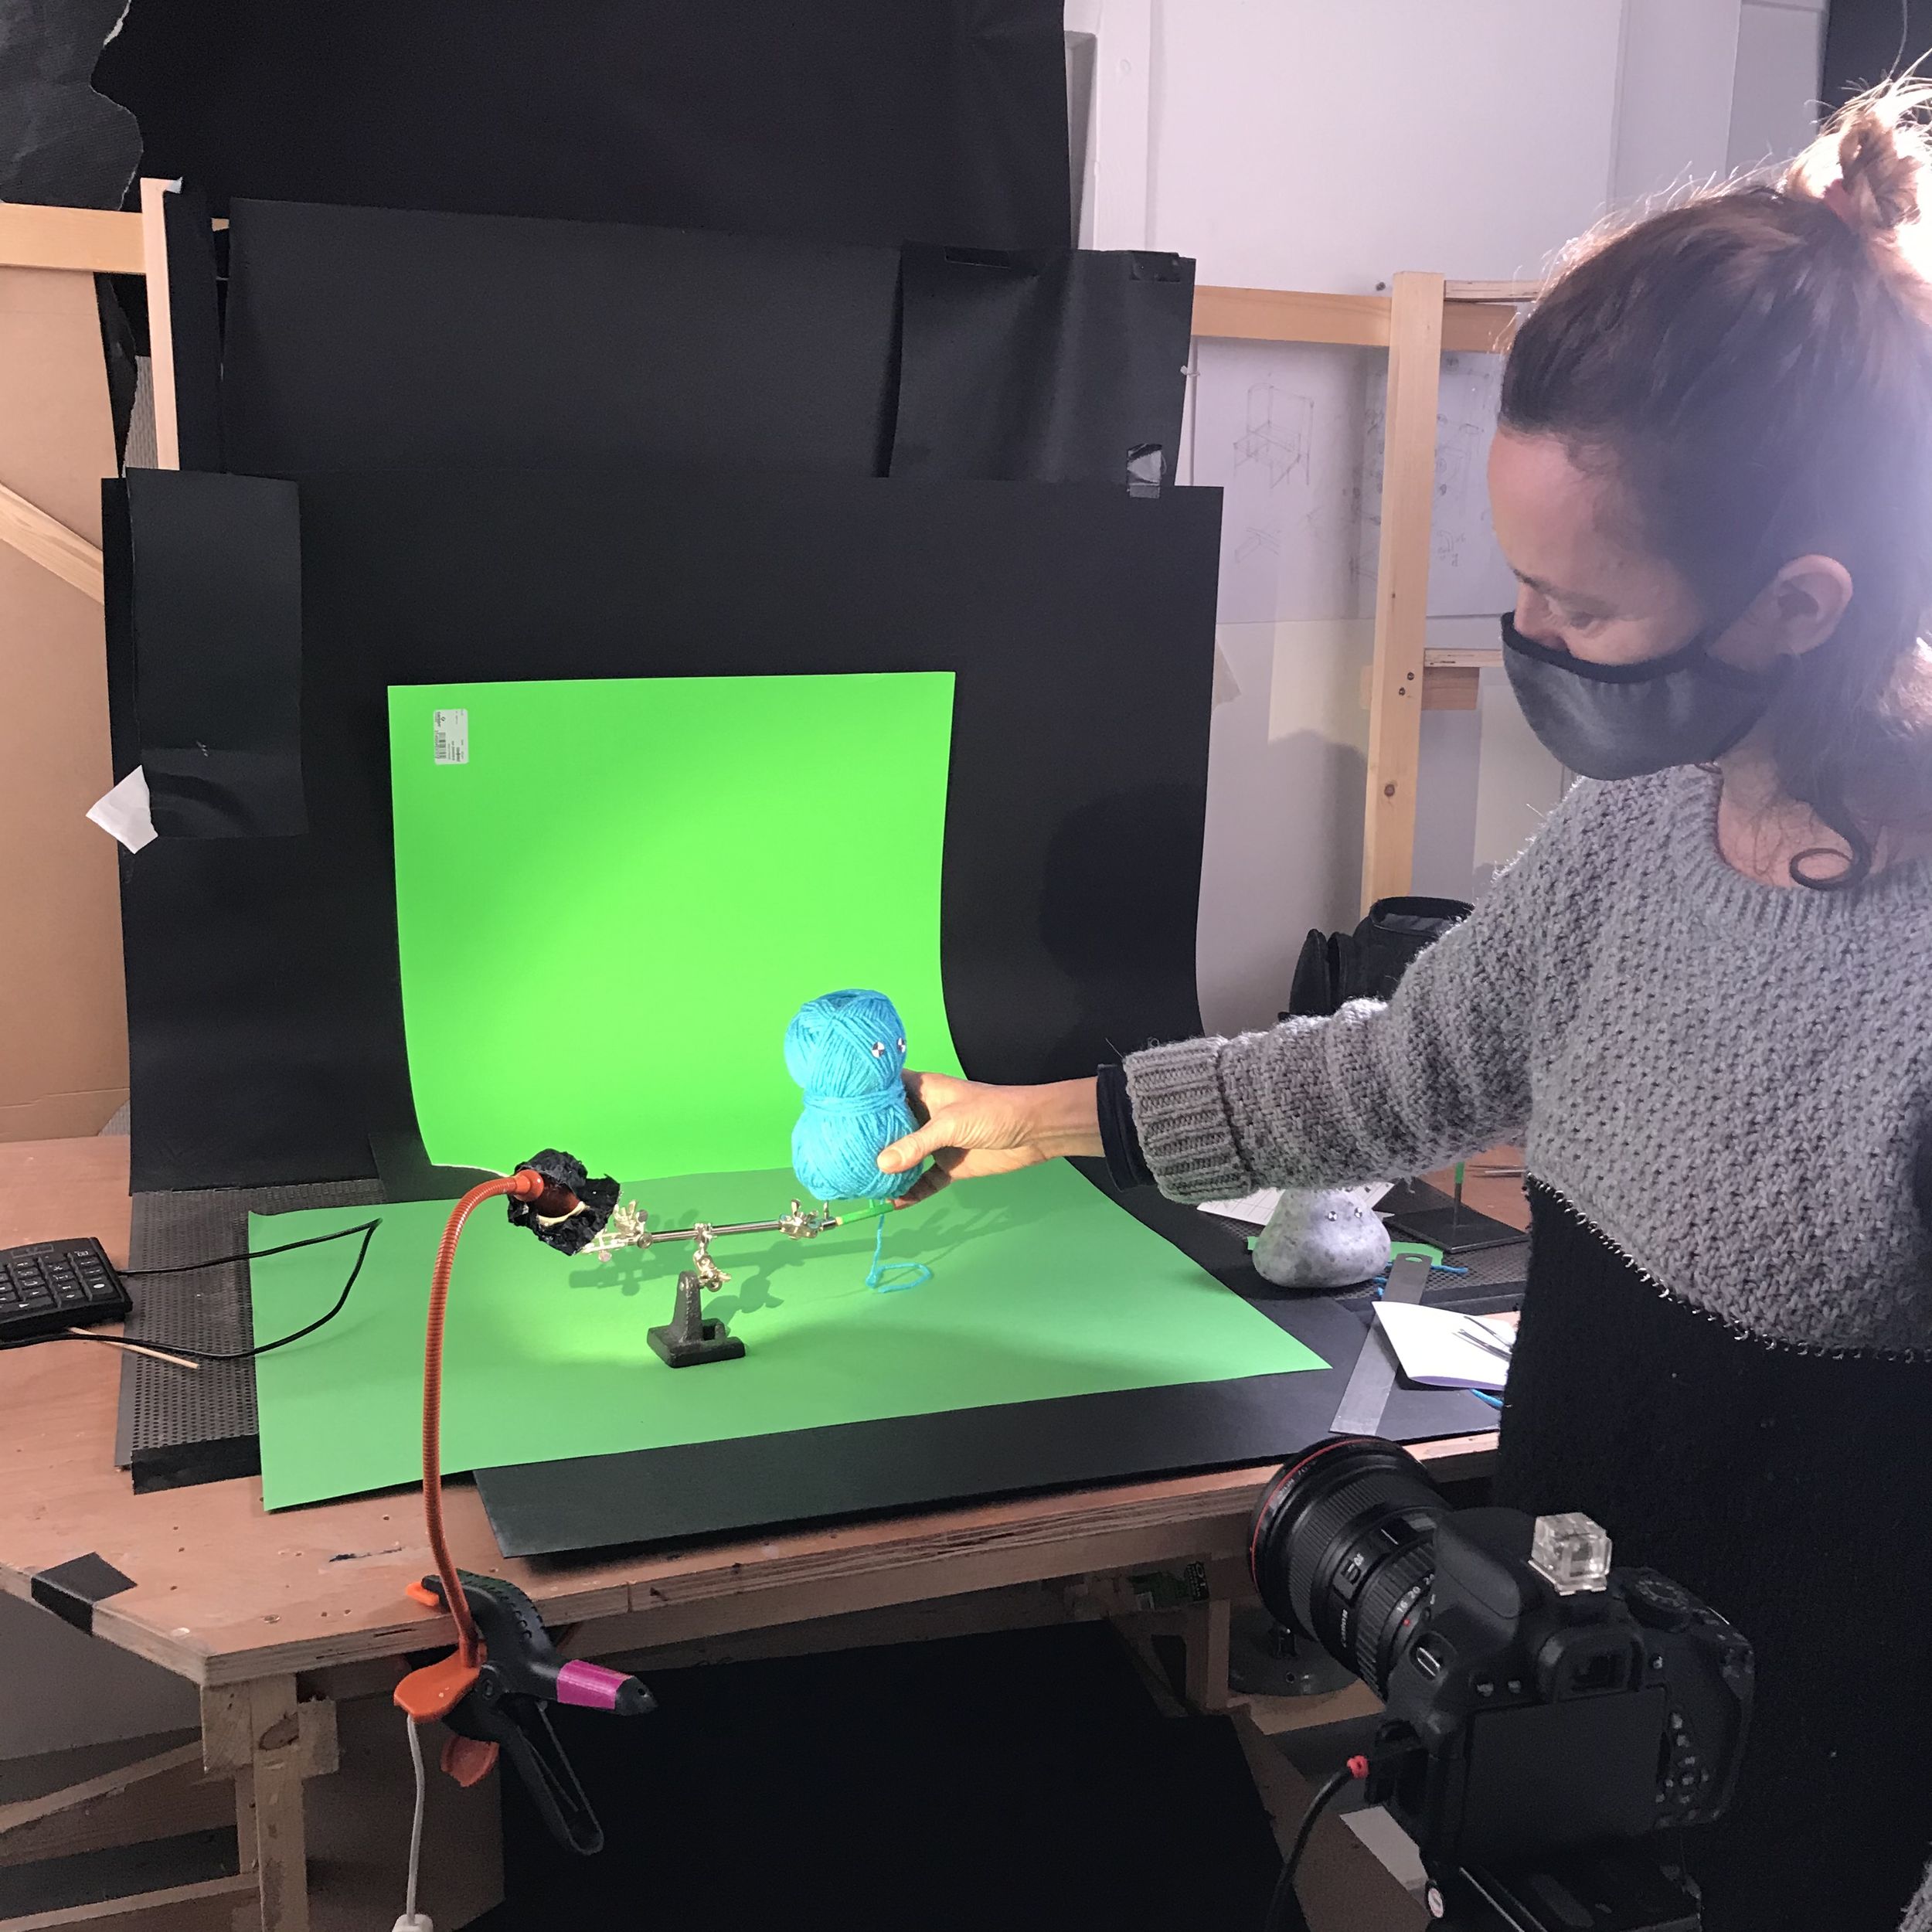
The cinema quickly seized on this technique, which attracted many directors who experimented with new approaches and gradually improved it. Twenty years later, stop-motion had a decisive breakthrough thanks to Willis O’Brien, with the successive releases of The Lost World in 1925 and King Kong in 1933. The technique was adopted for its ability to create impressive special effects for the time, particularly when combined with green screen to expand the visual possibilities.
Today, although 3D dominates the film industry by offering increasingly spectacular visual effects, stop-motion continues to exist. While one might have thought that it would disappear after a century of success, this technique is once again proving its worth. Some directors and artists, such as Matthieu Lemarié, remain attached to the authenticity of stop-motion, judging 3D special effects to be too "smooth" or "perfect." Stop-motion is evolving, adapting and experiencing a real renaissance, remaining a technique prized for its unique charm and artisanal side.
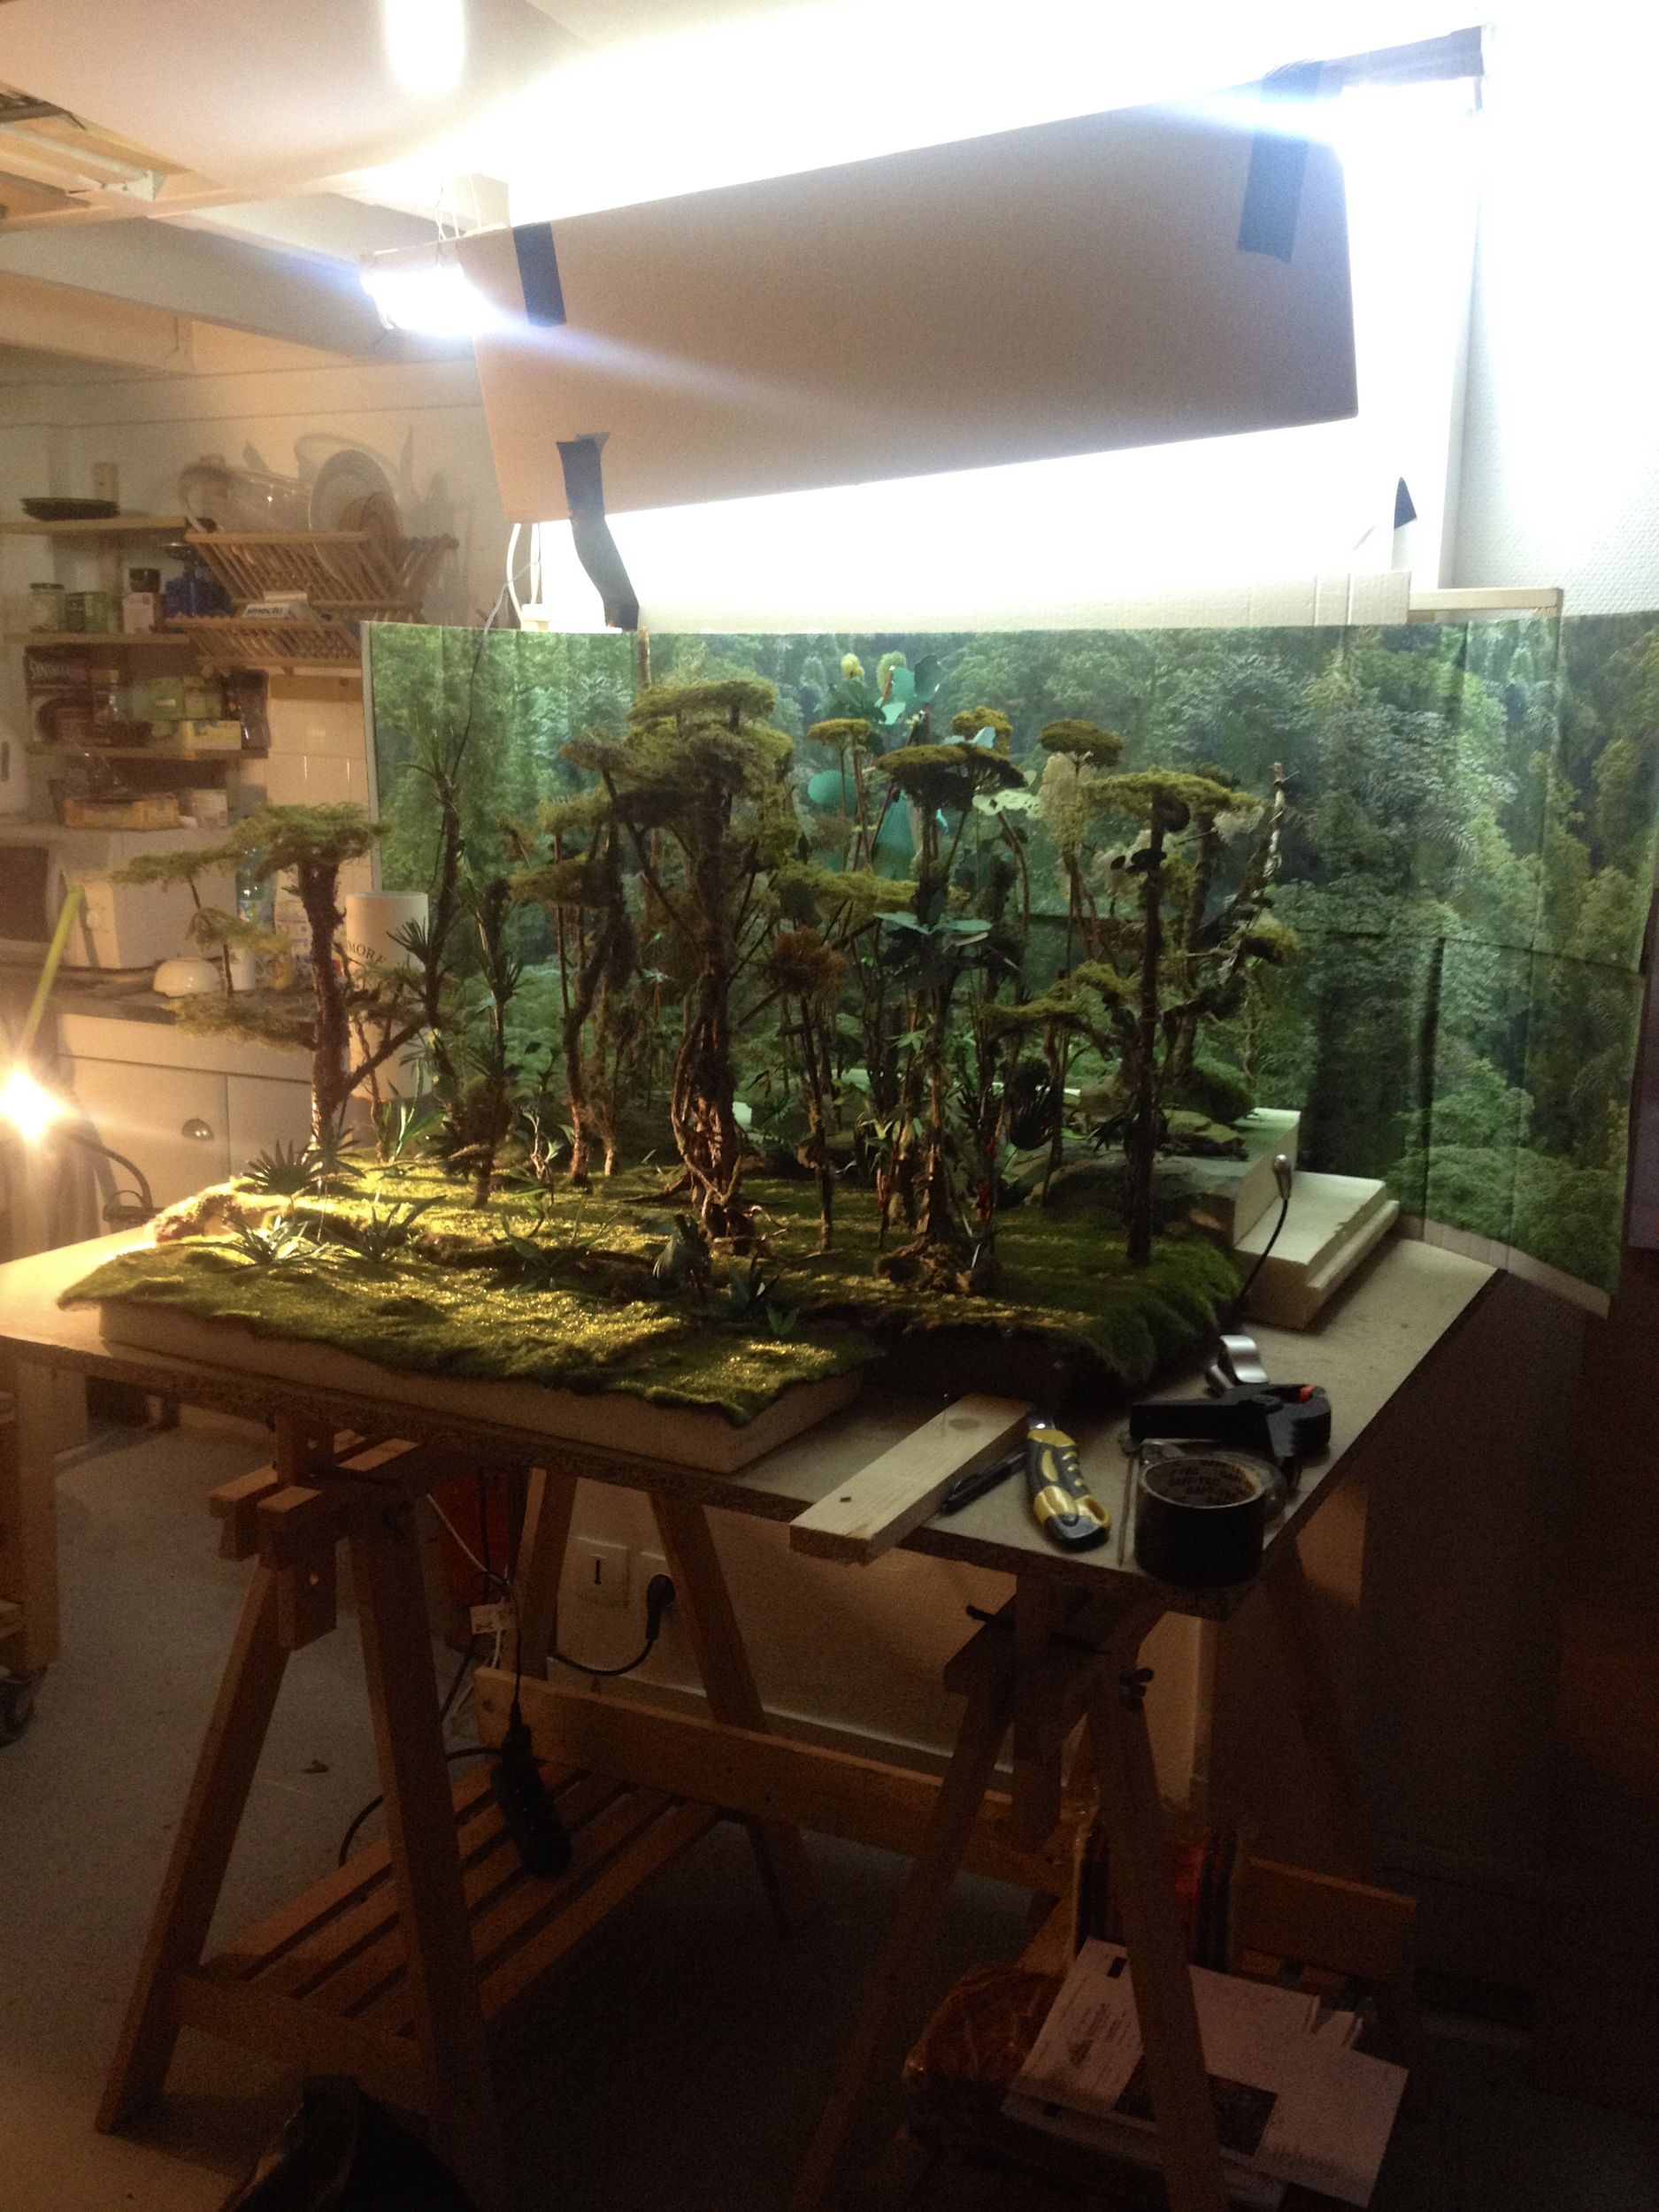
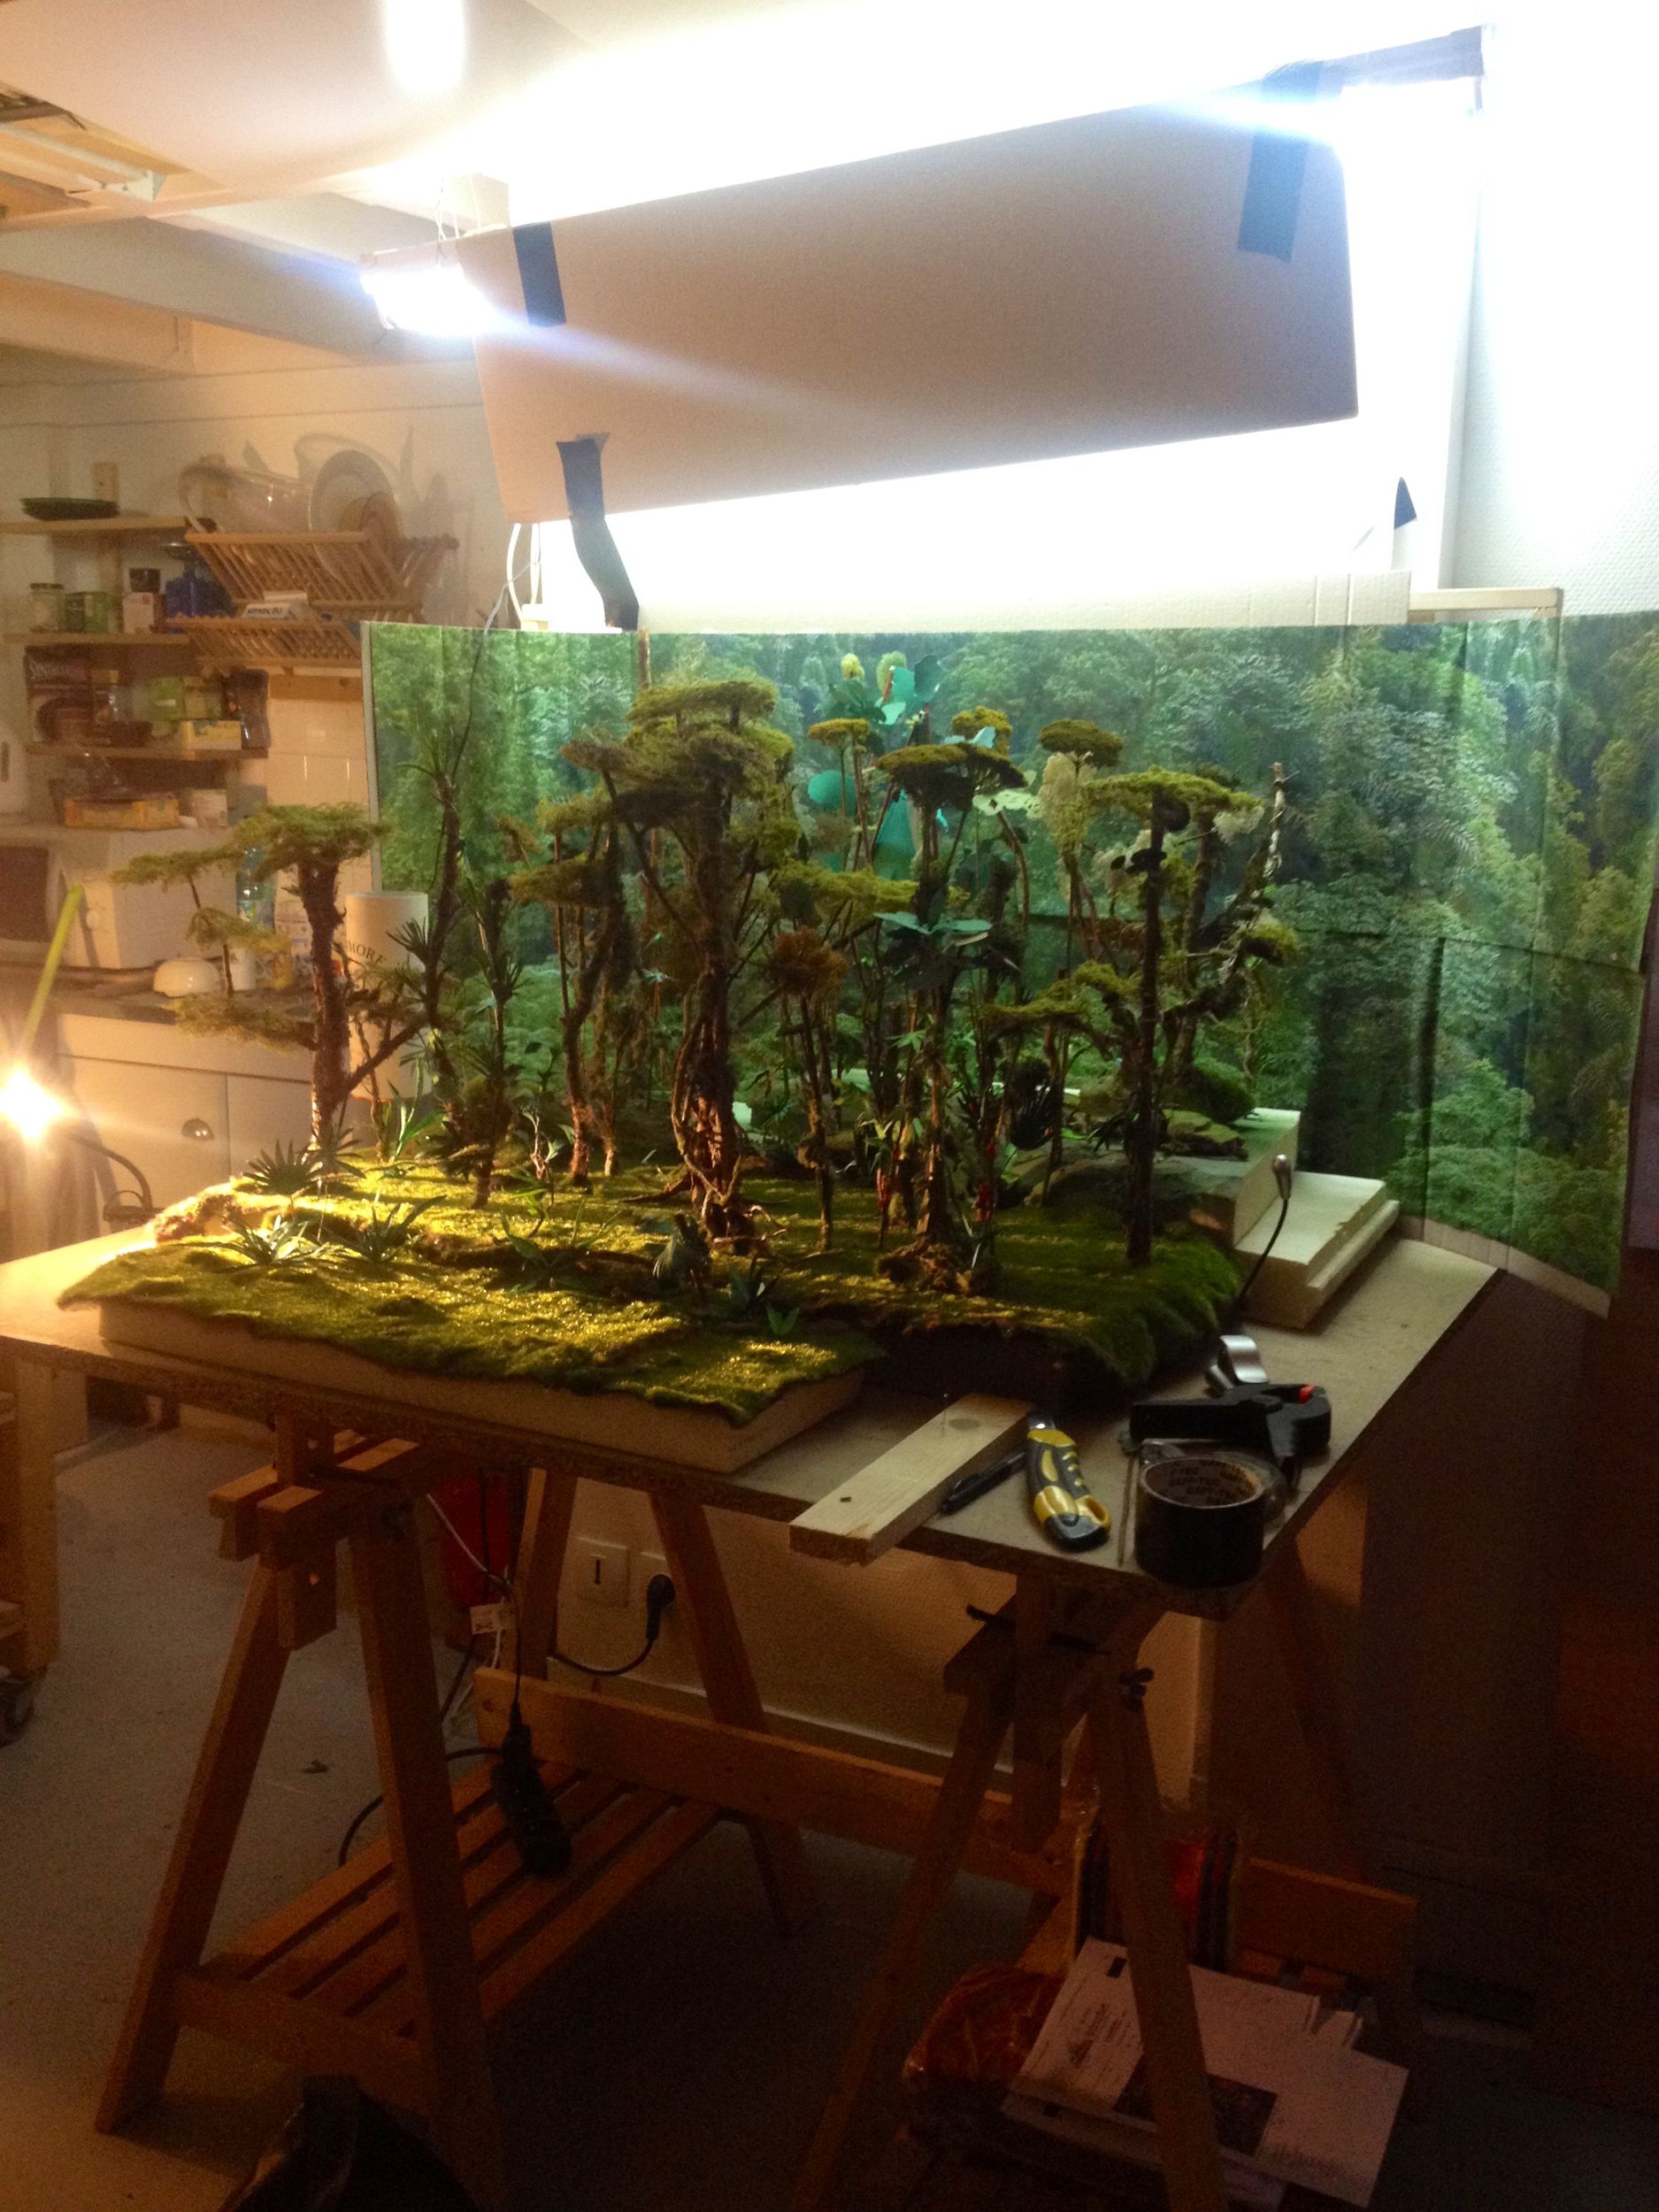
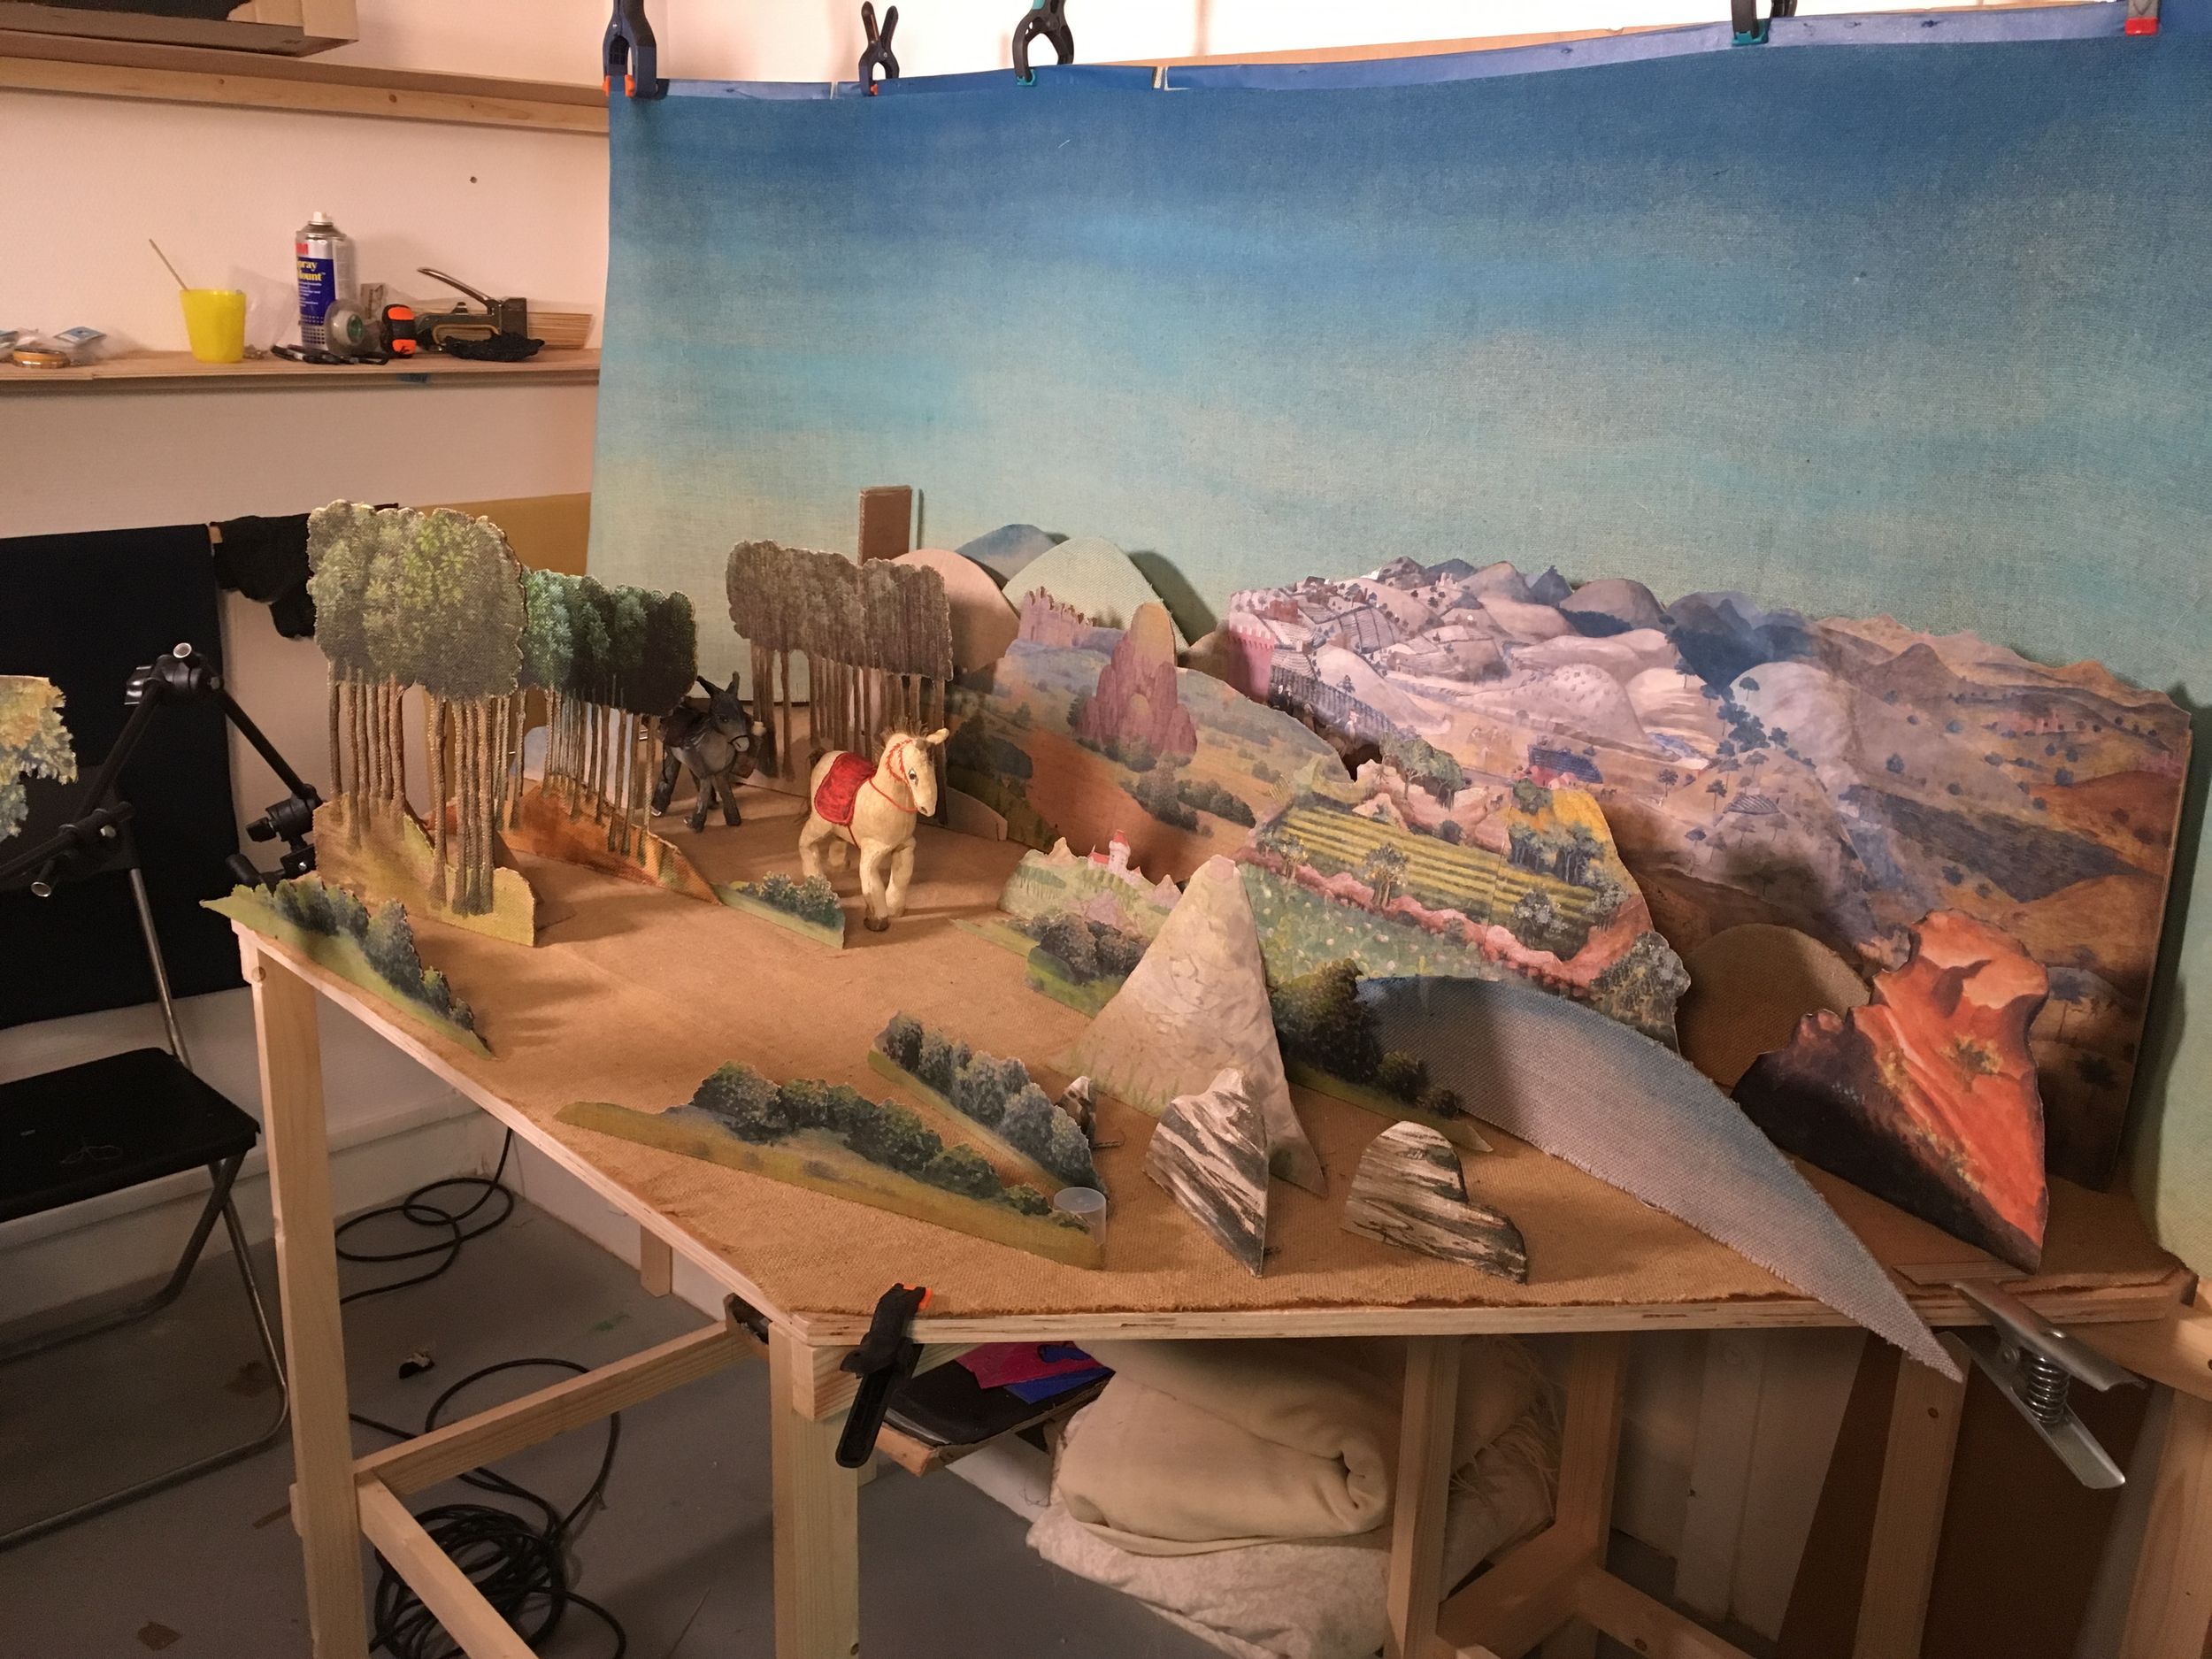
Matthieu offers to lead this workshop by bringing elements already made so that learners can focus on making stop-motion films.
Day 1: Introduction to Stop Motion
Morning
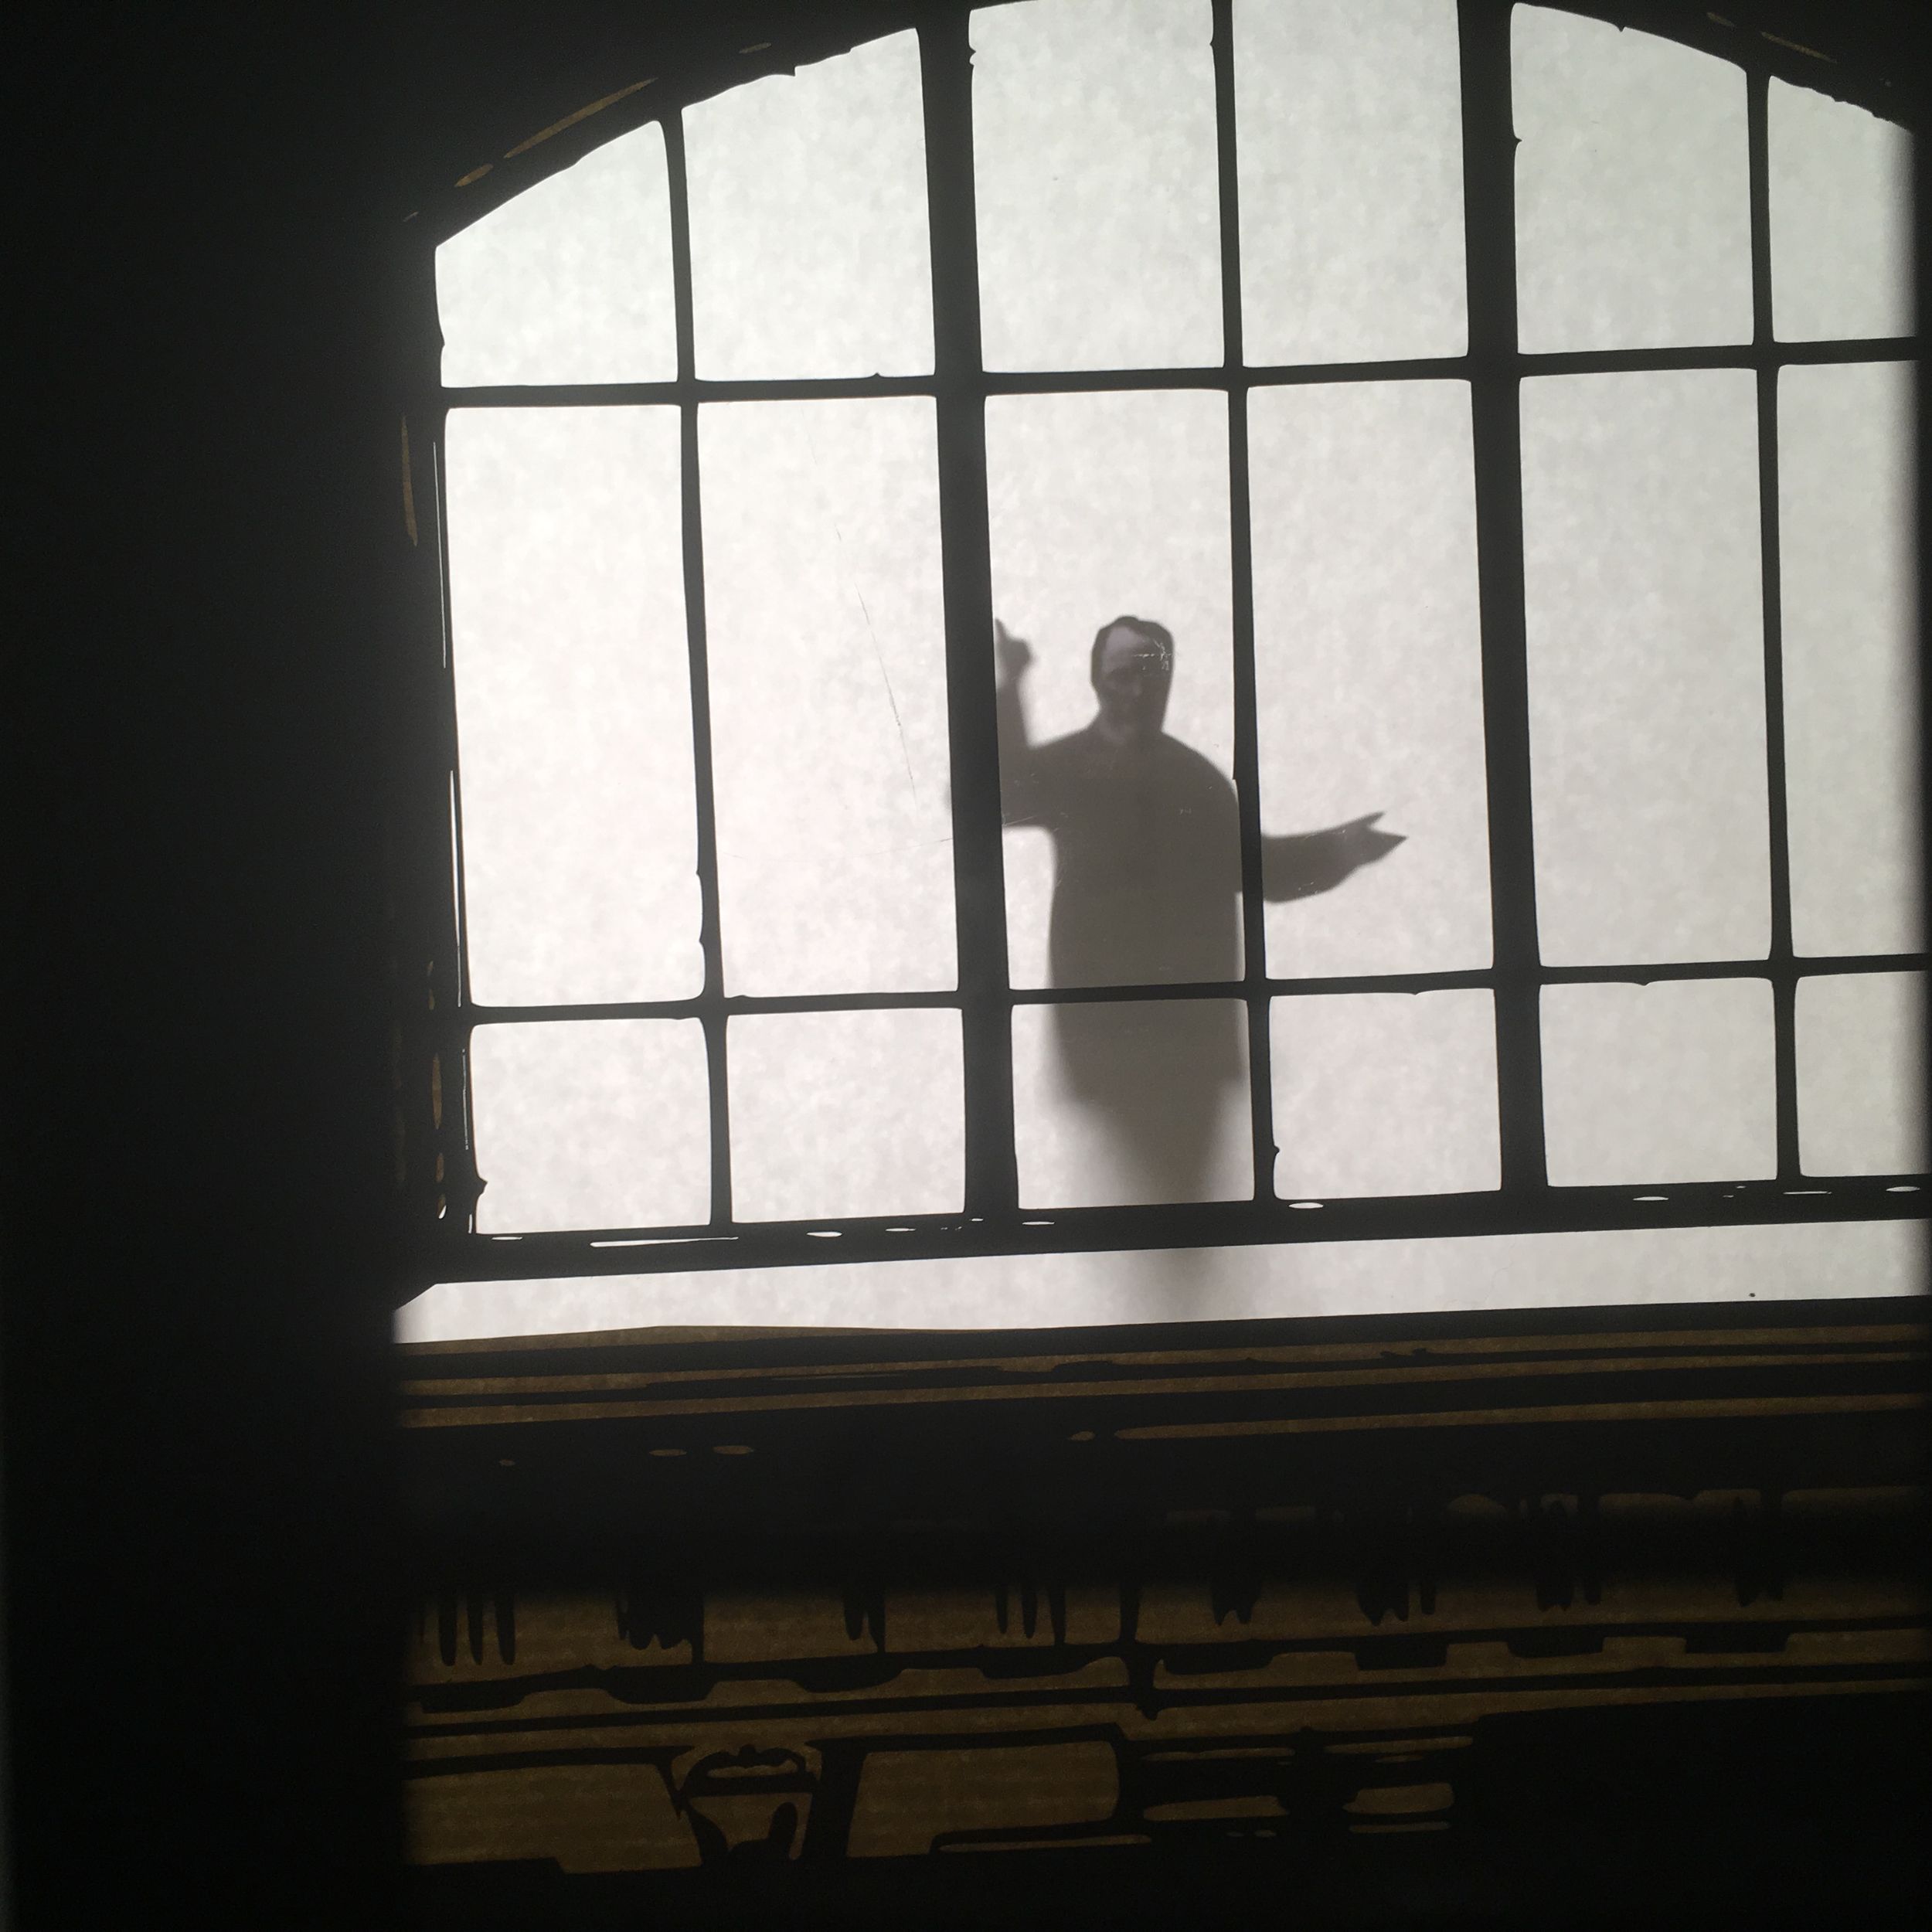
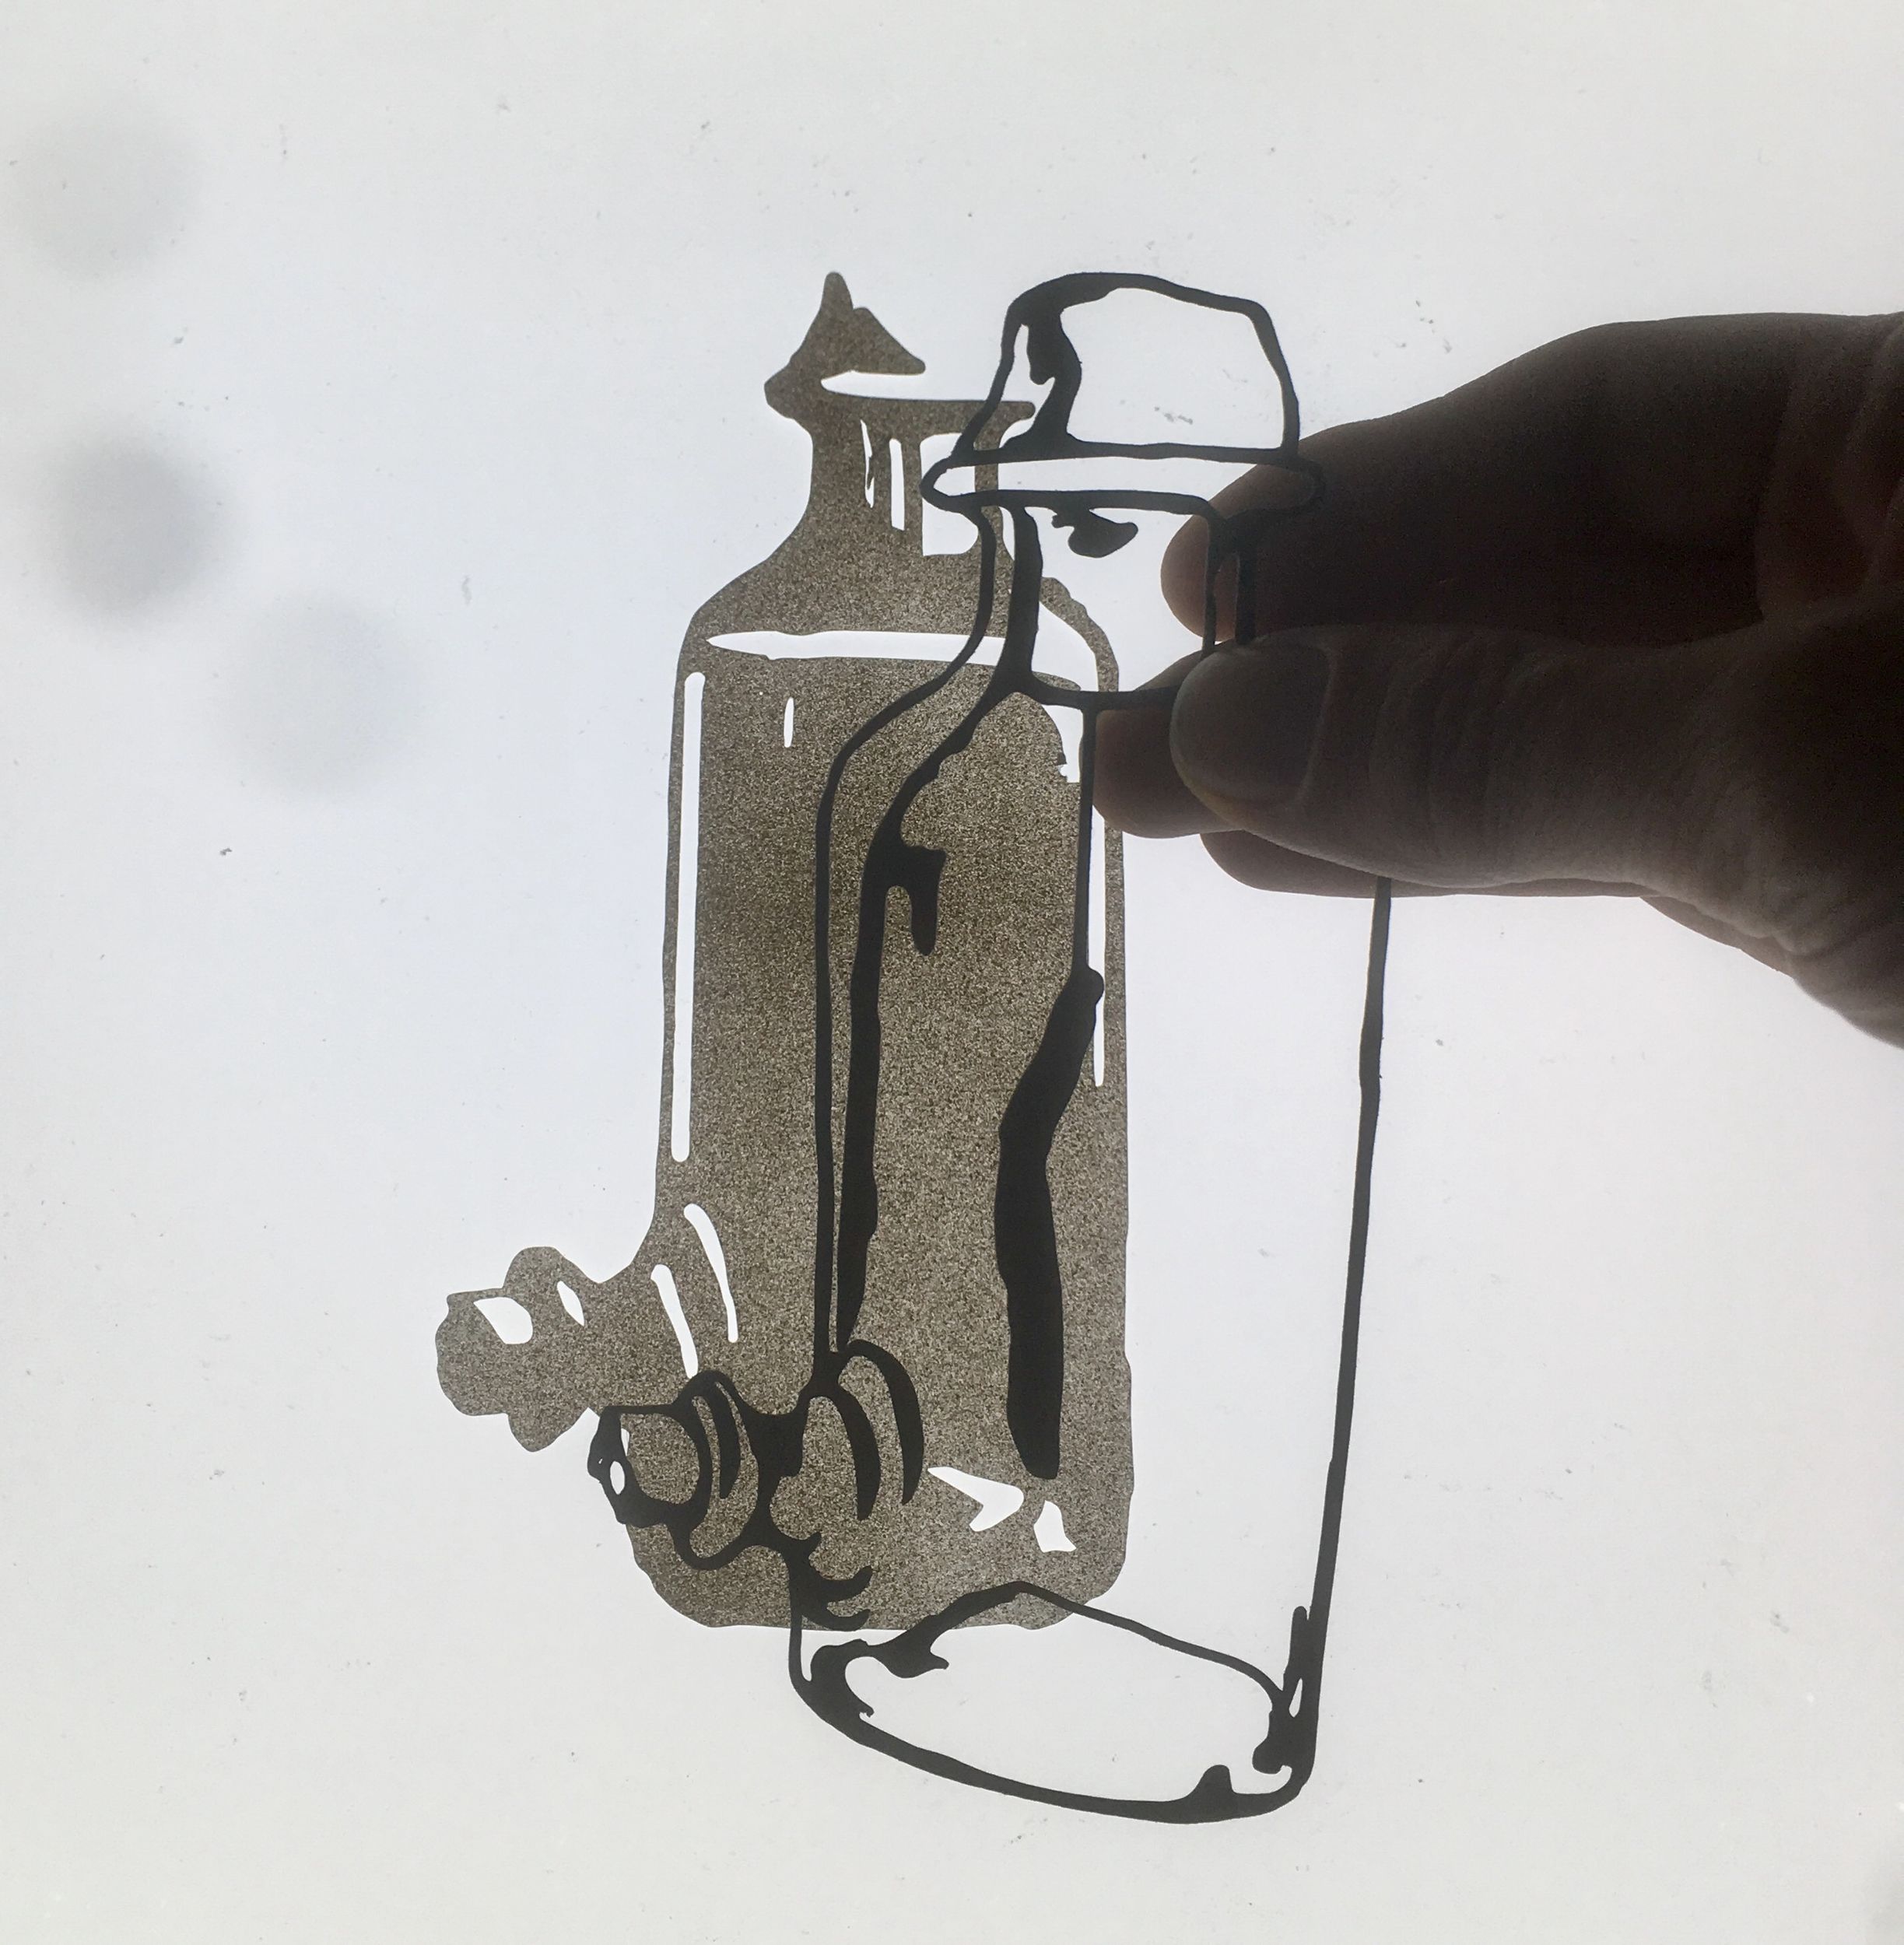
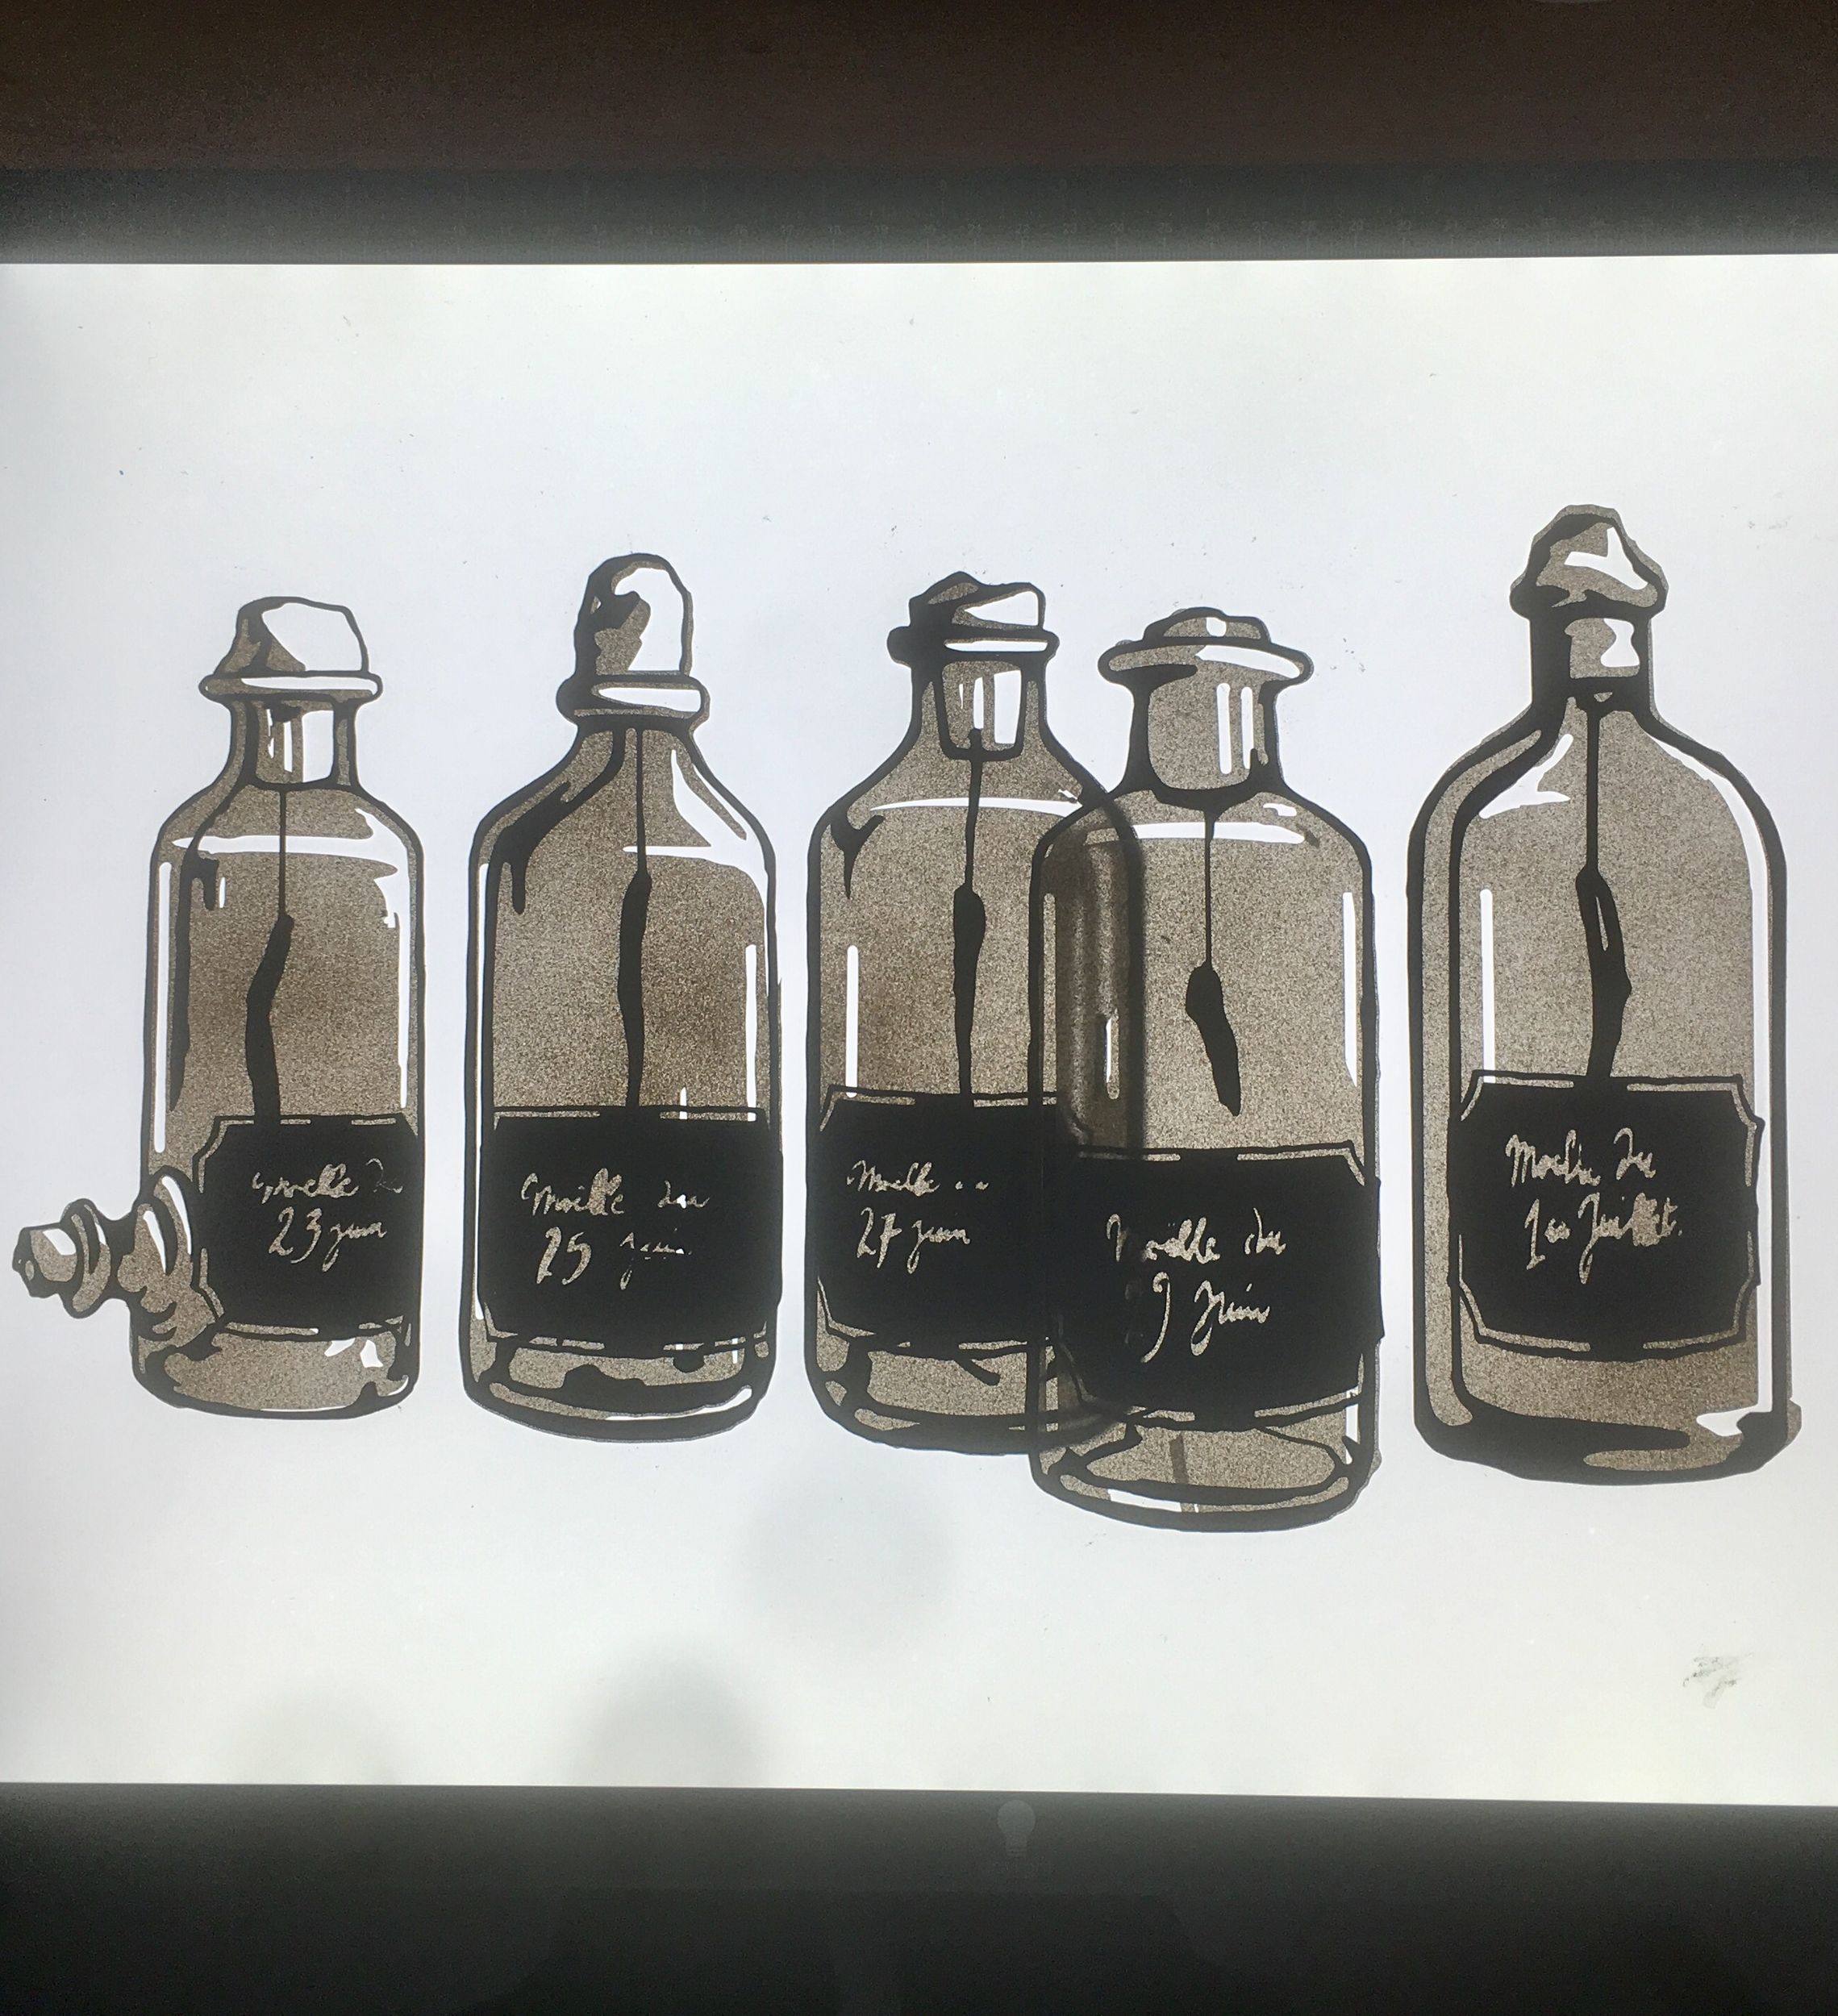
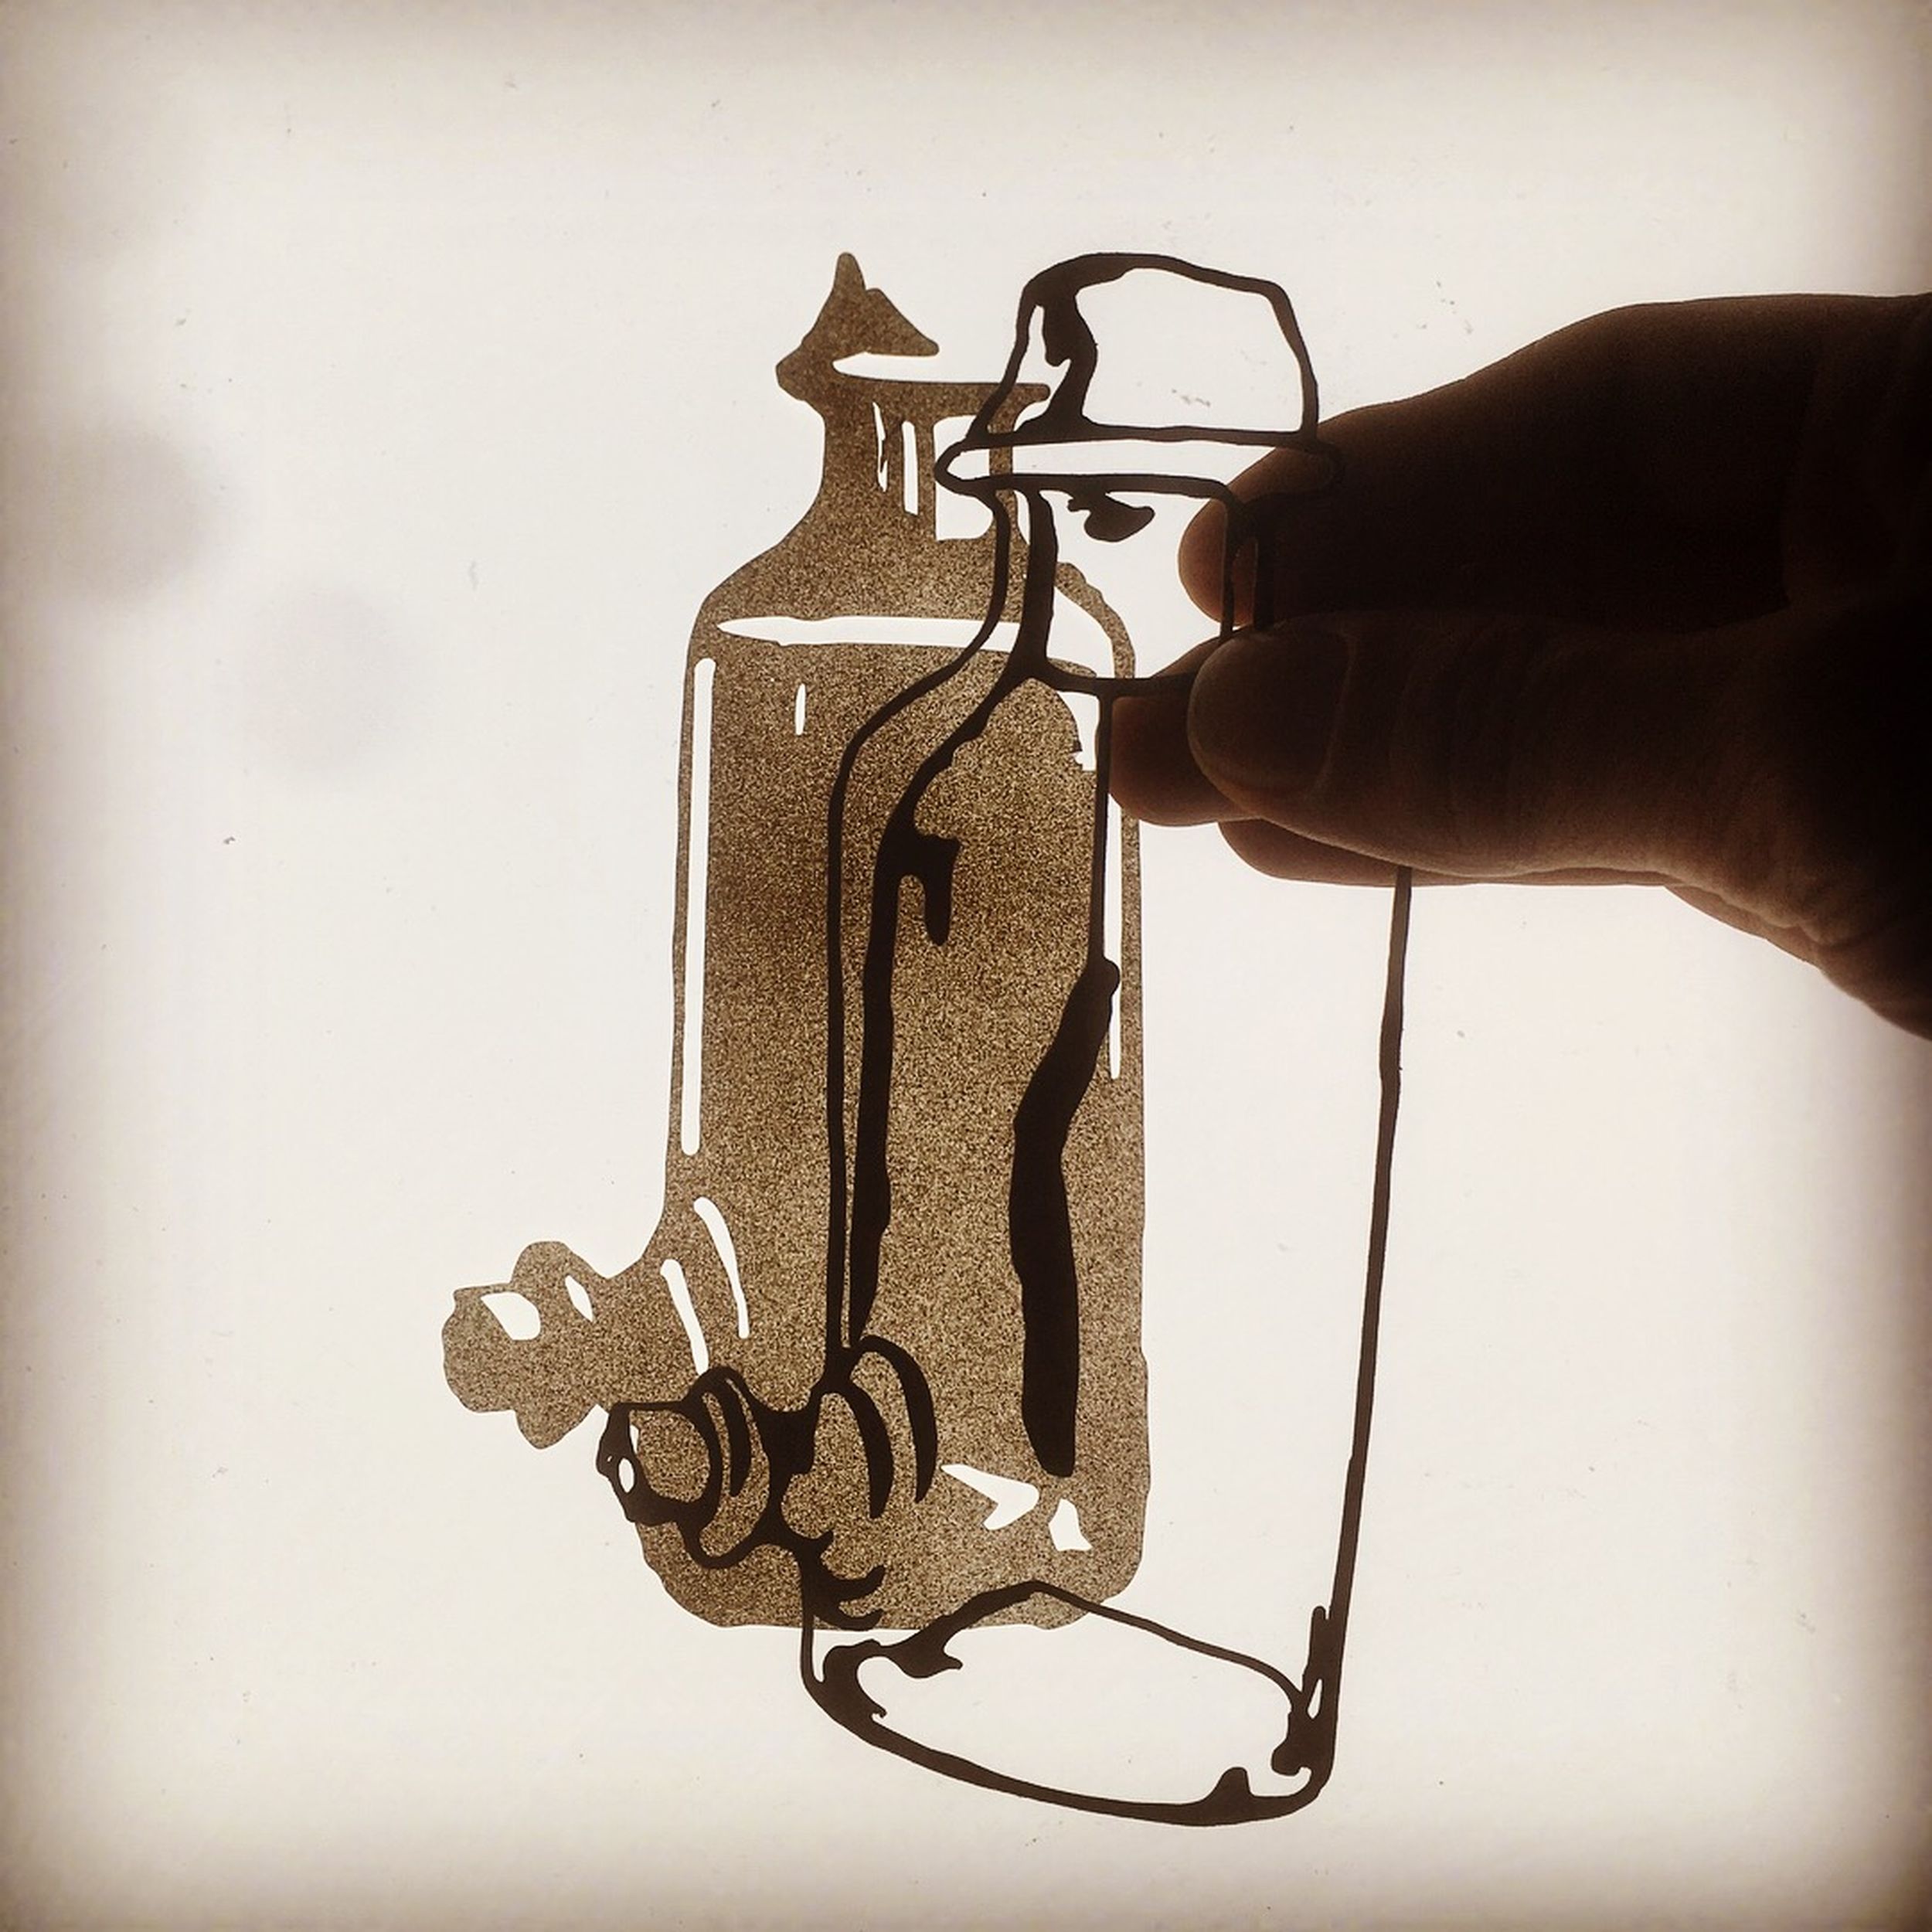
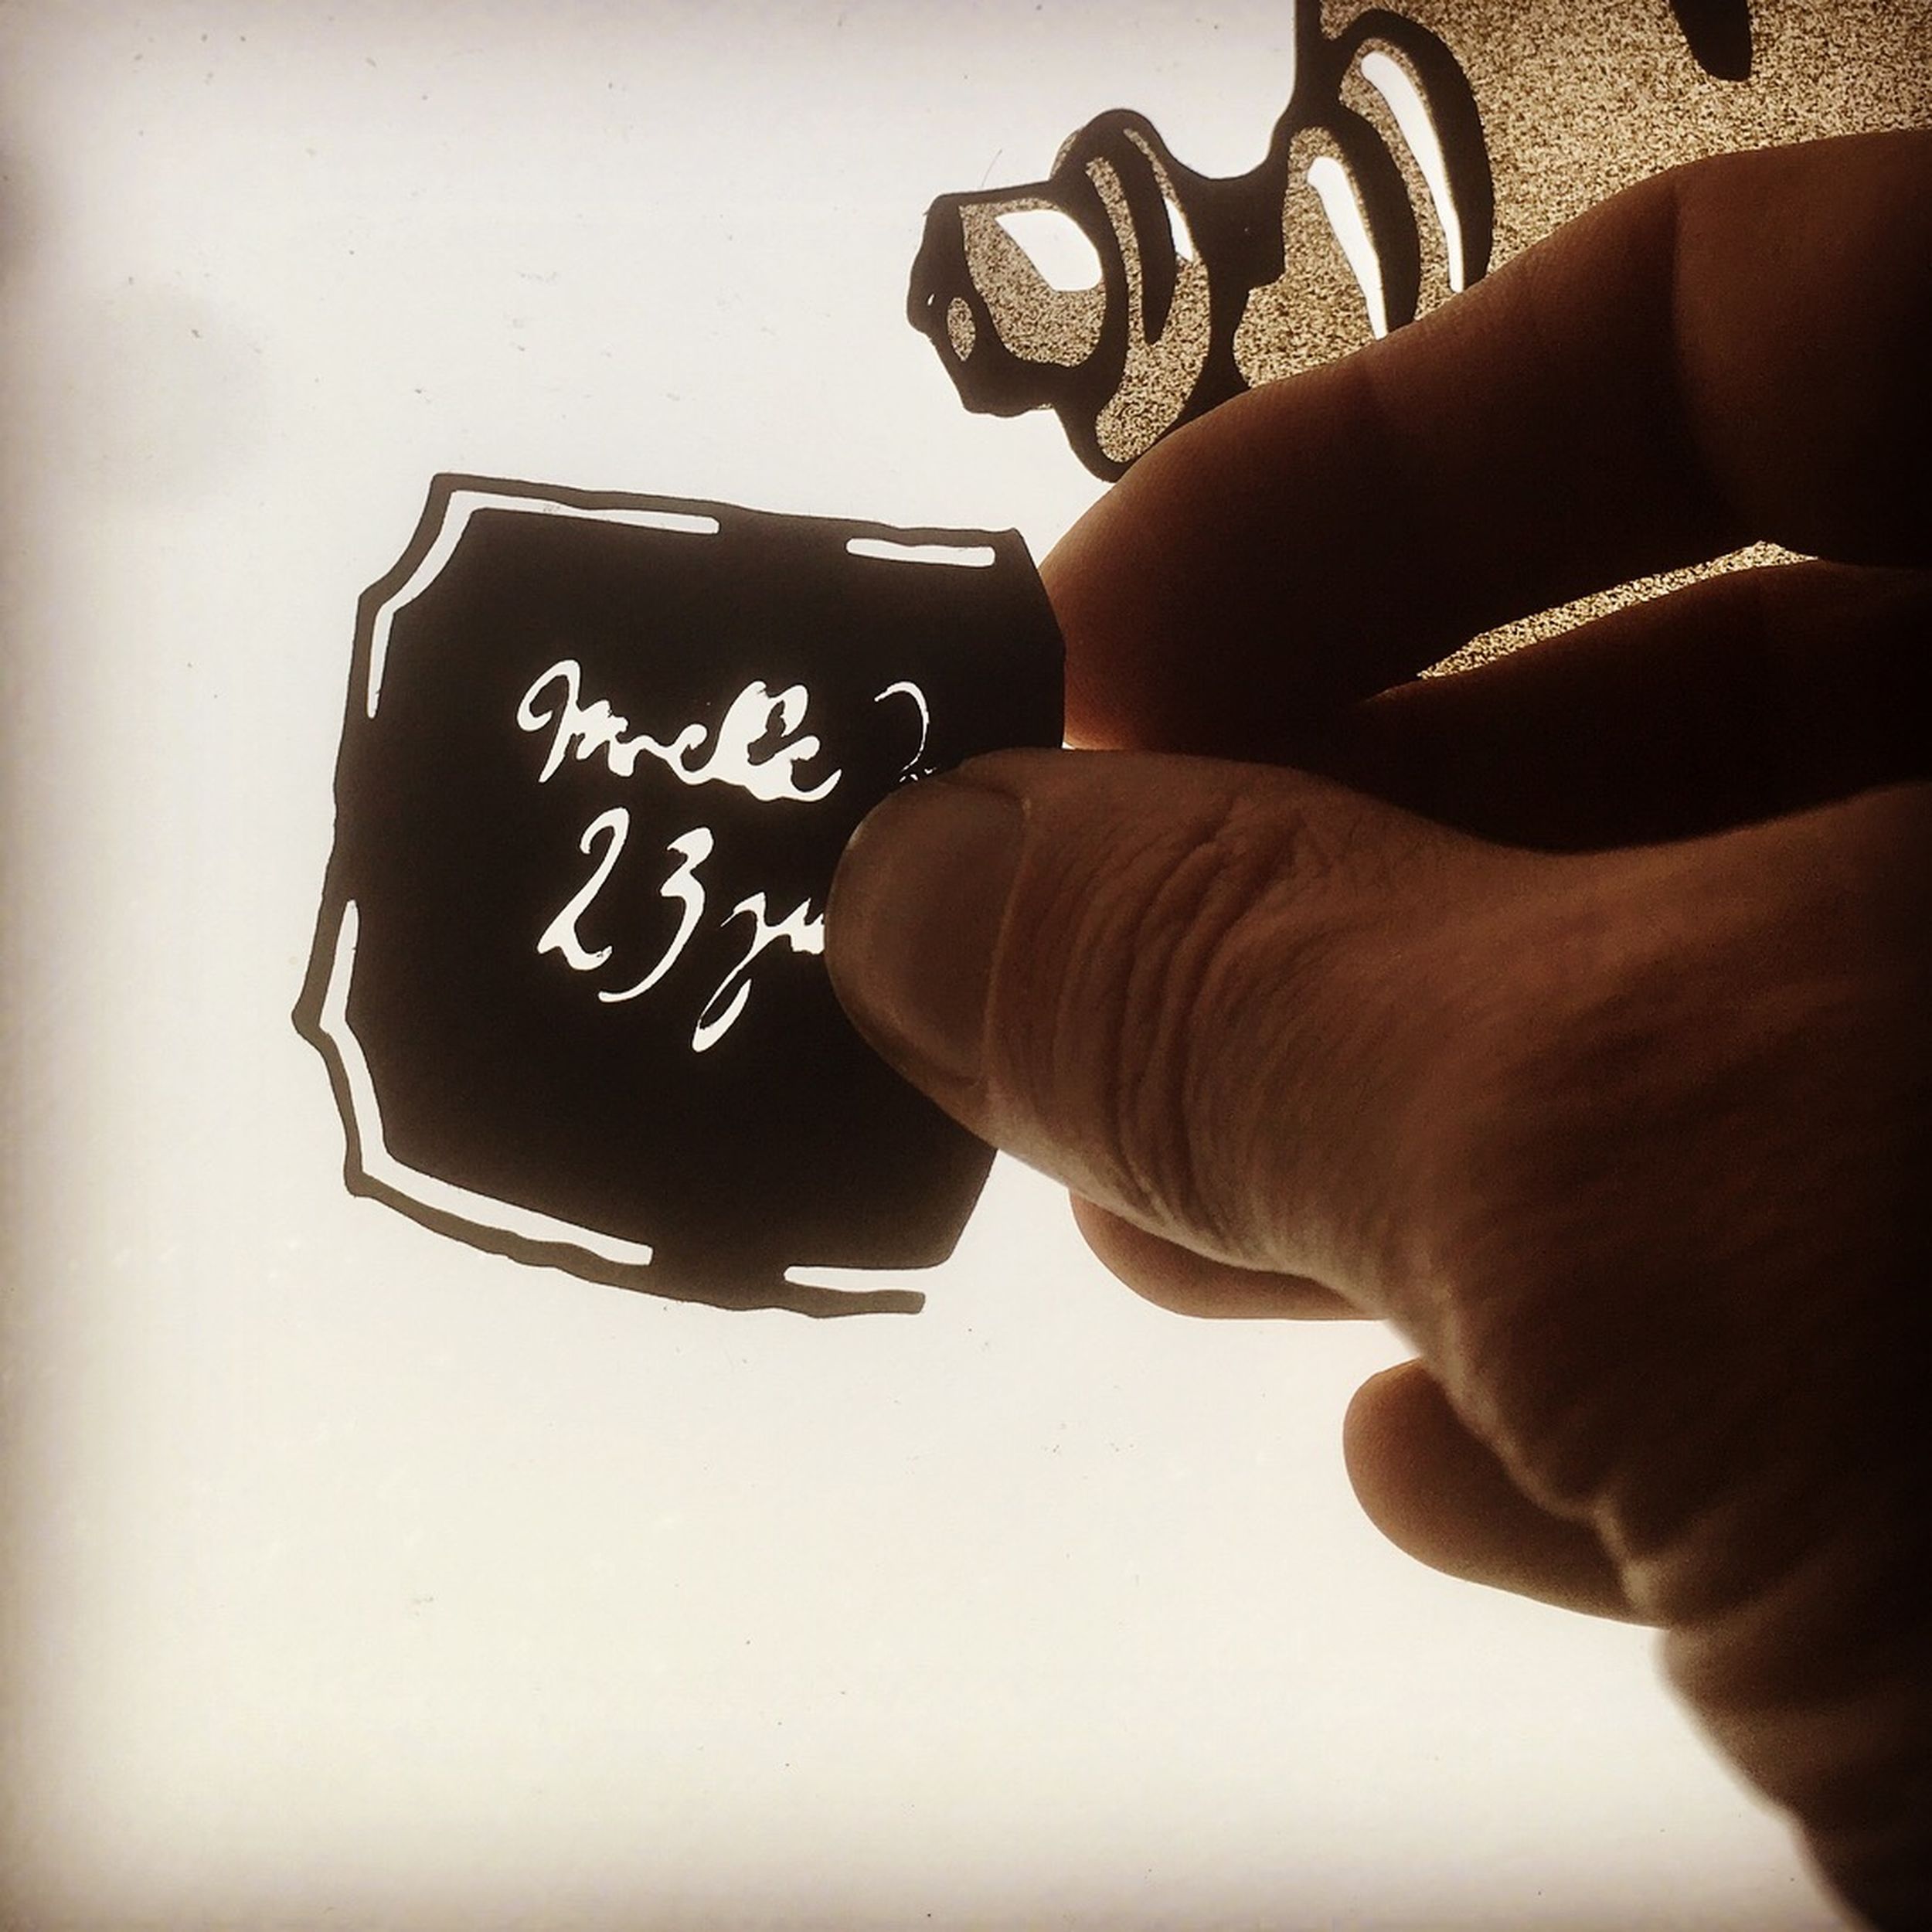
Welcome of participants: presentation of Matthieu Lemarié and different stop-motion films that he has made. Quick presentation of the history of stop-motion: main types of frame-by-frame animation (pixilation, modeling clay, cut-out paper, title bench, studio, 2D or 3D)
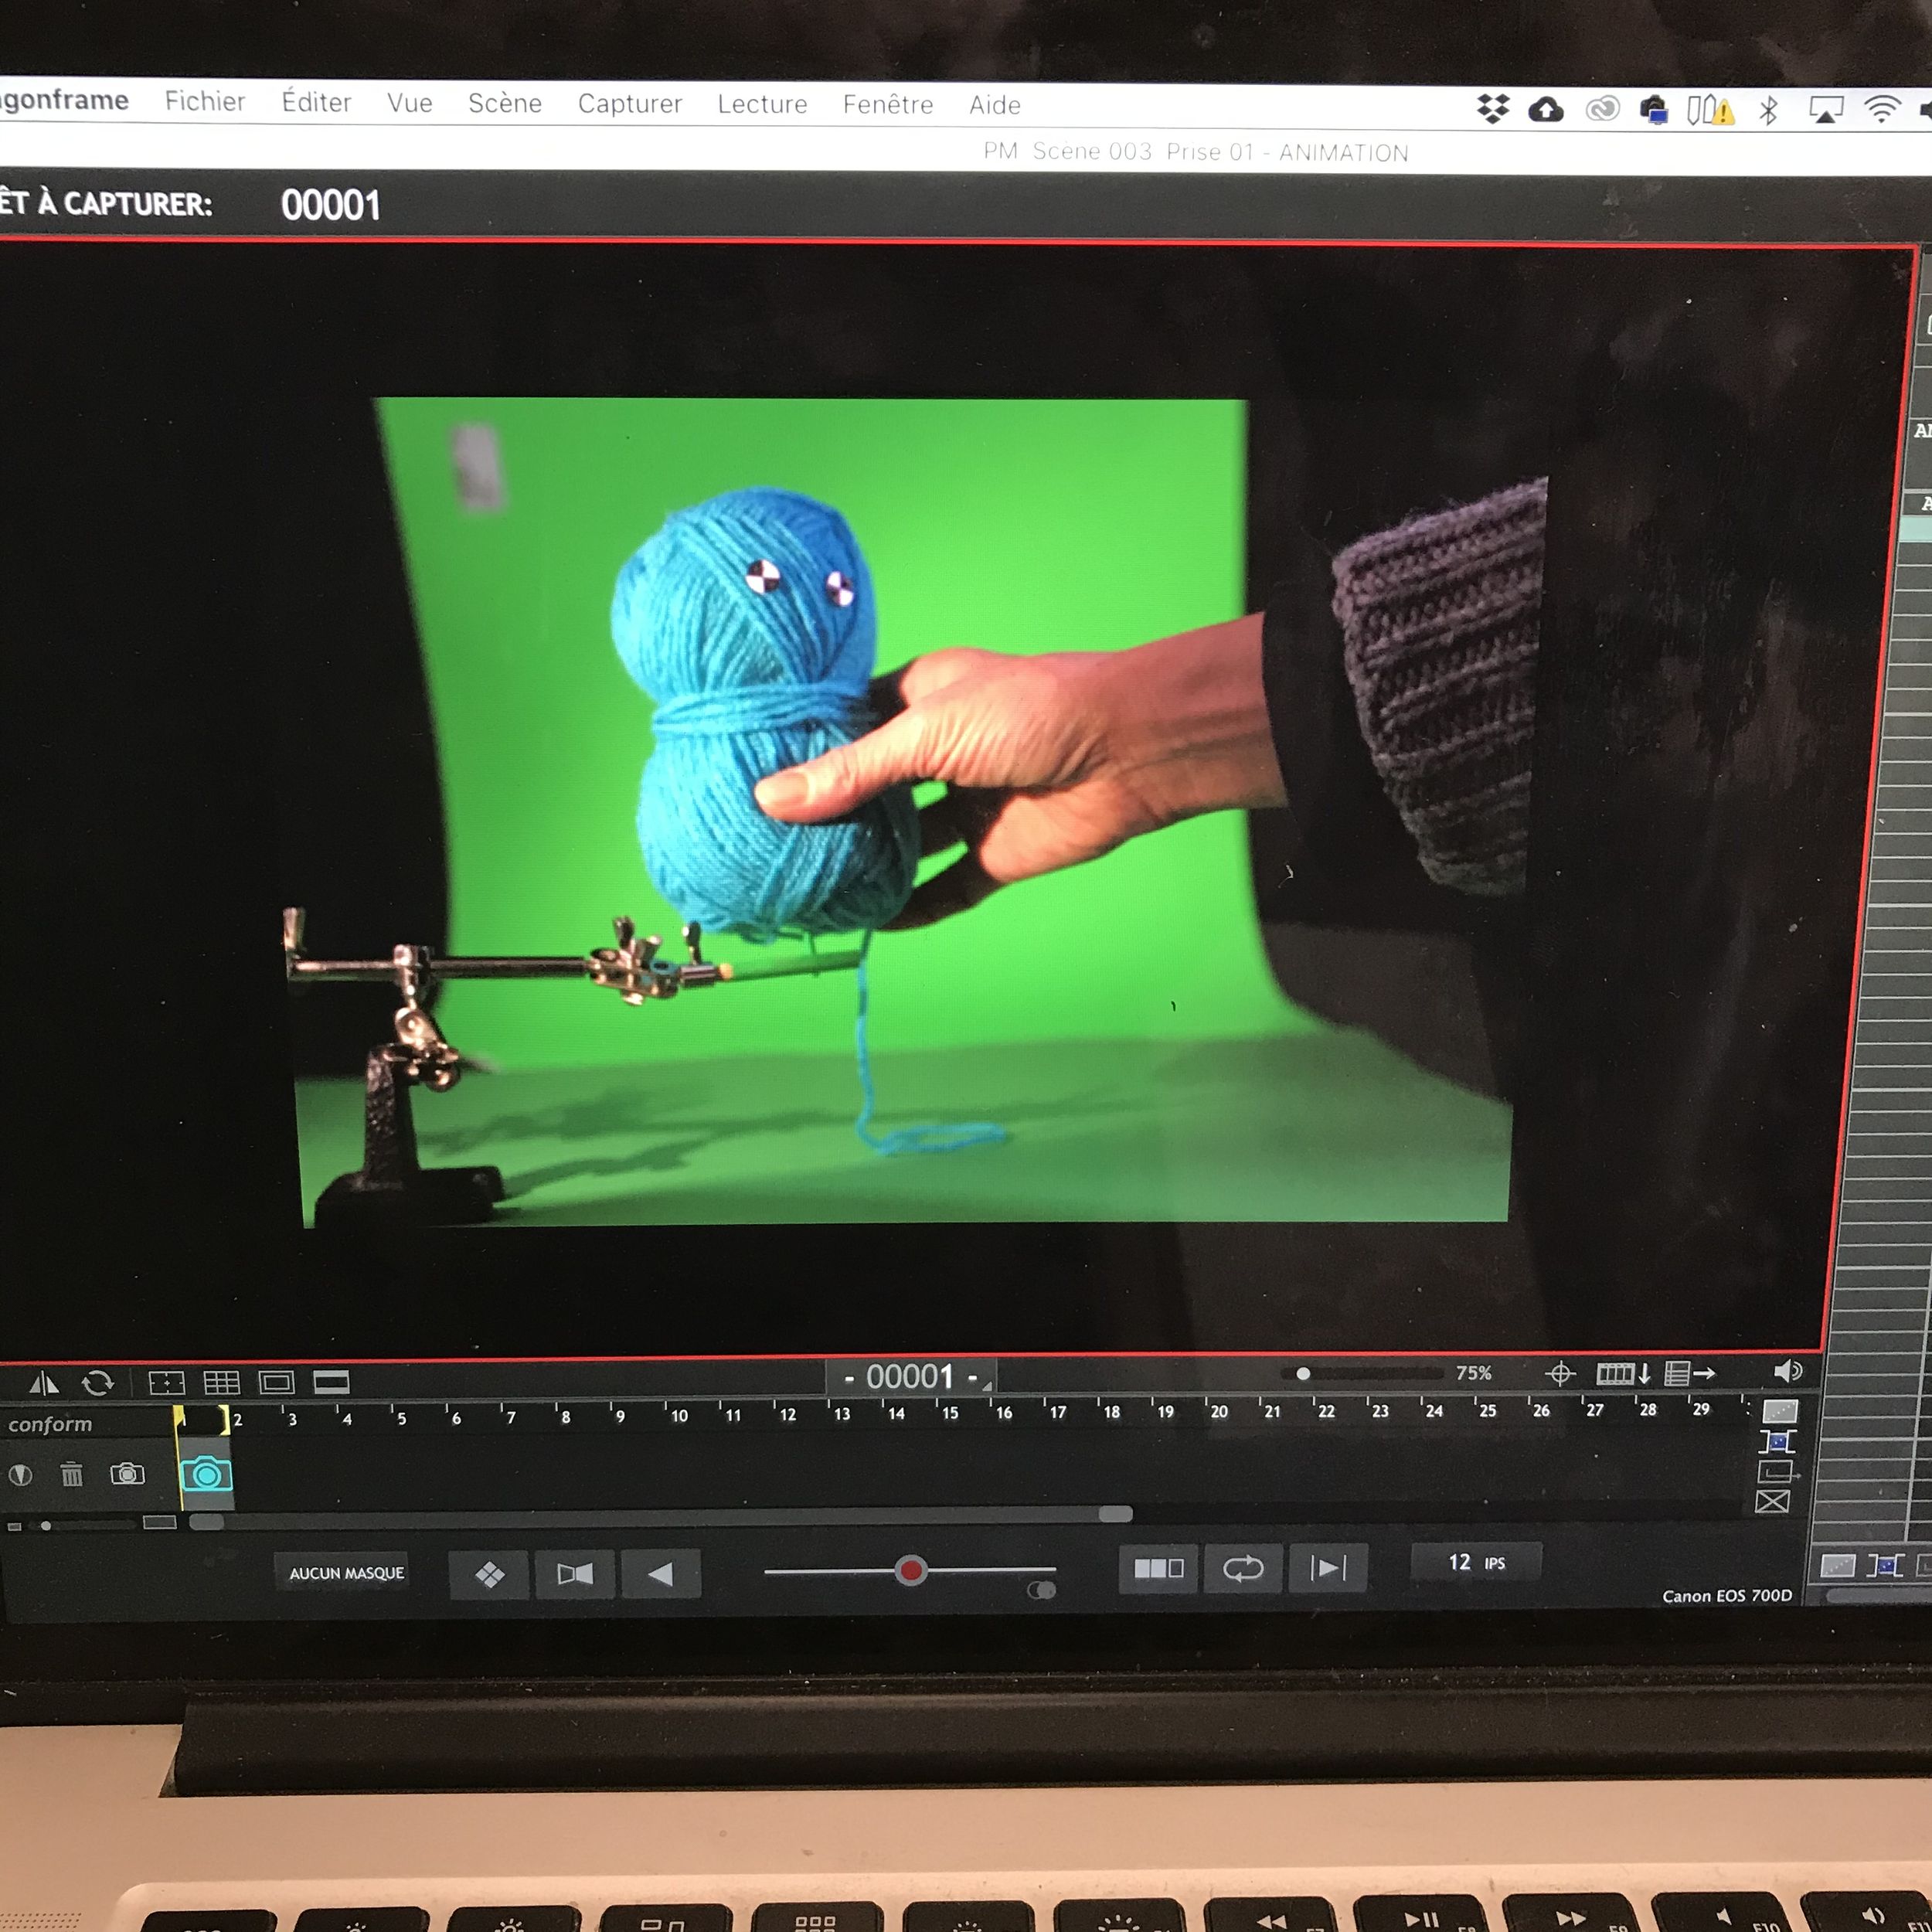
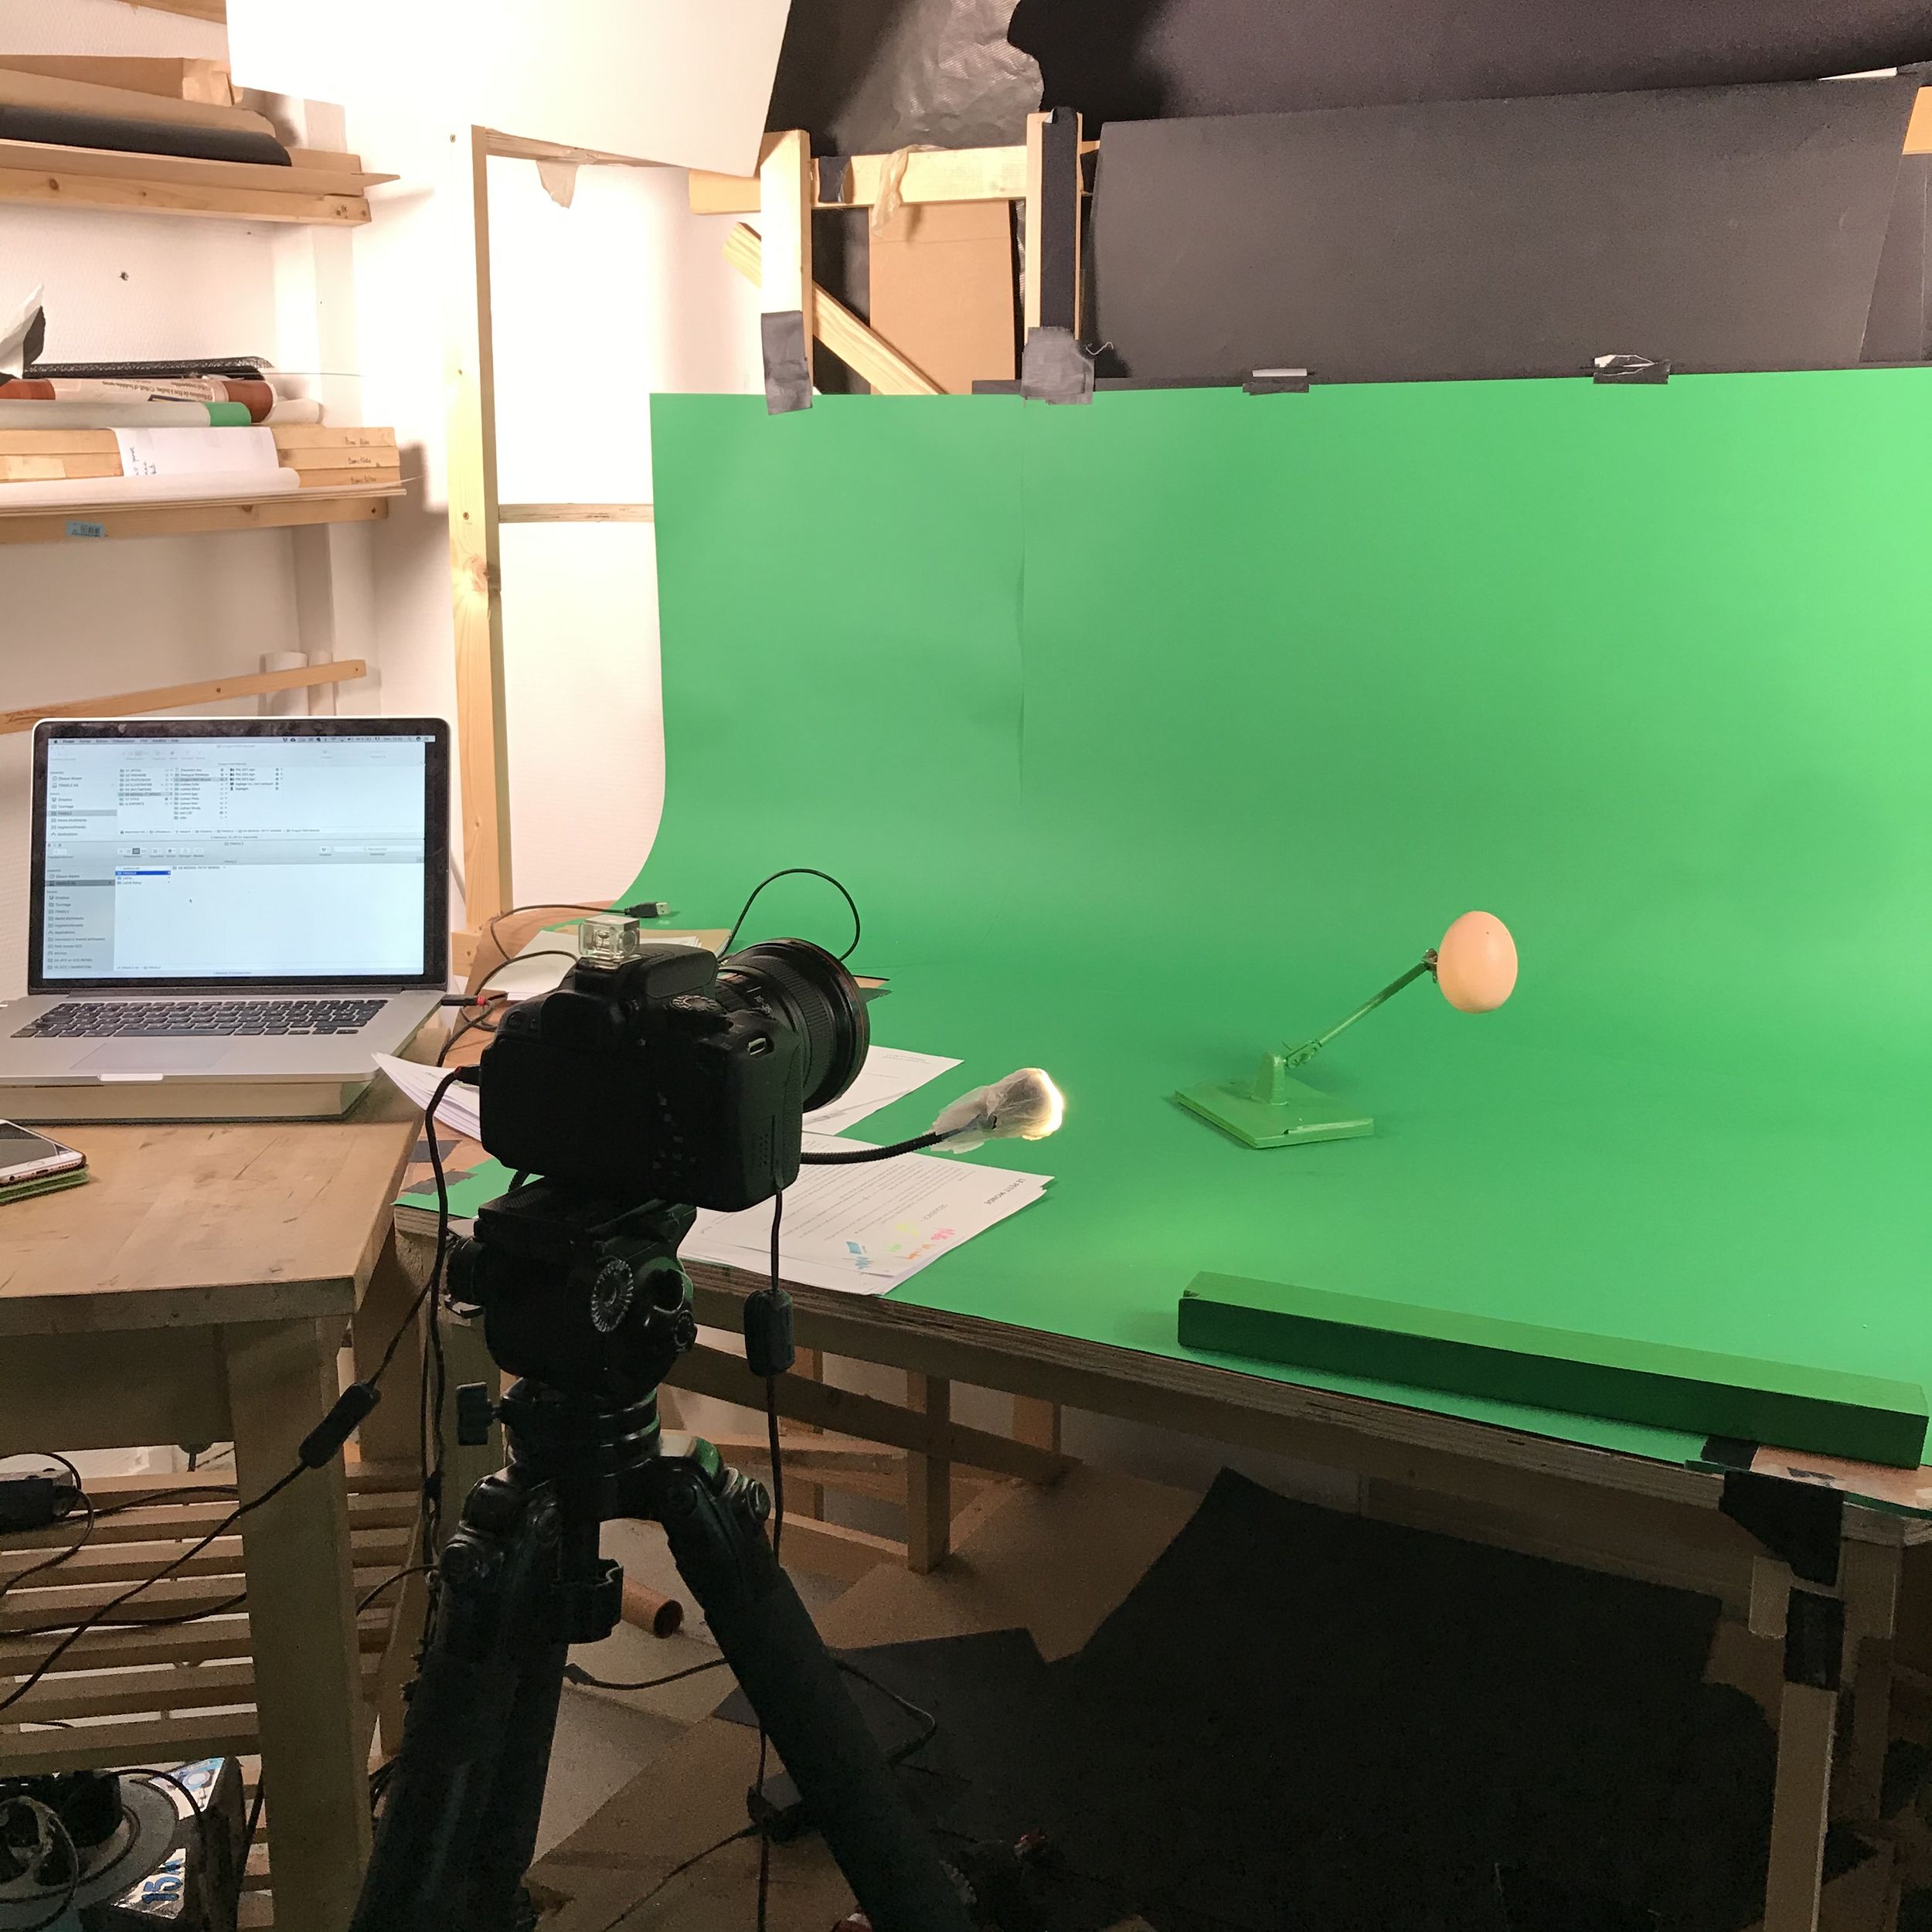
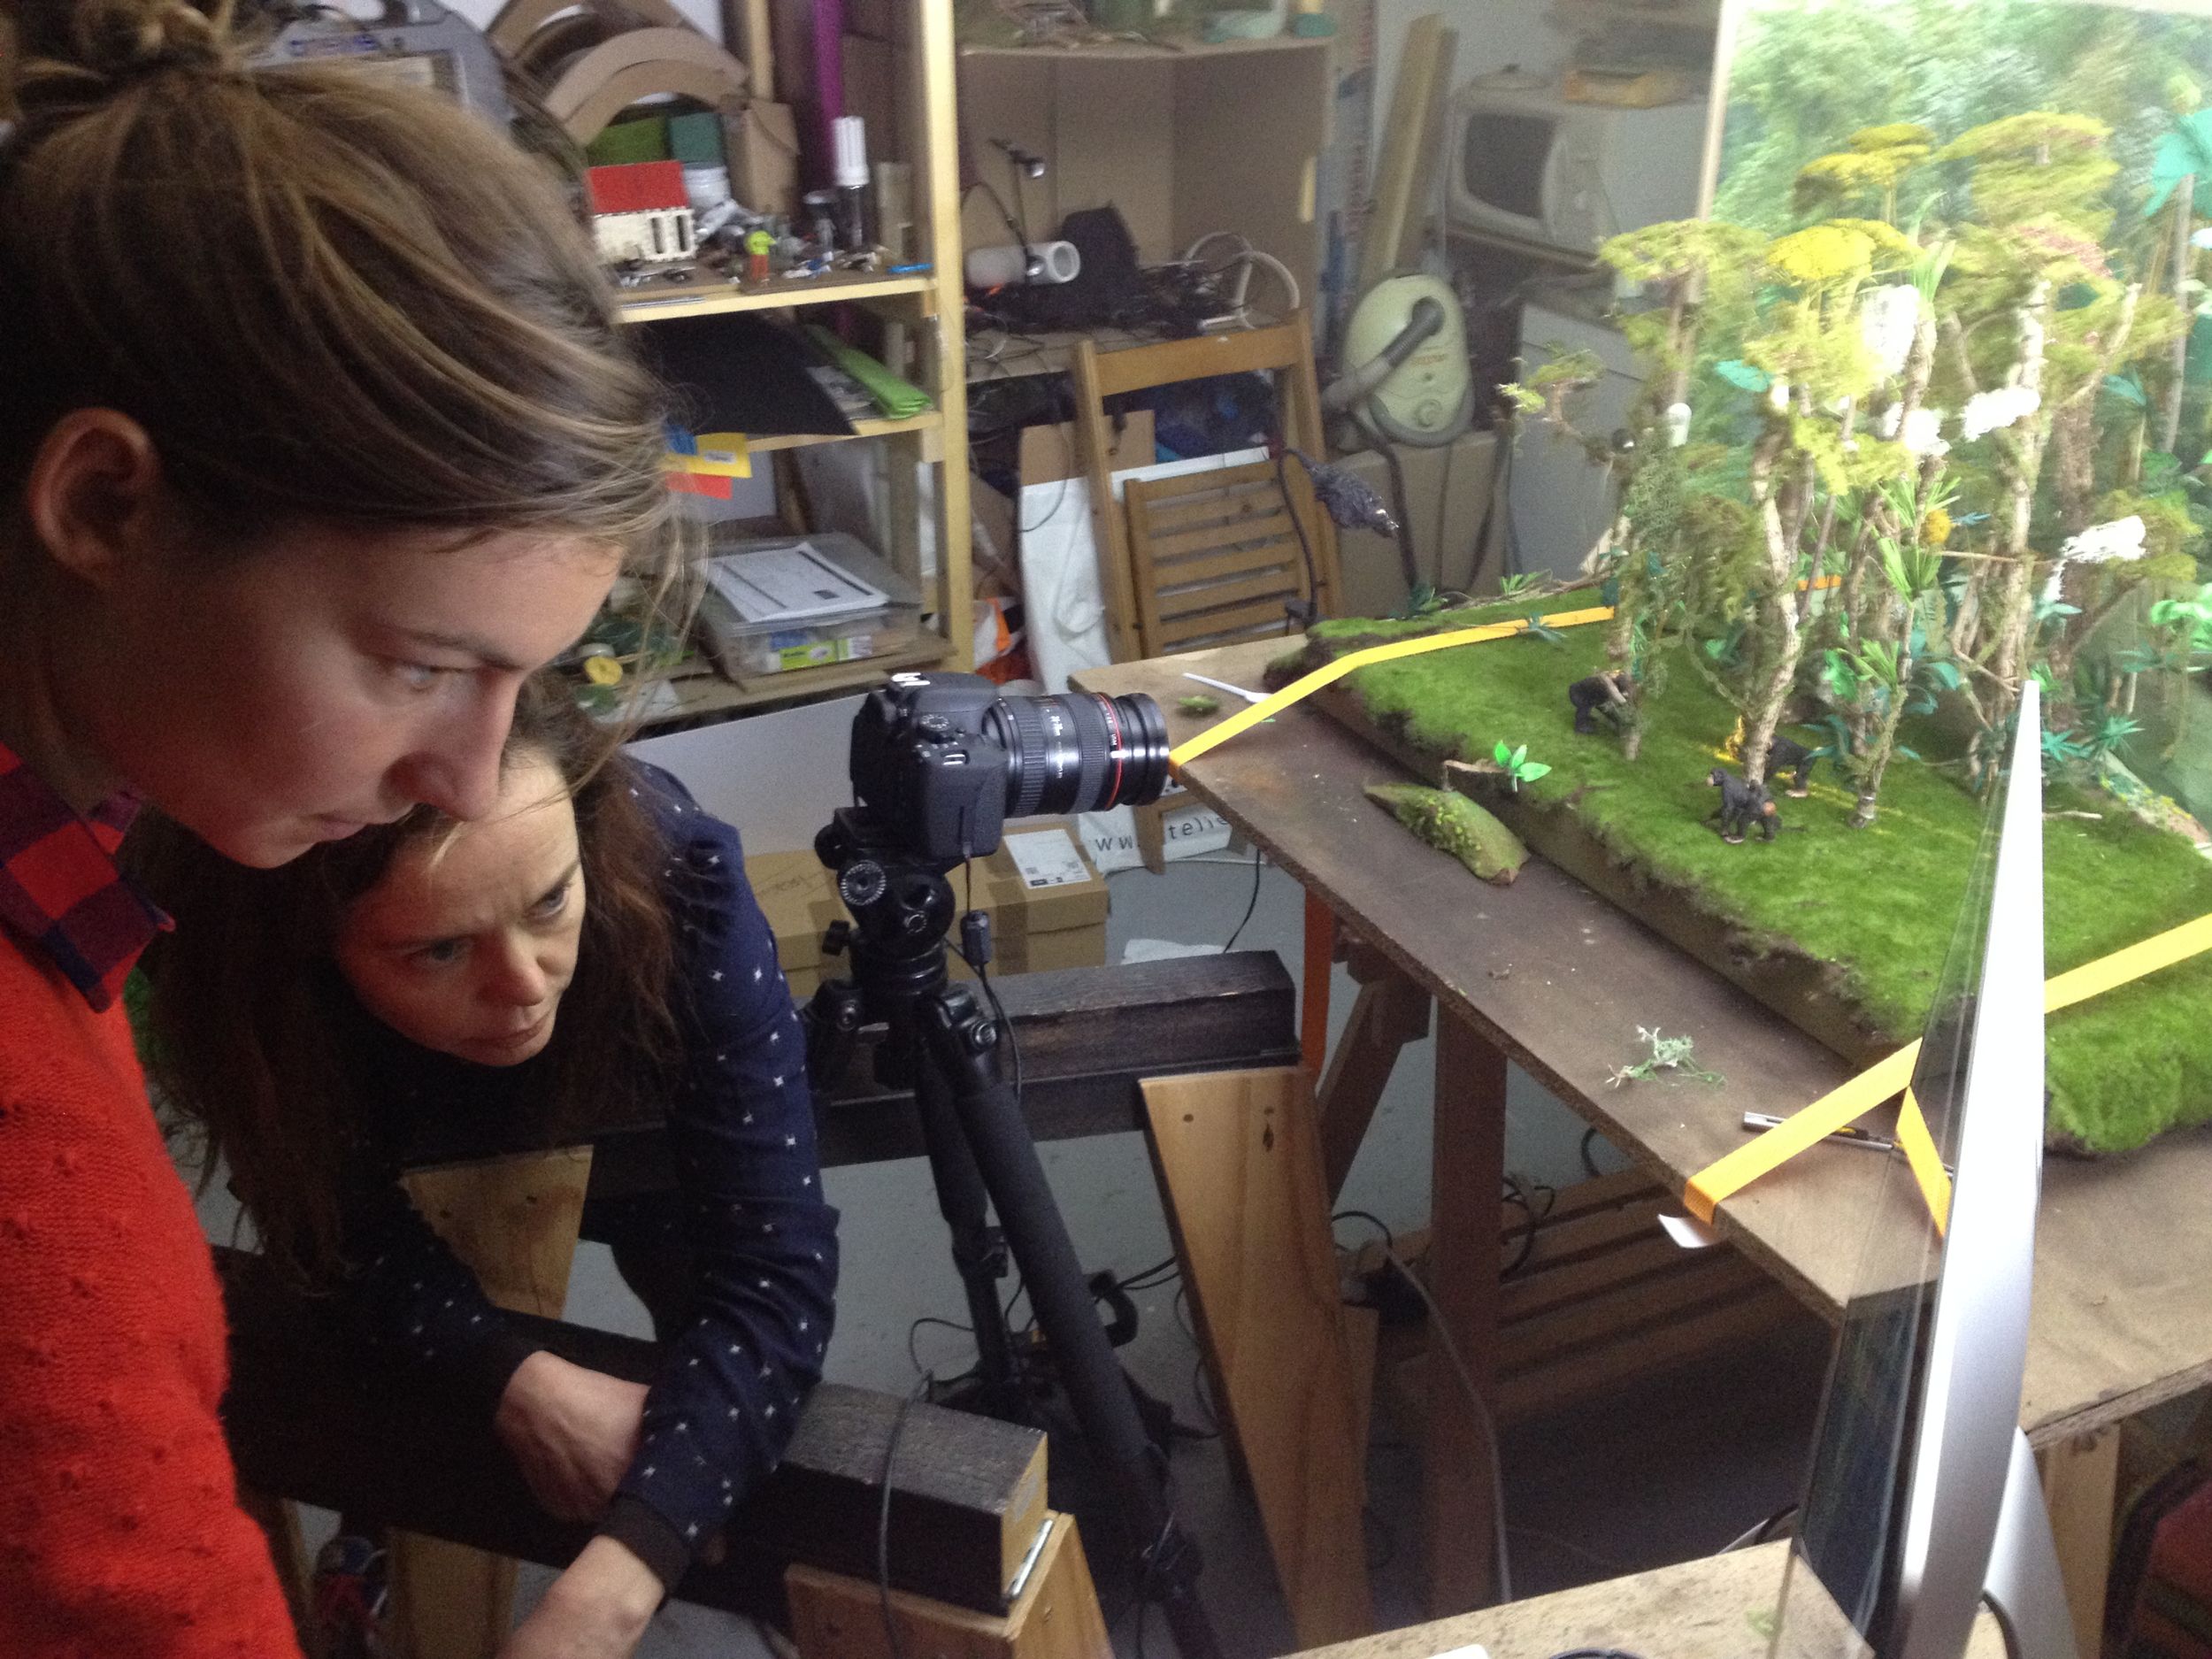
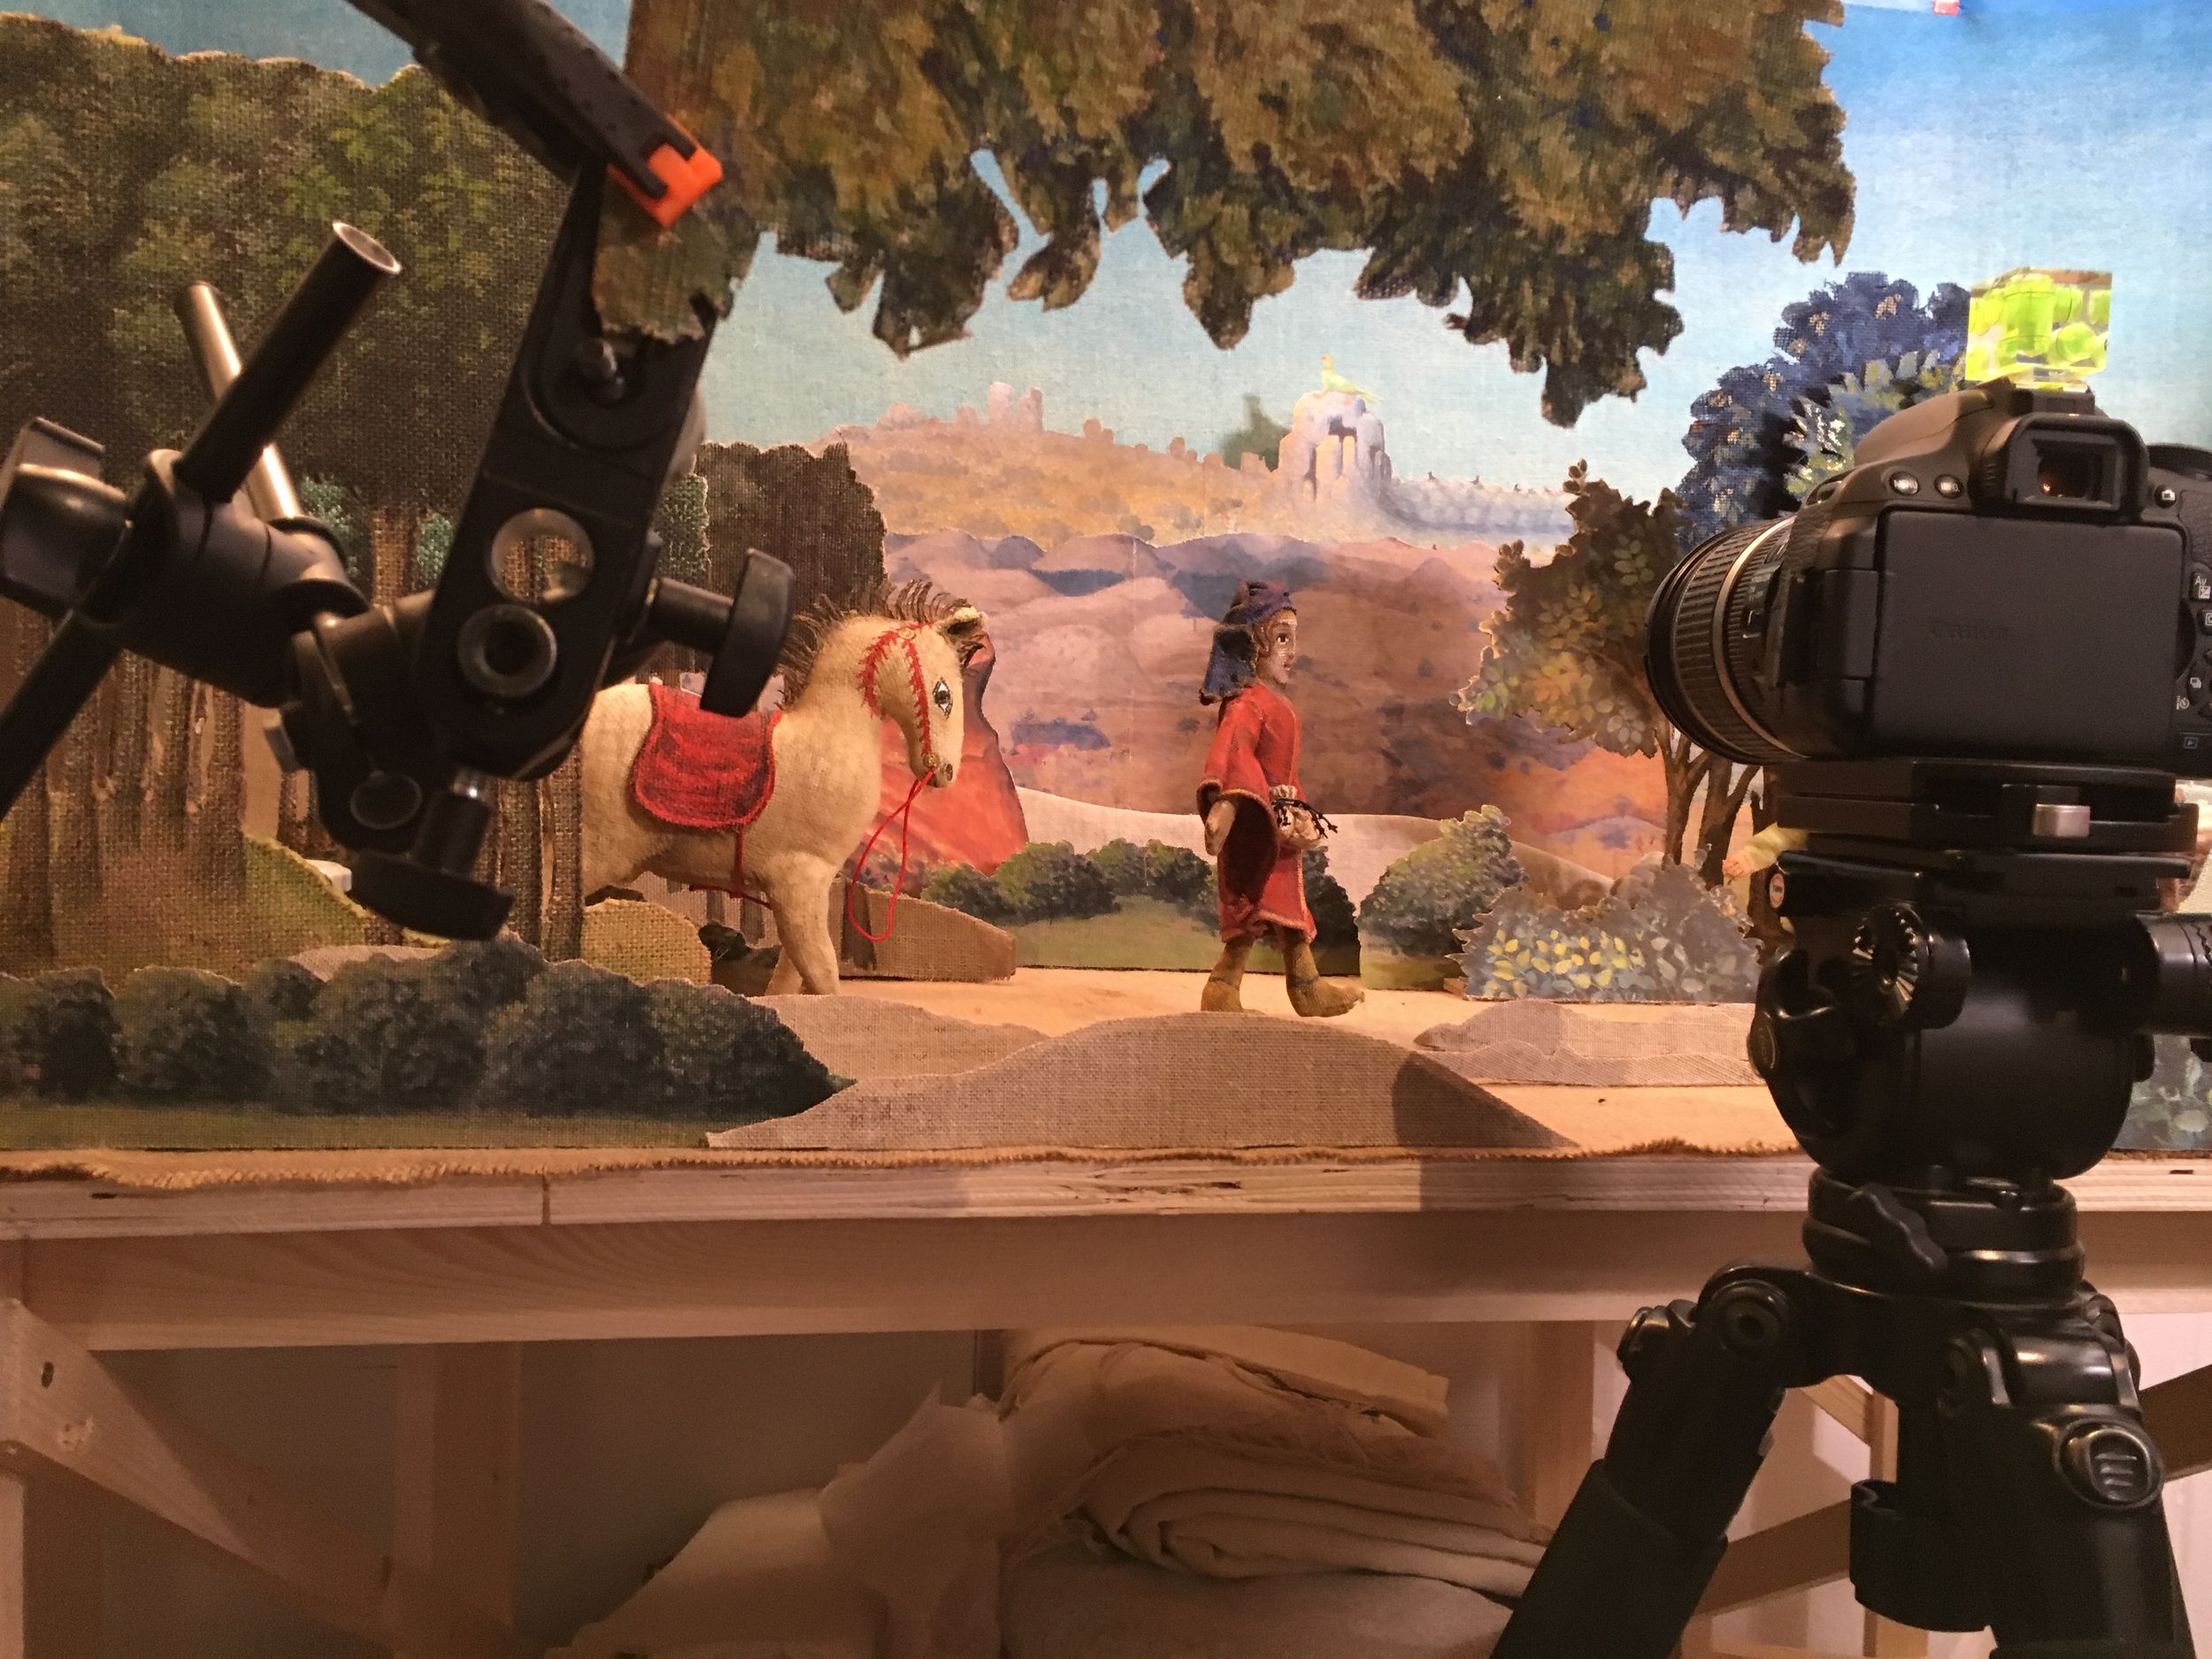
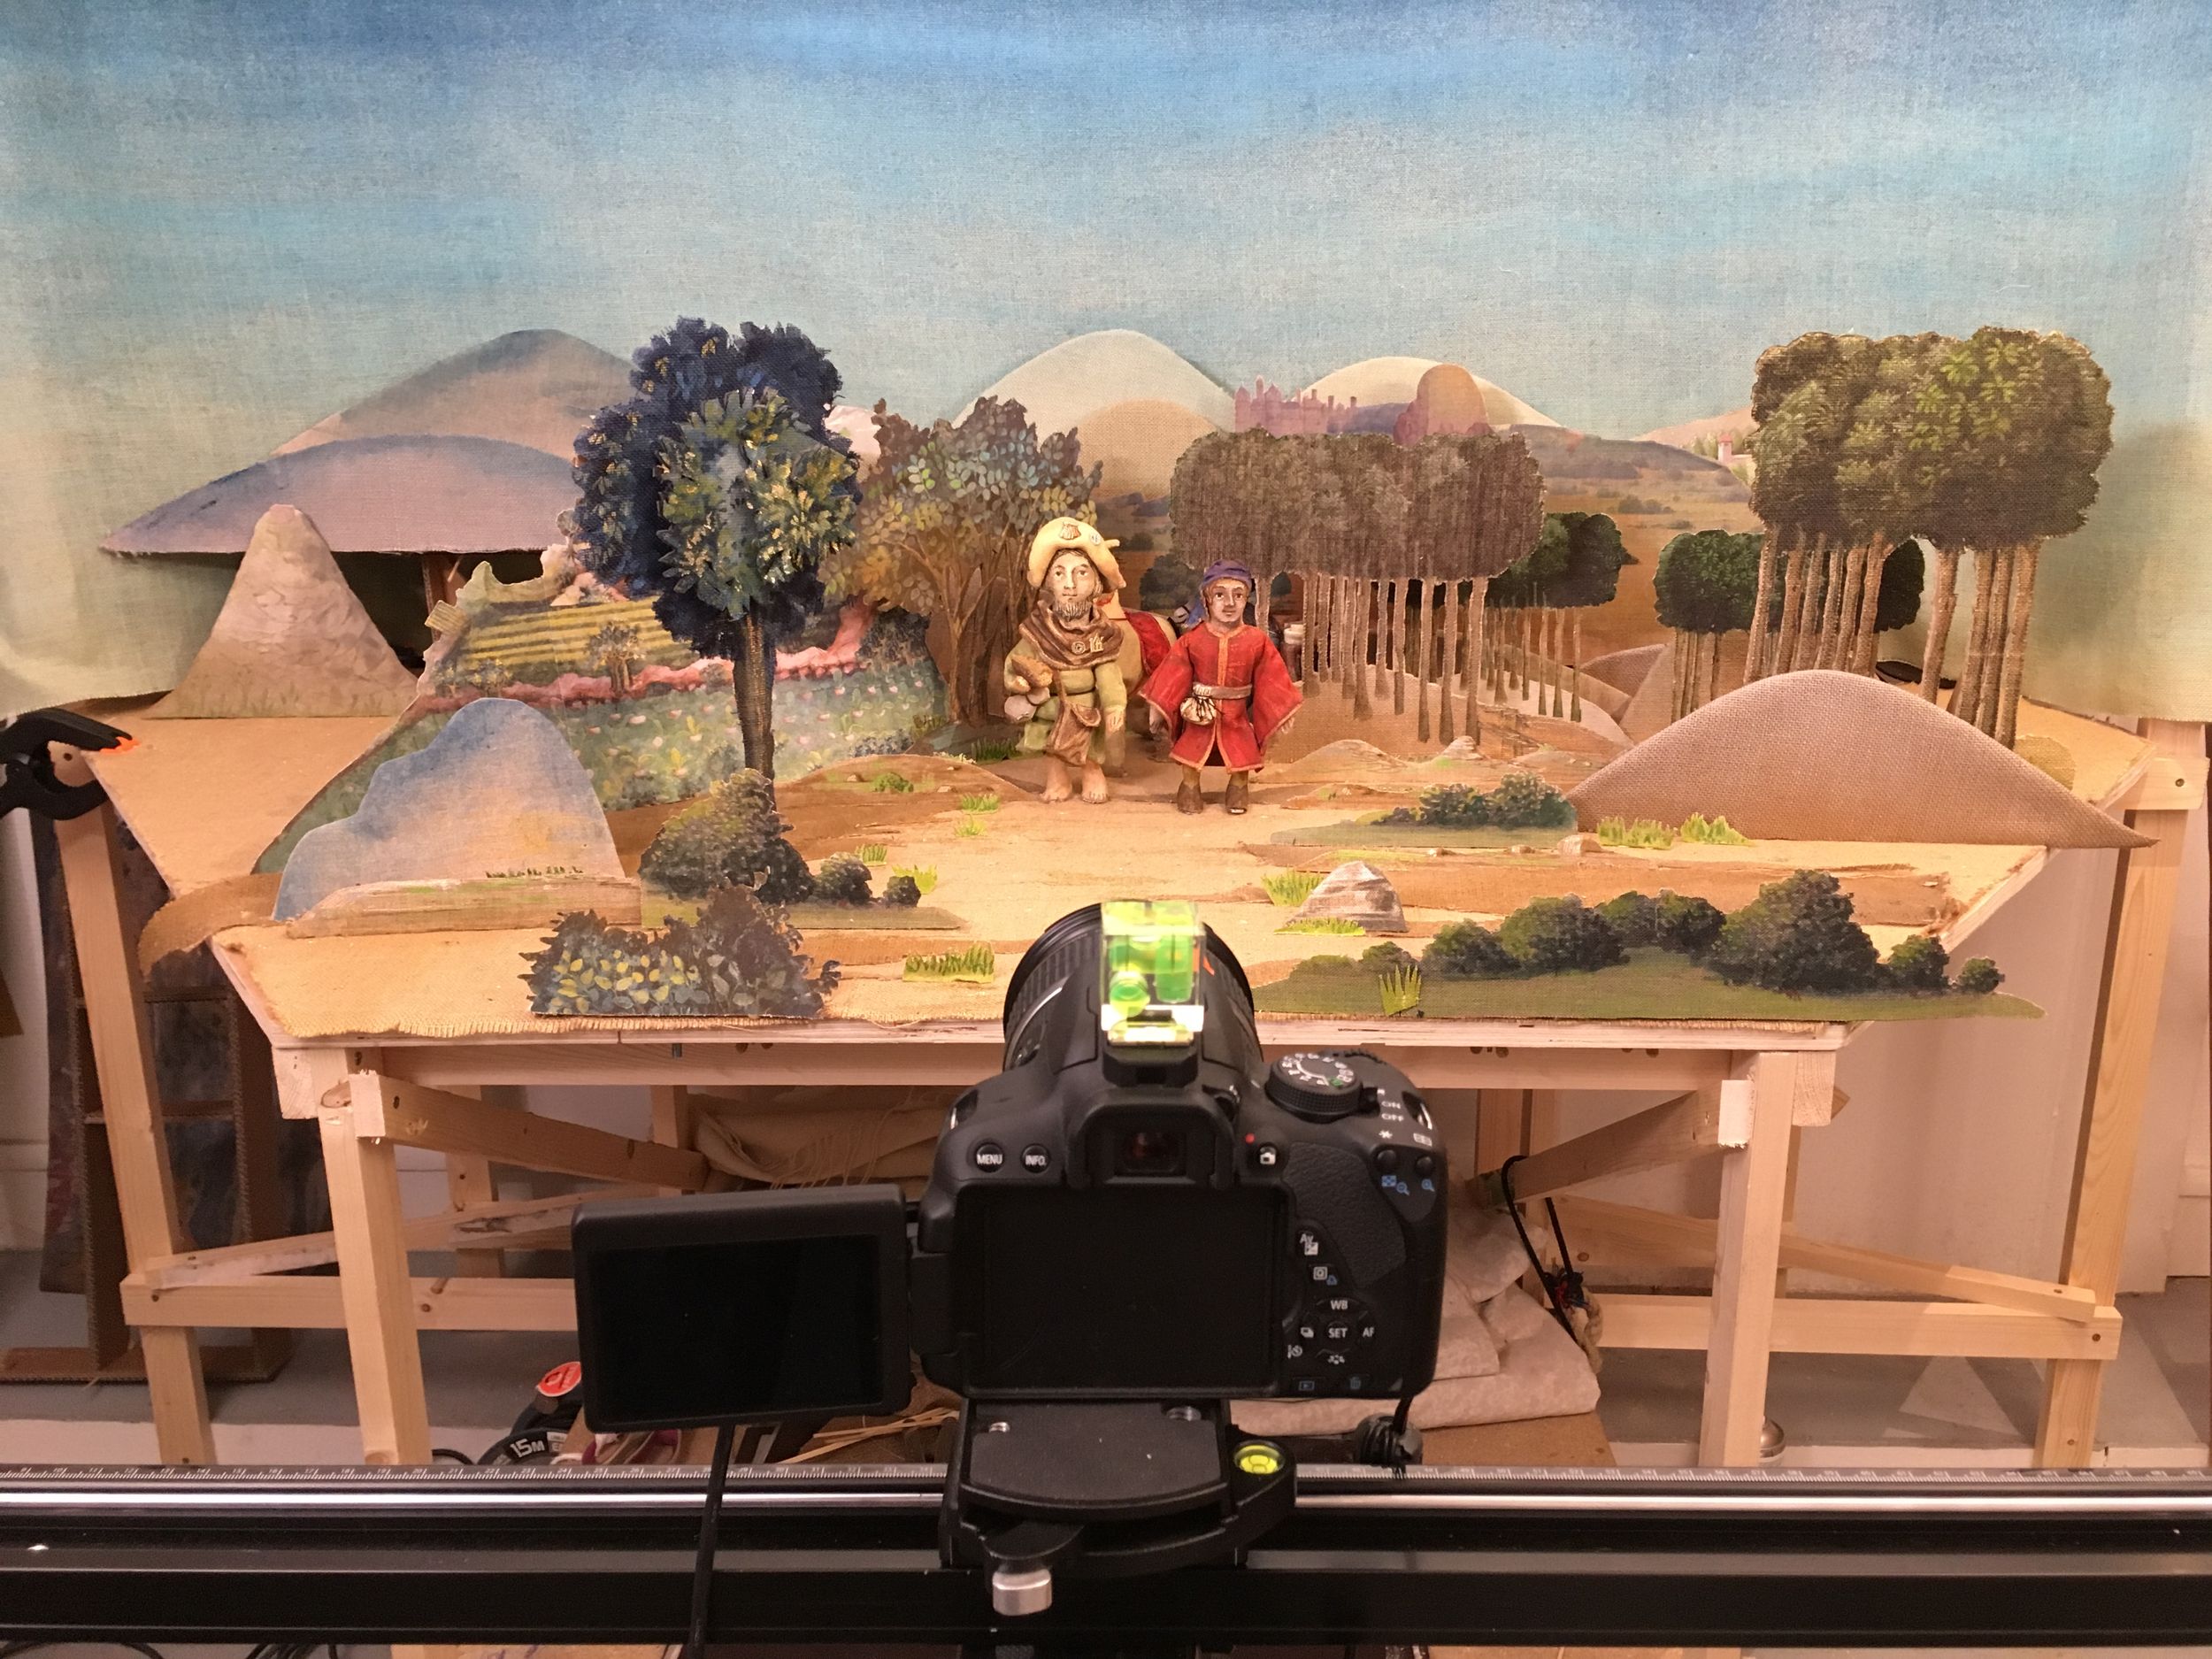
Presentation of tools: cameras, tripods, animation software (Dragonframe), lighting and accessories
Afternoon
Animation basics: explanation of frame rate, introduction to storyboards and scriptwriting
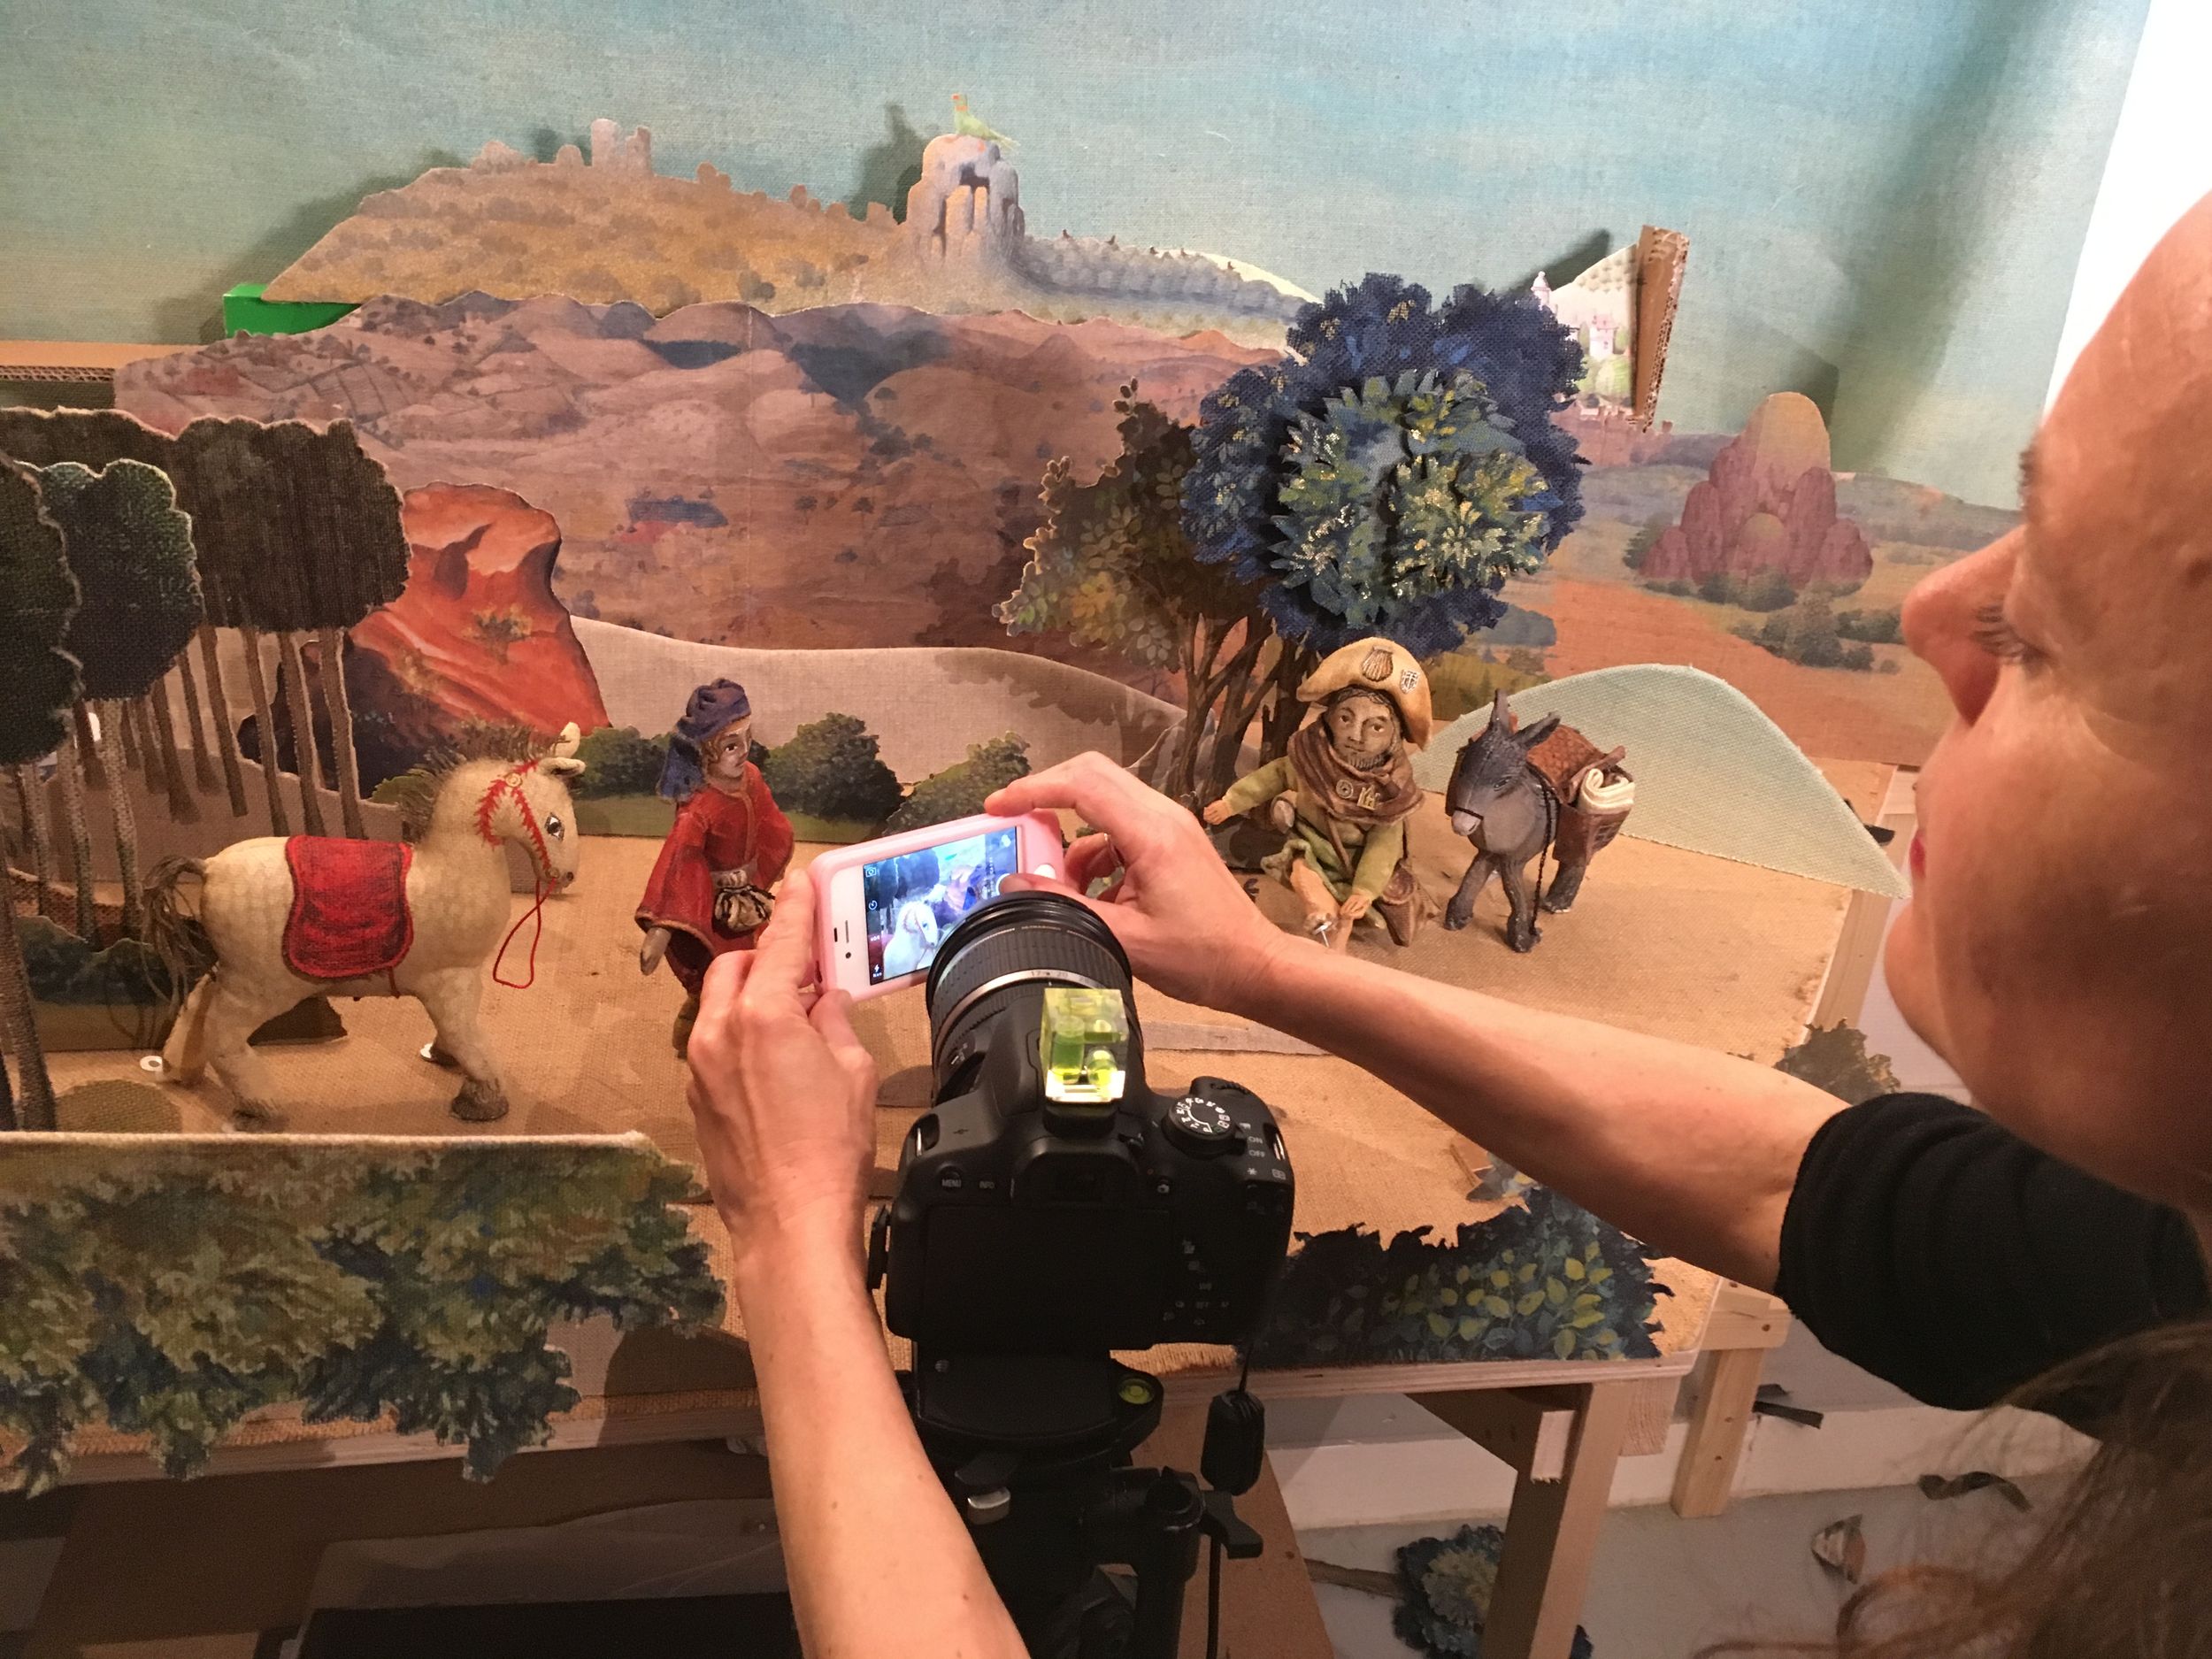
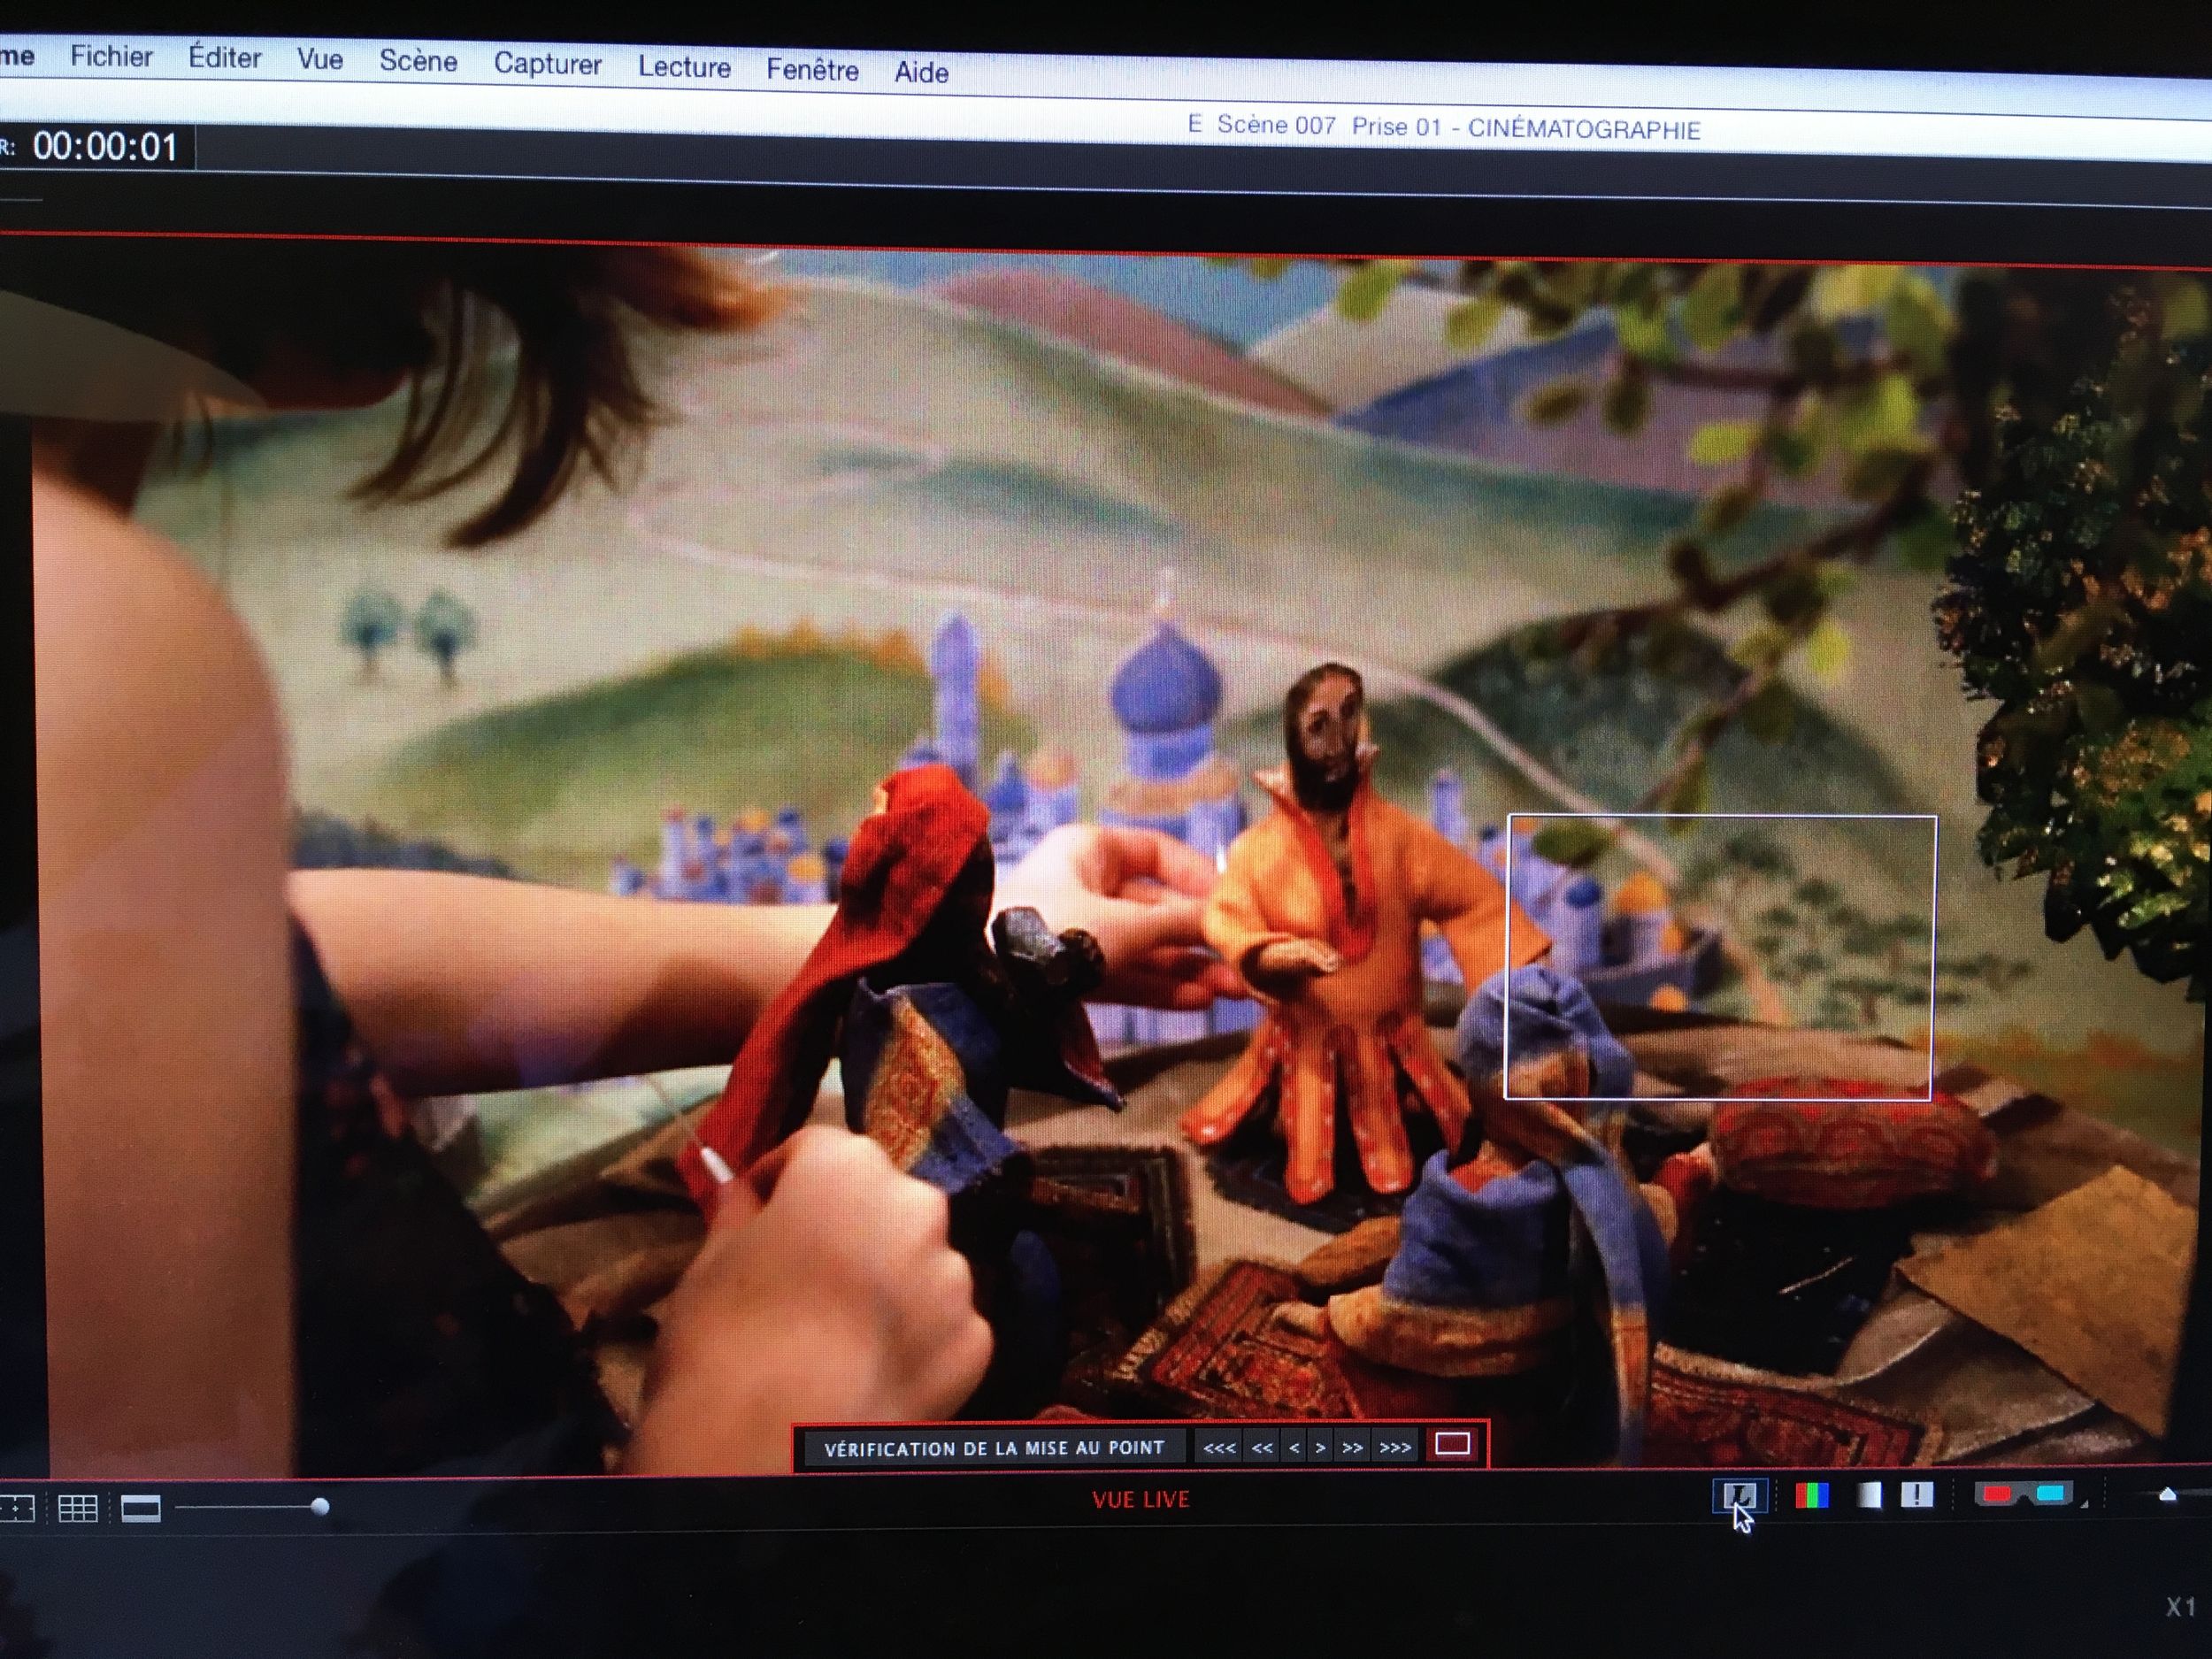
Practical exercise: taking photos and first tests on angles, camera movements, and lighting
Day 2: Choosing Characters and Sets
Morning
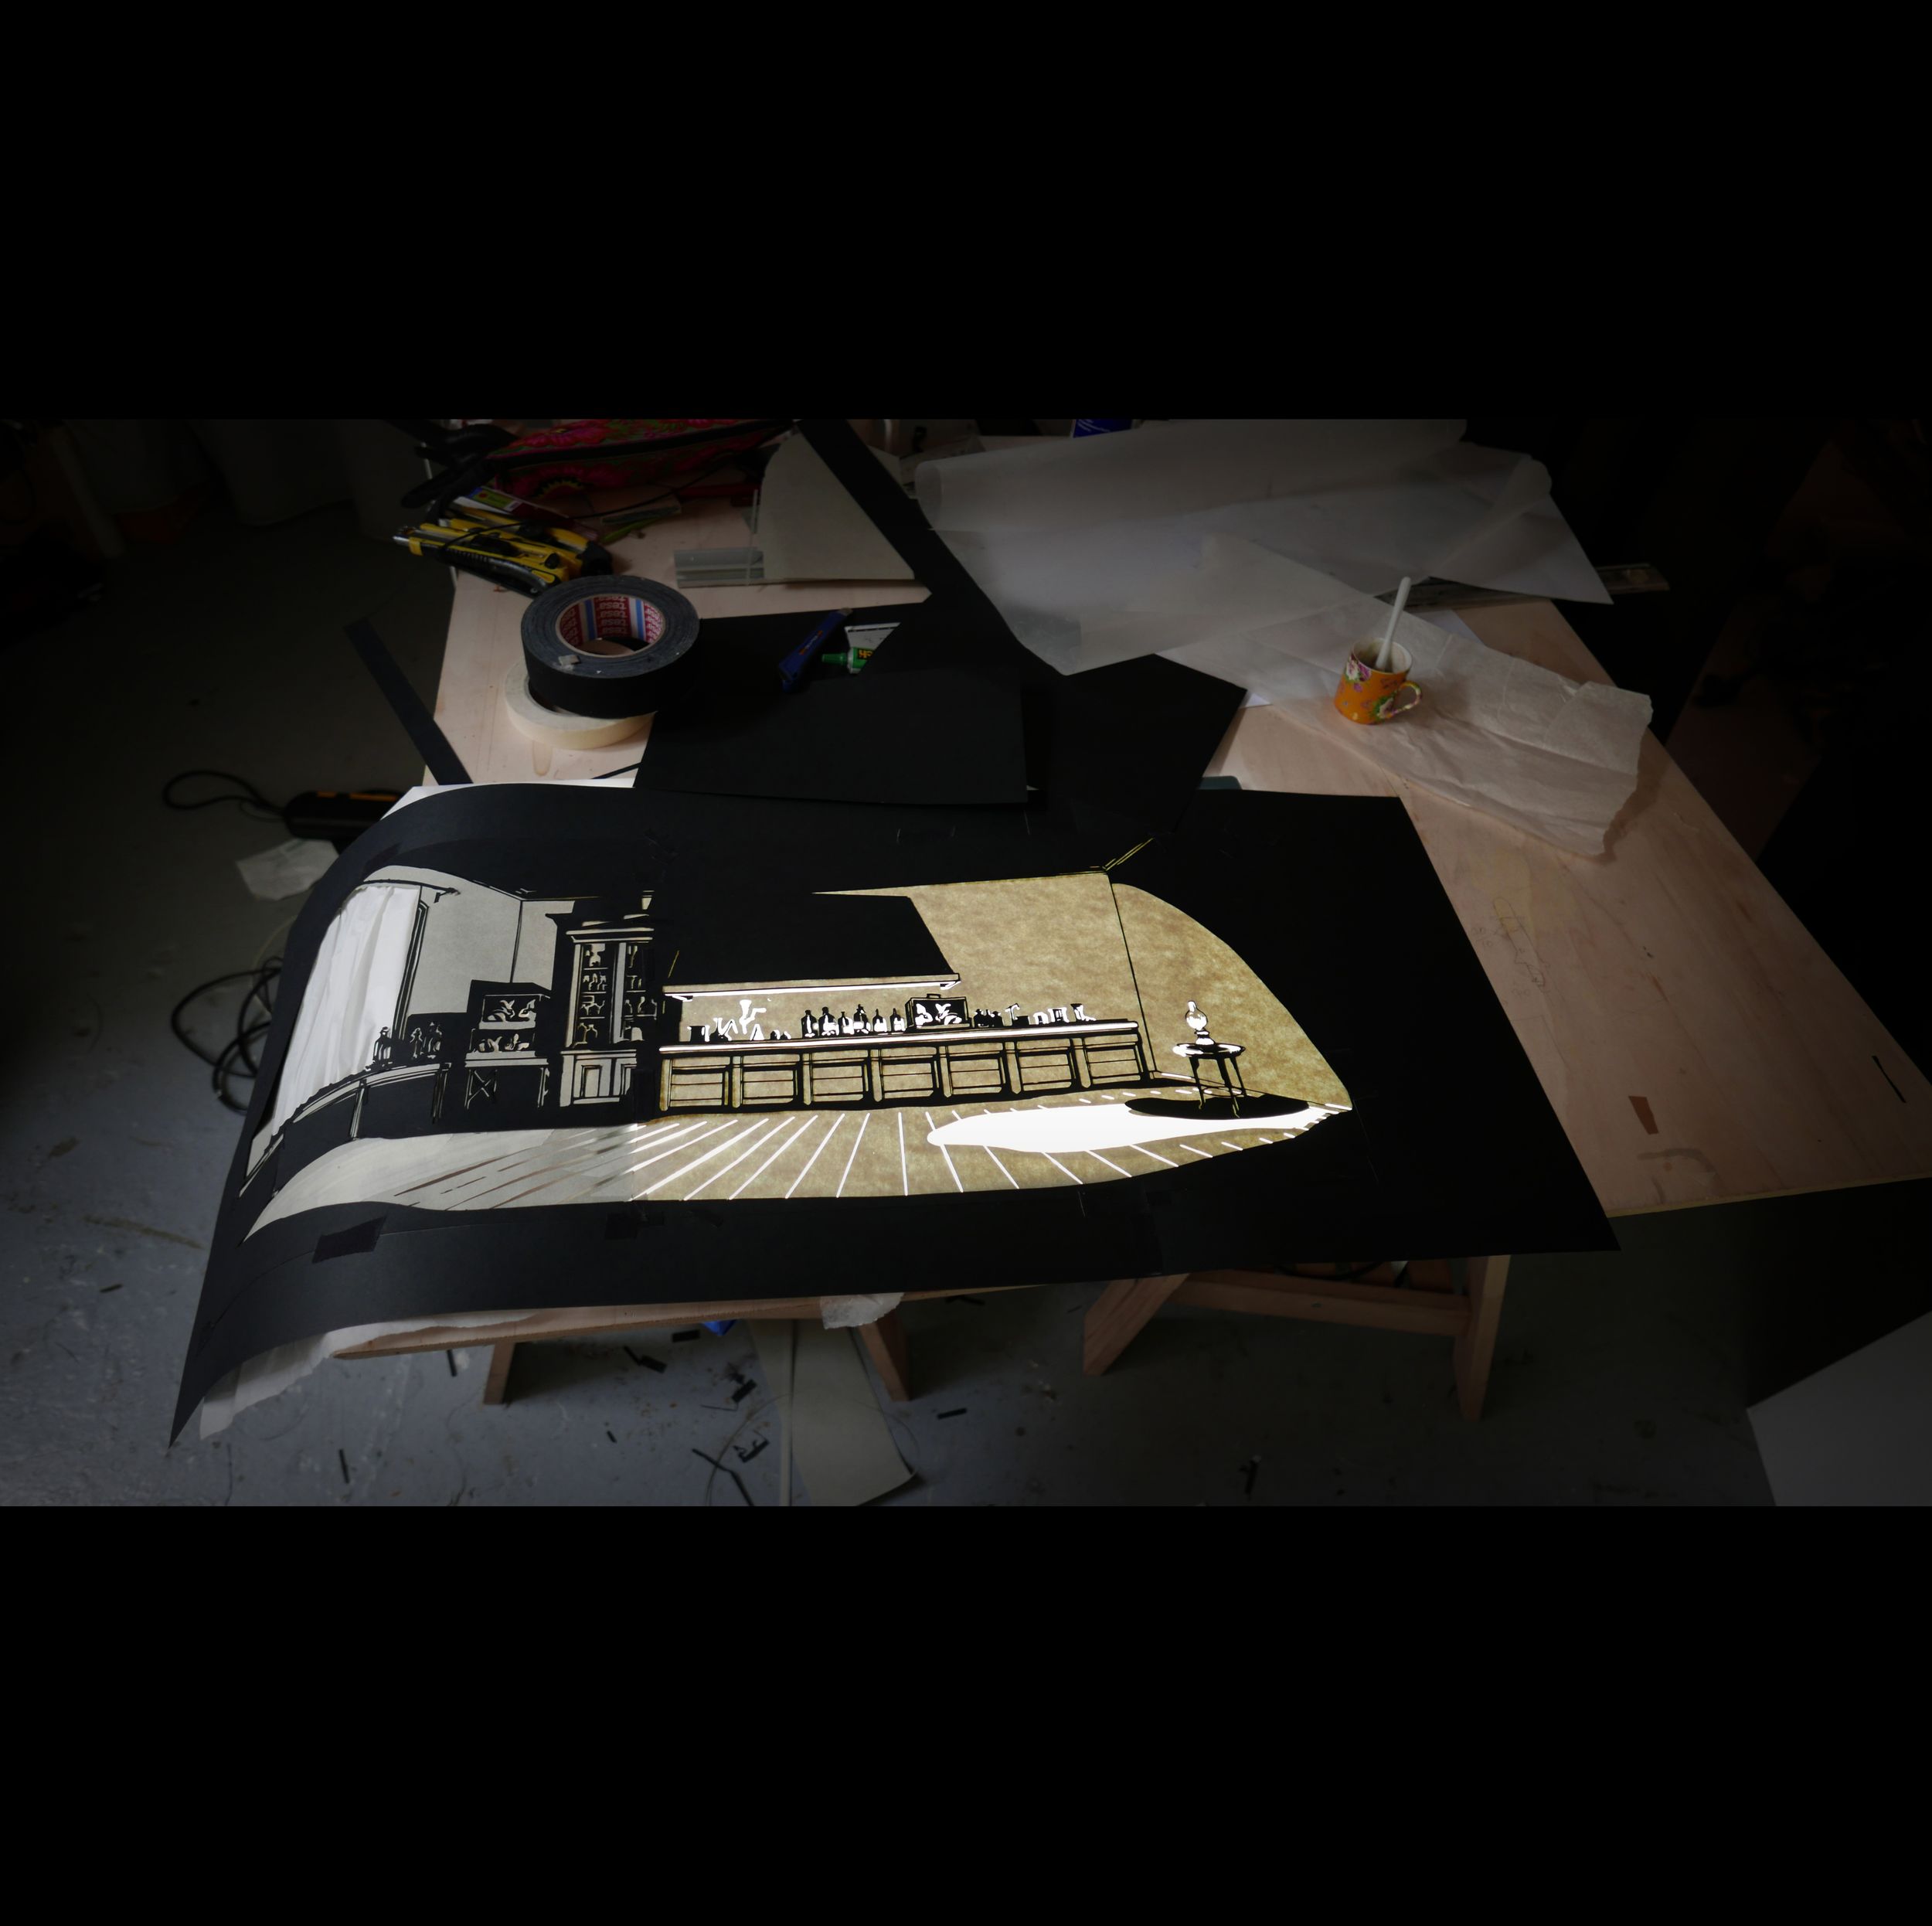
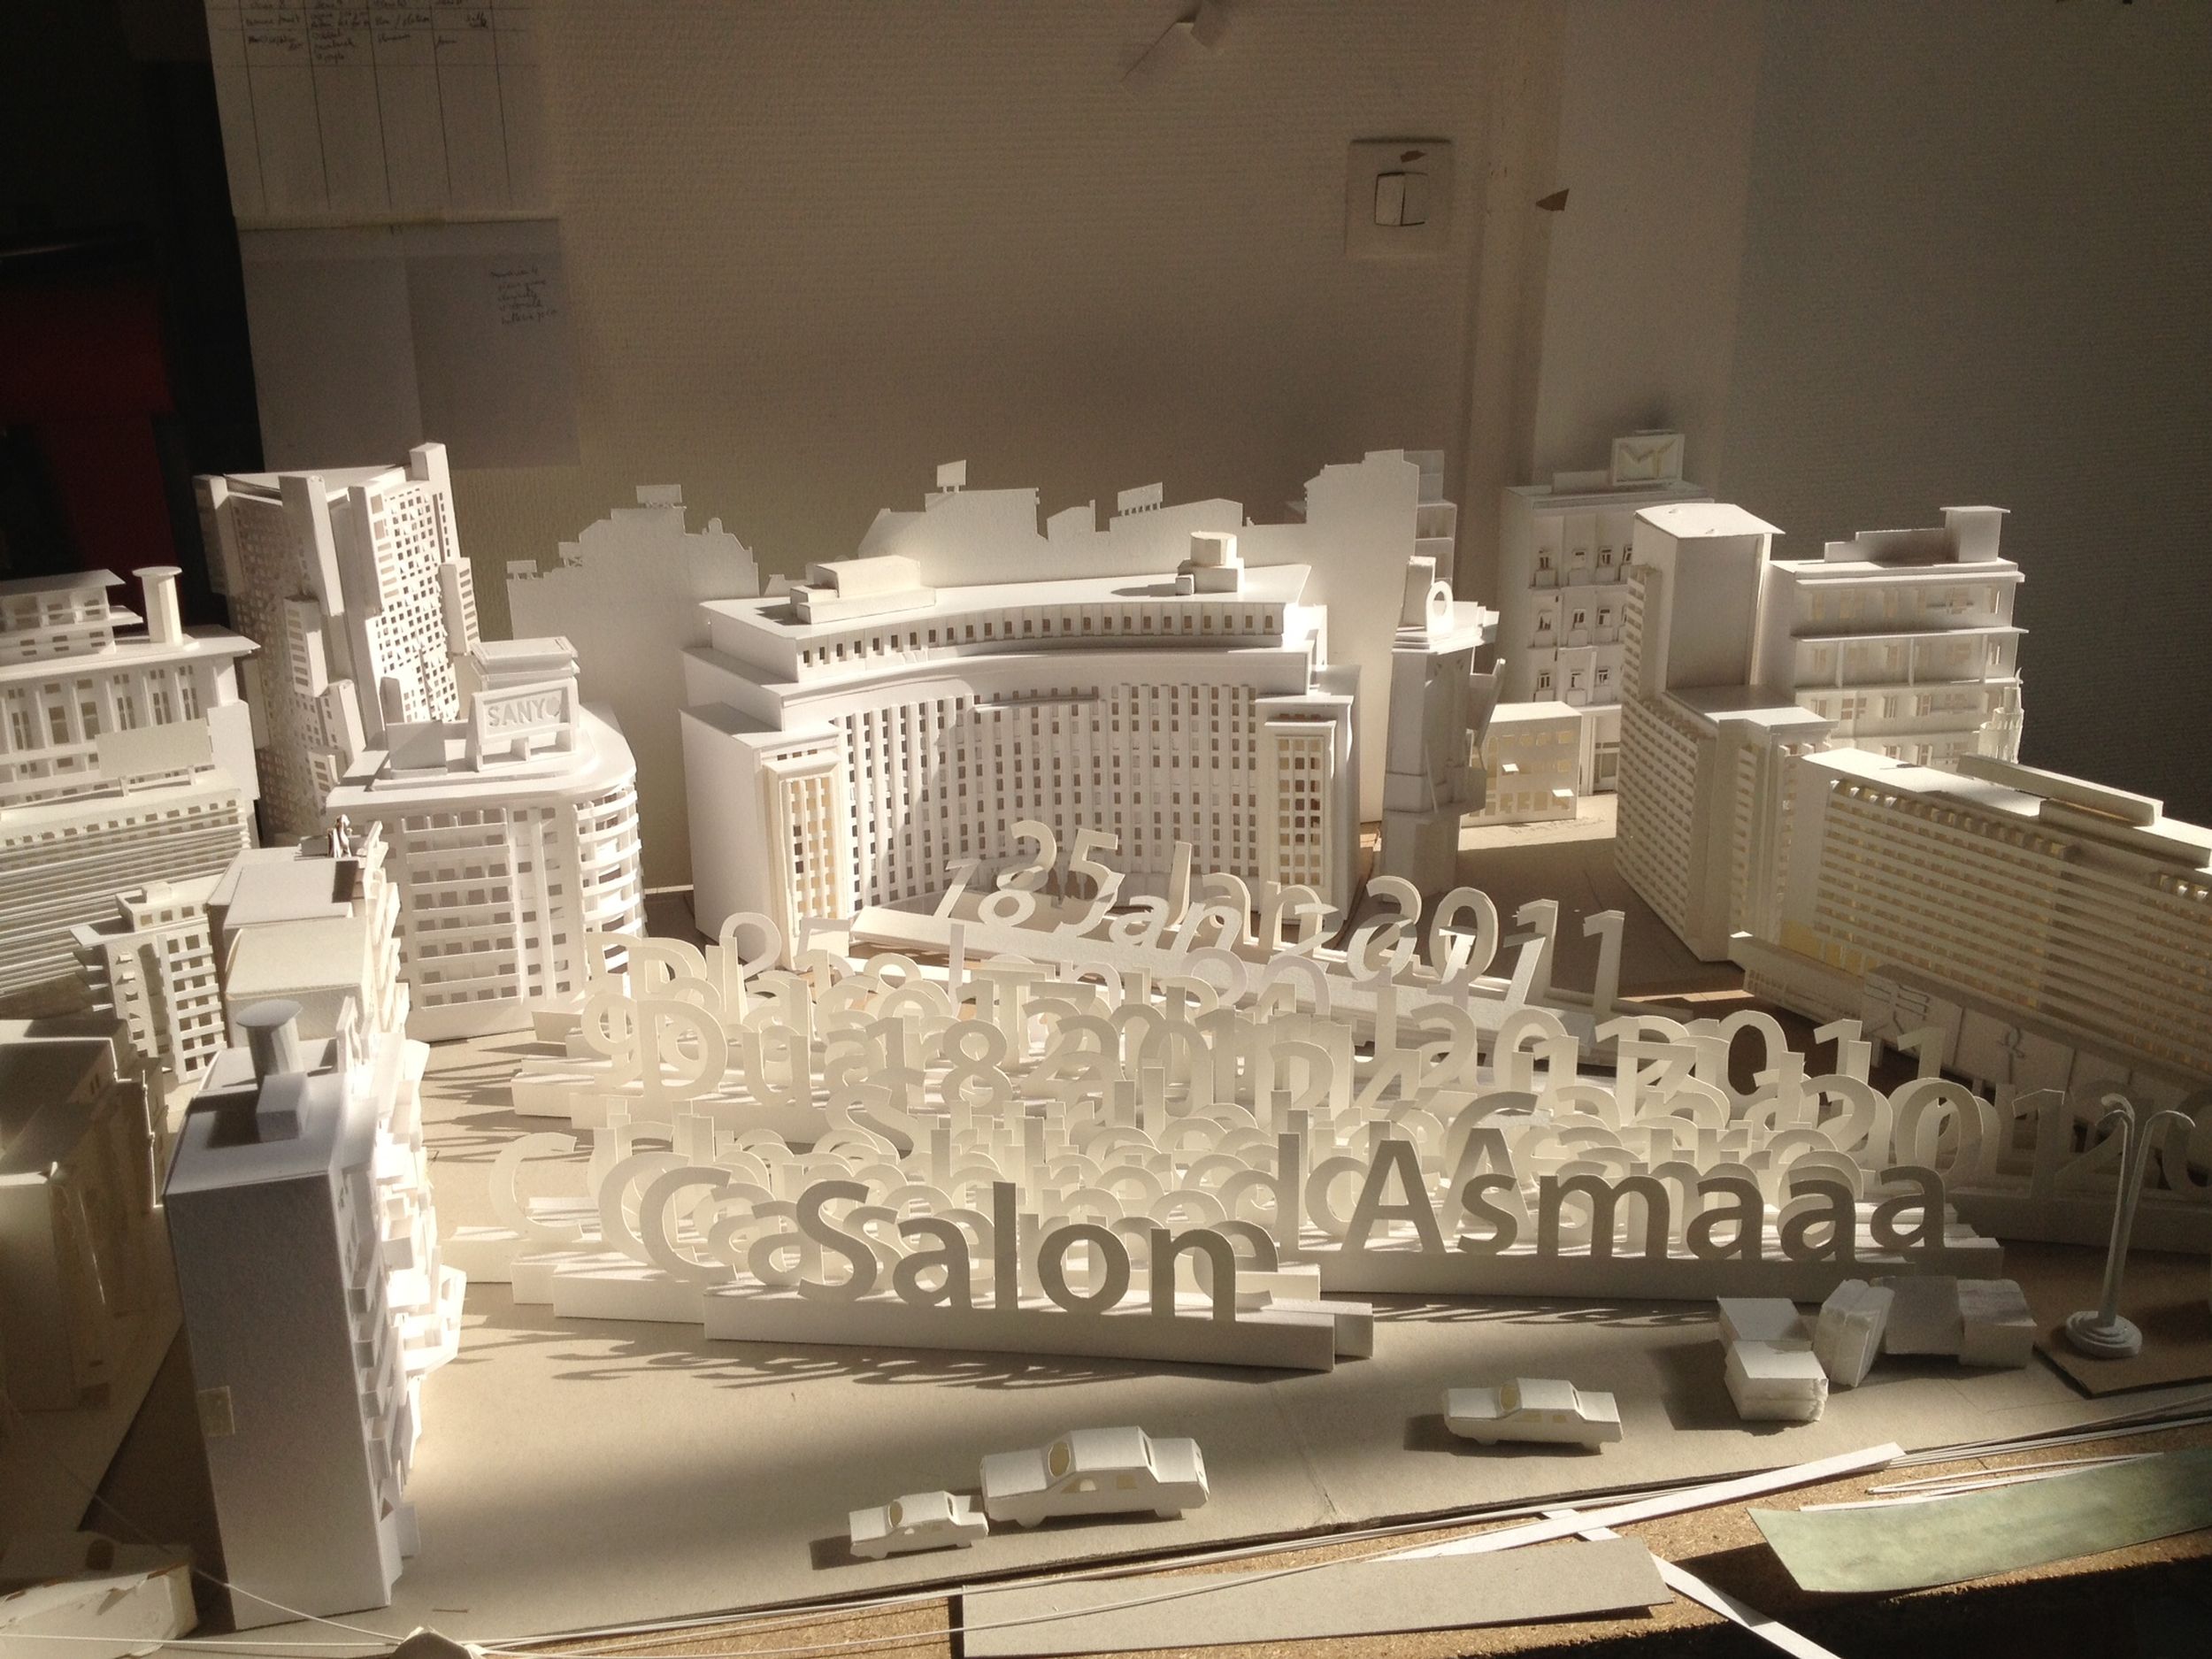
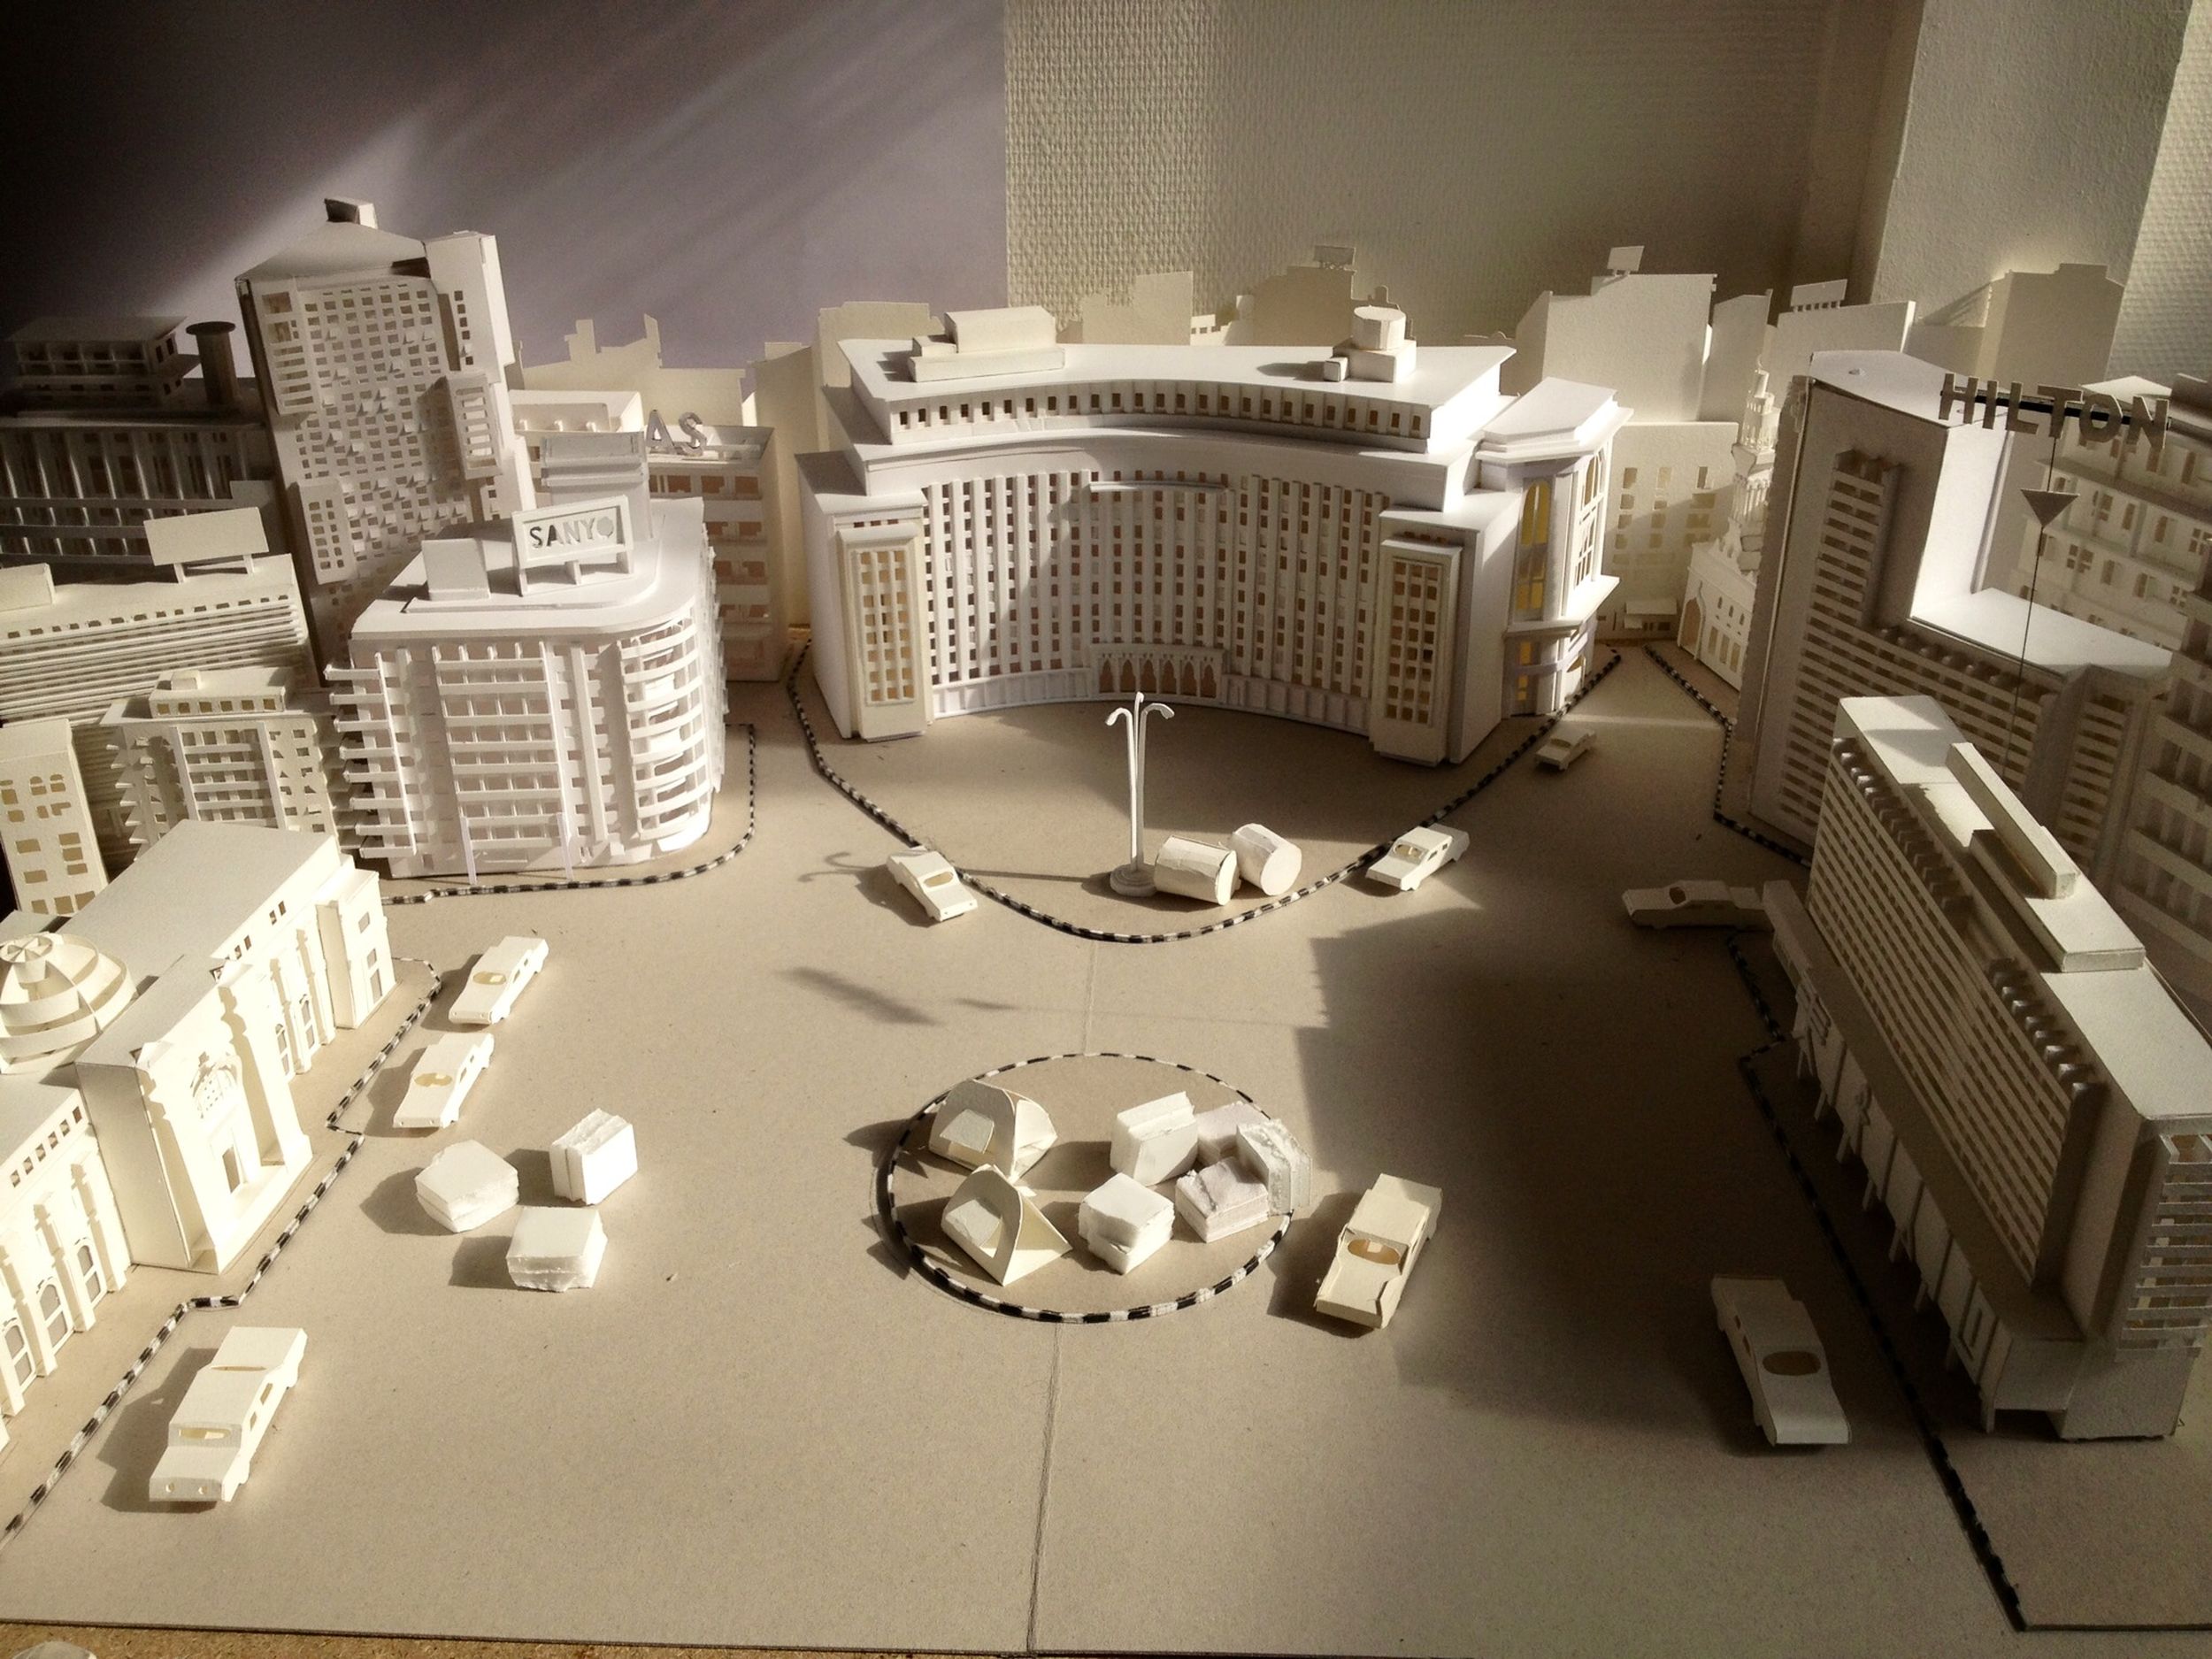
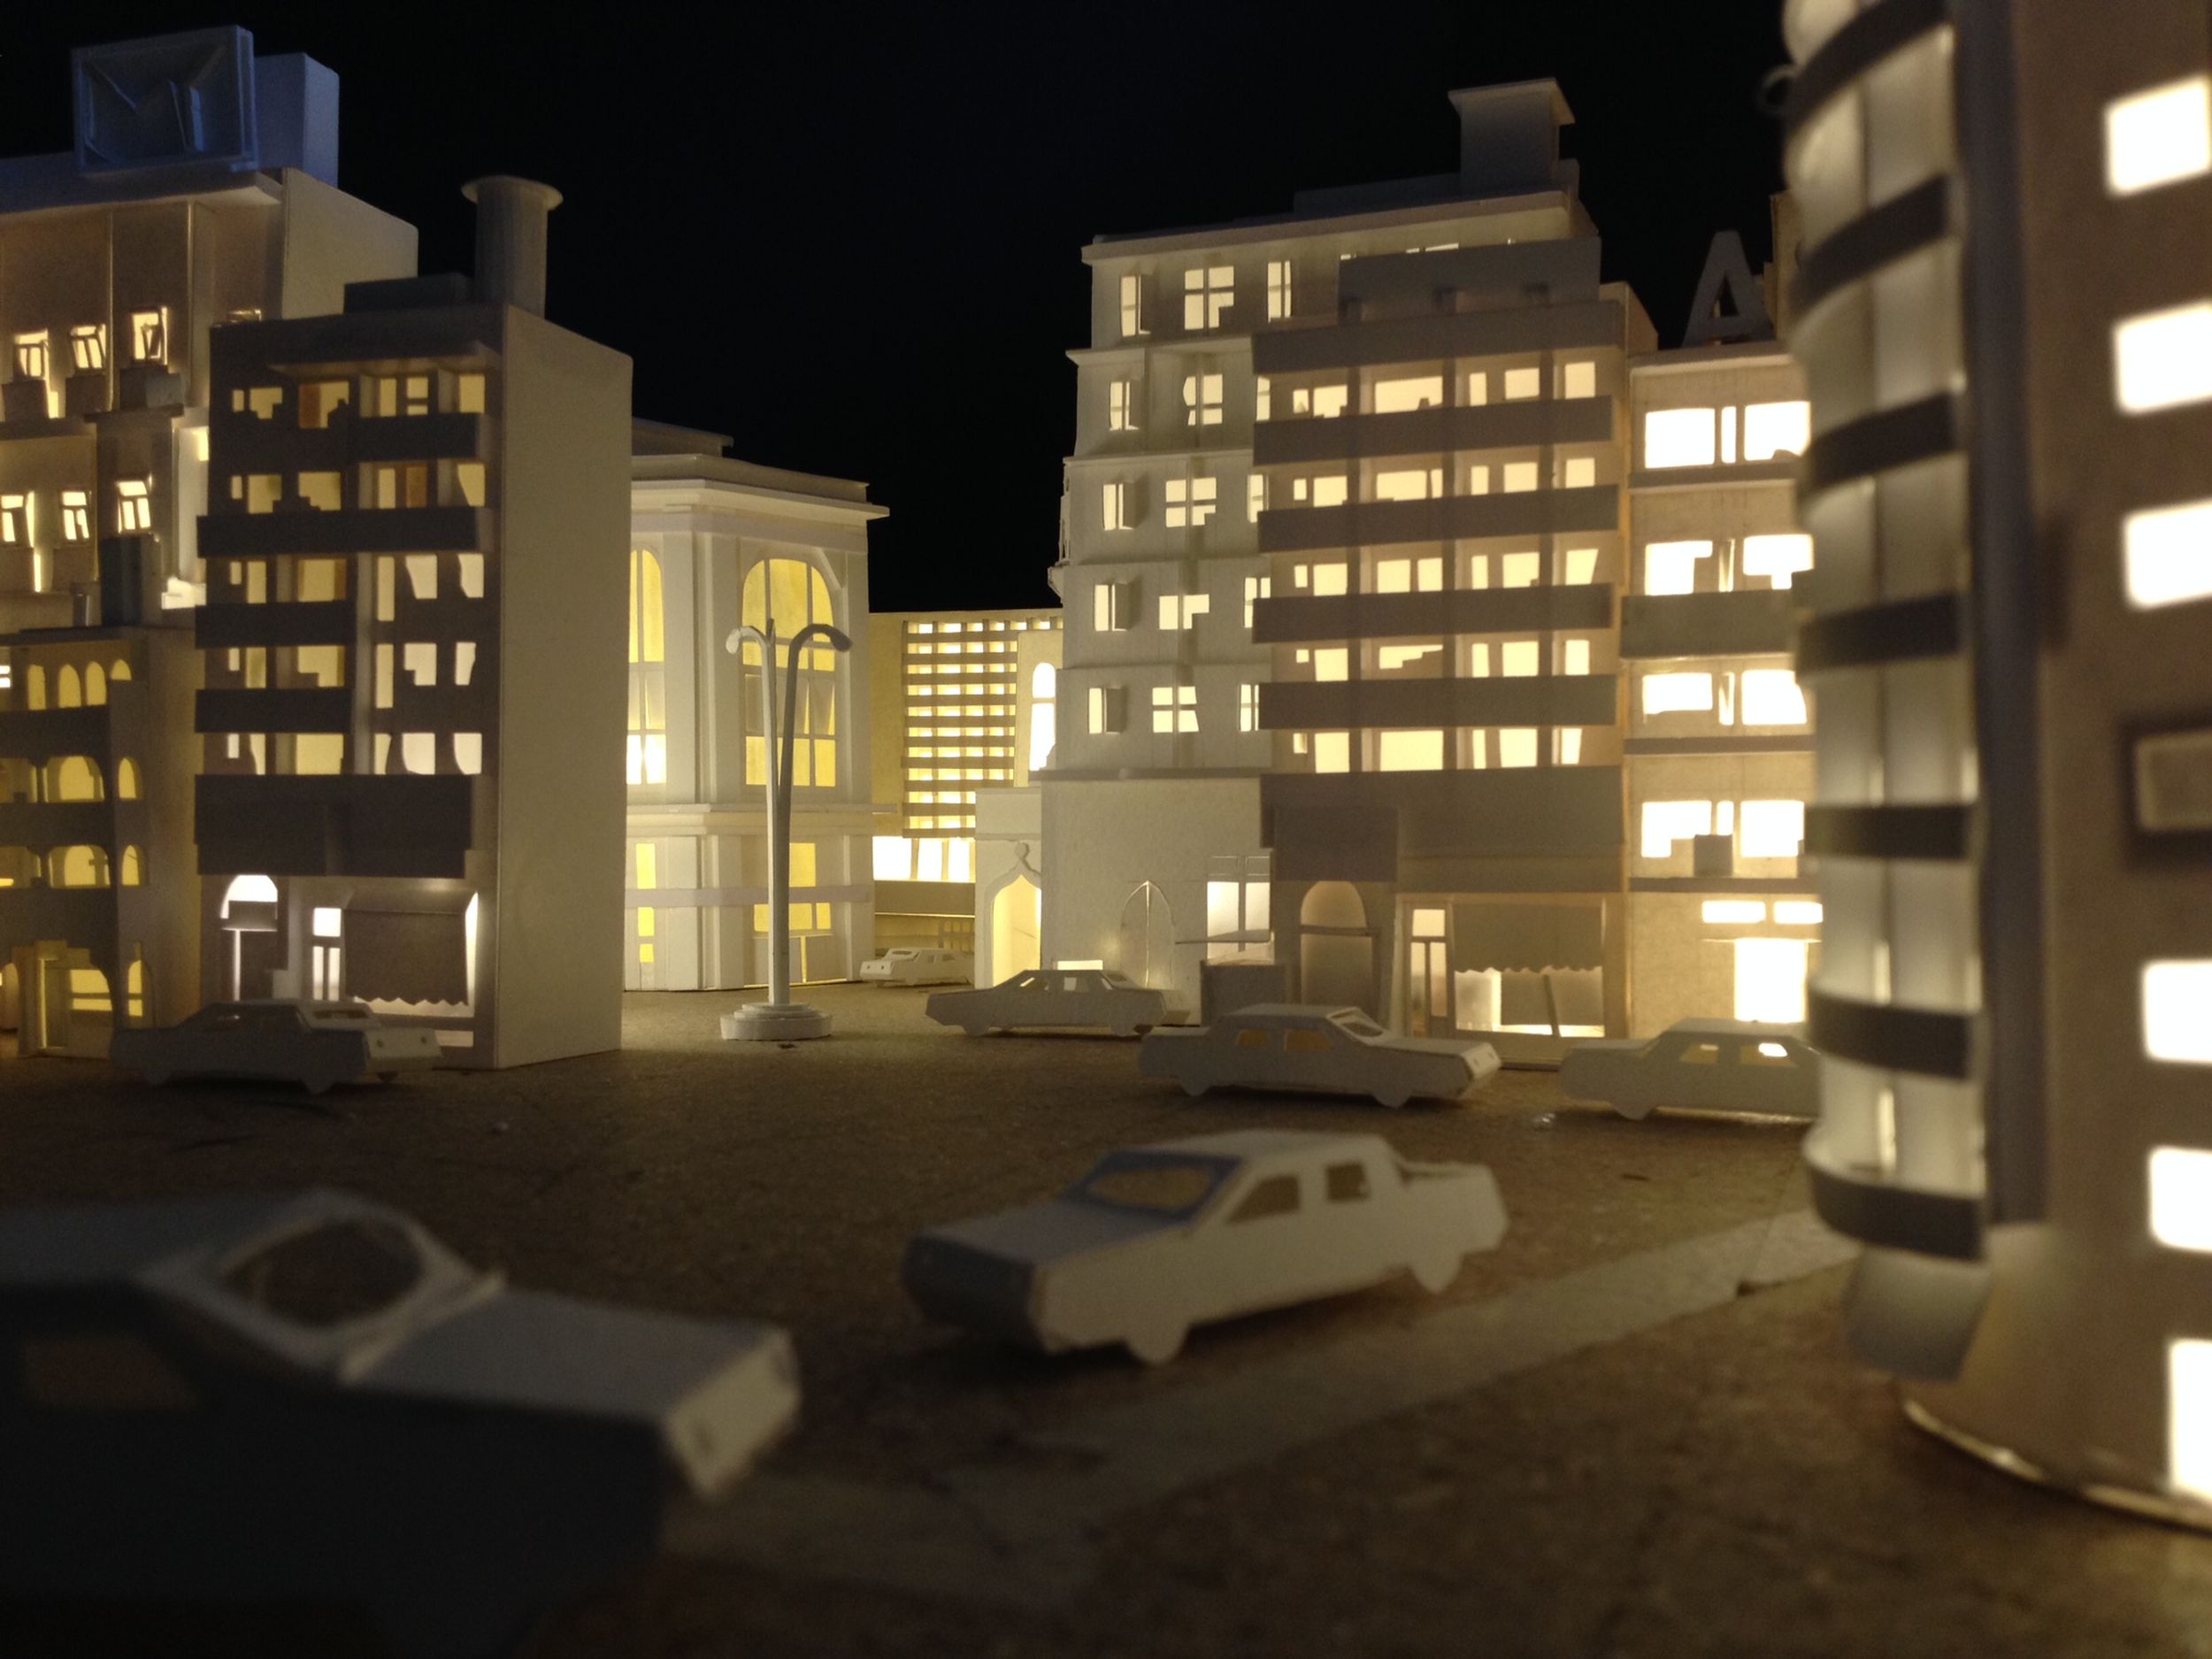
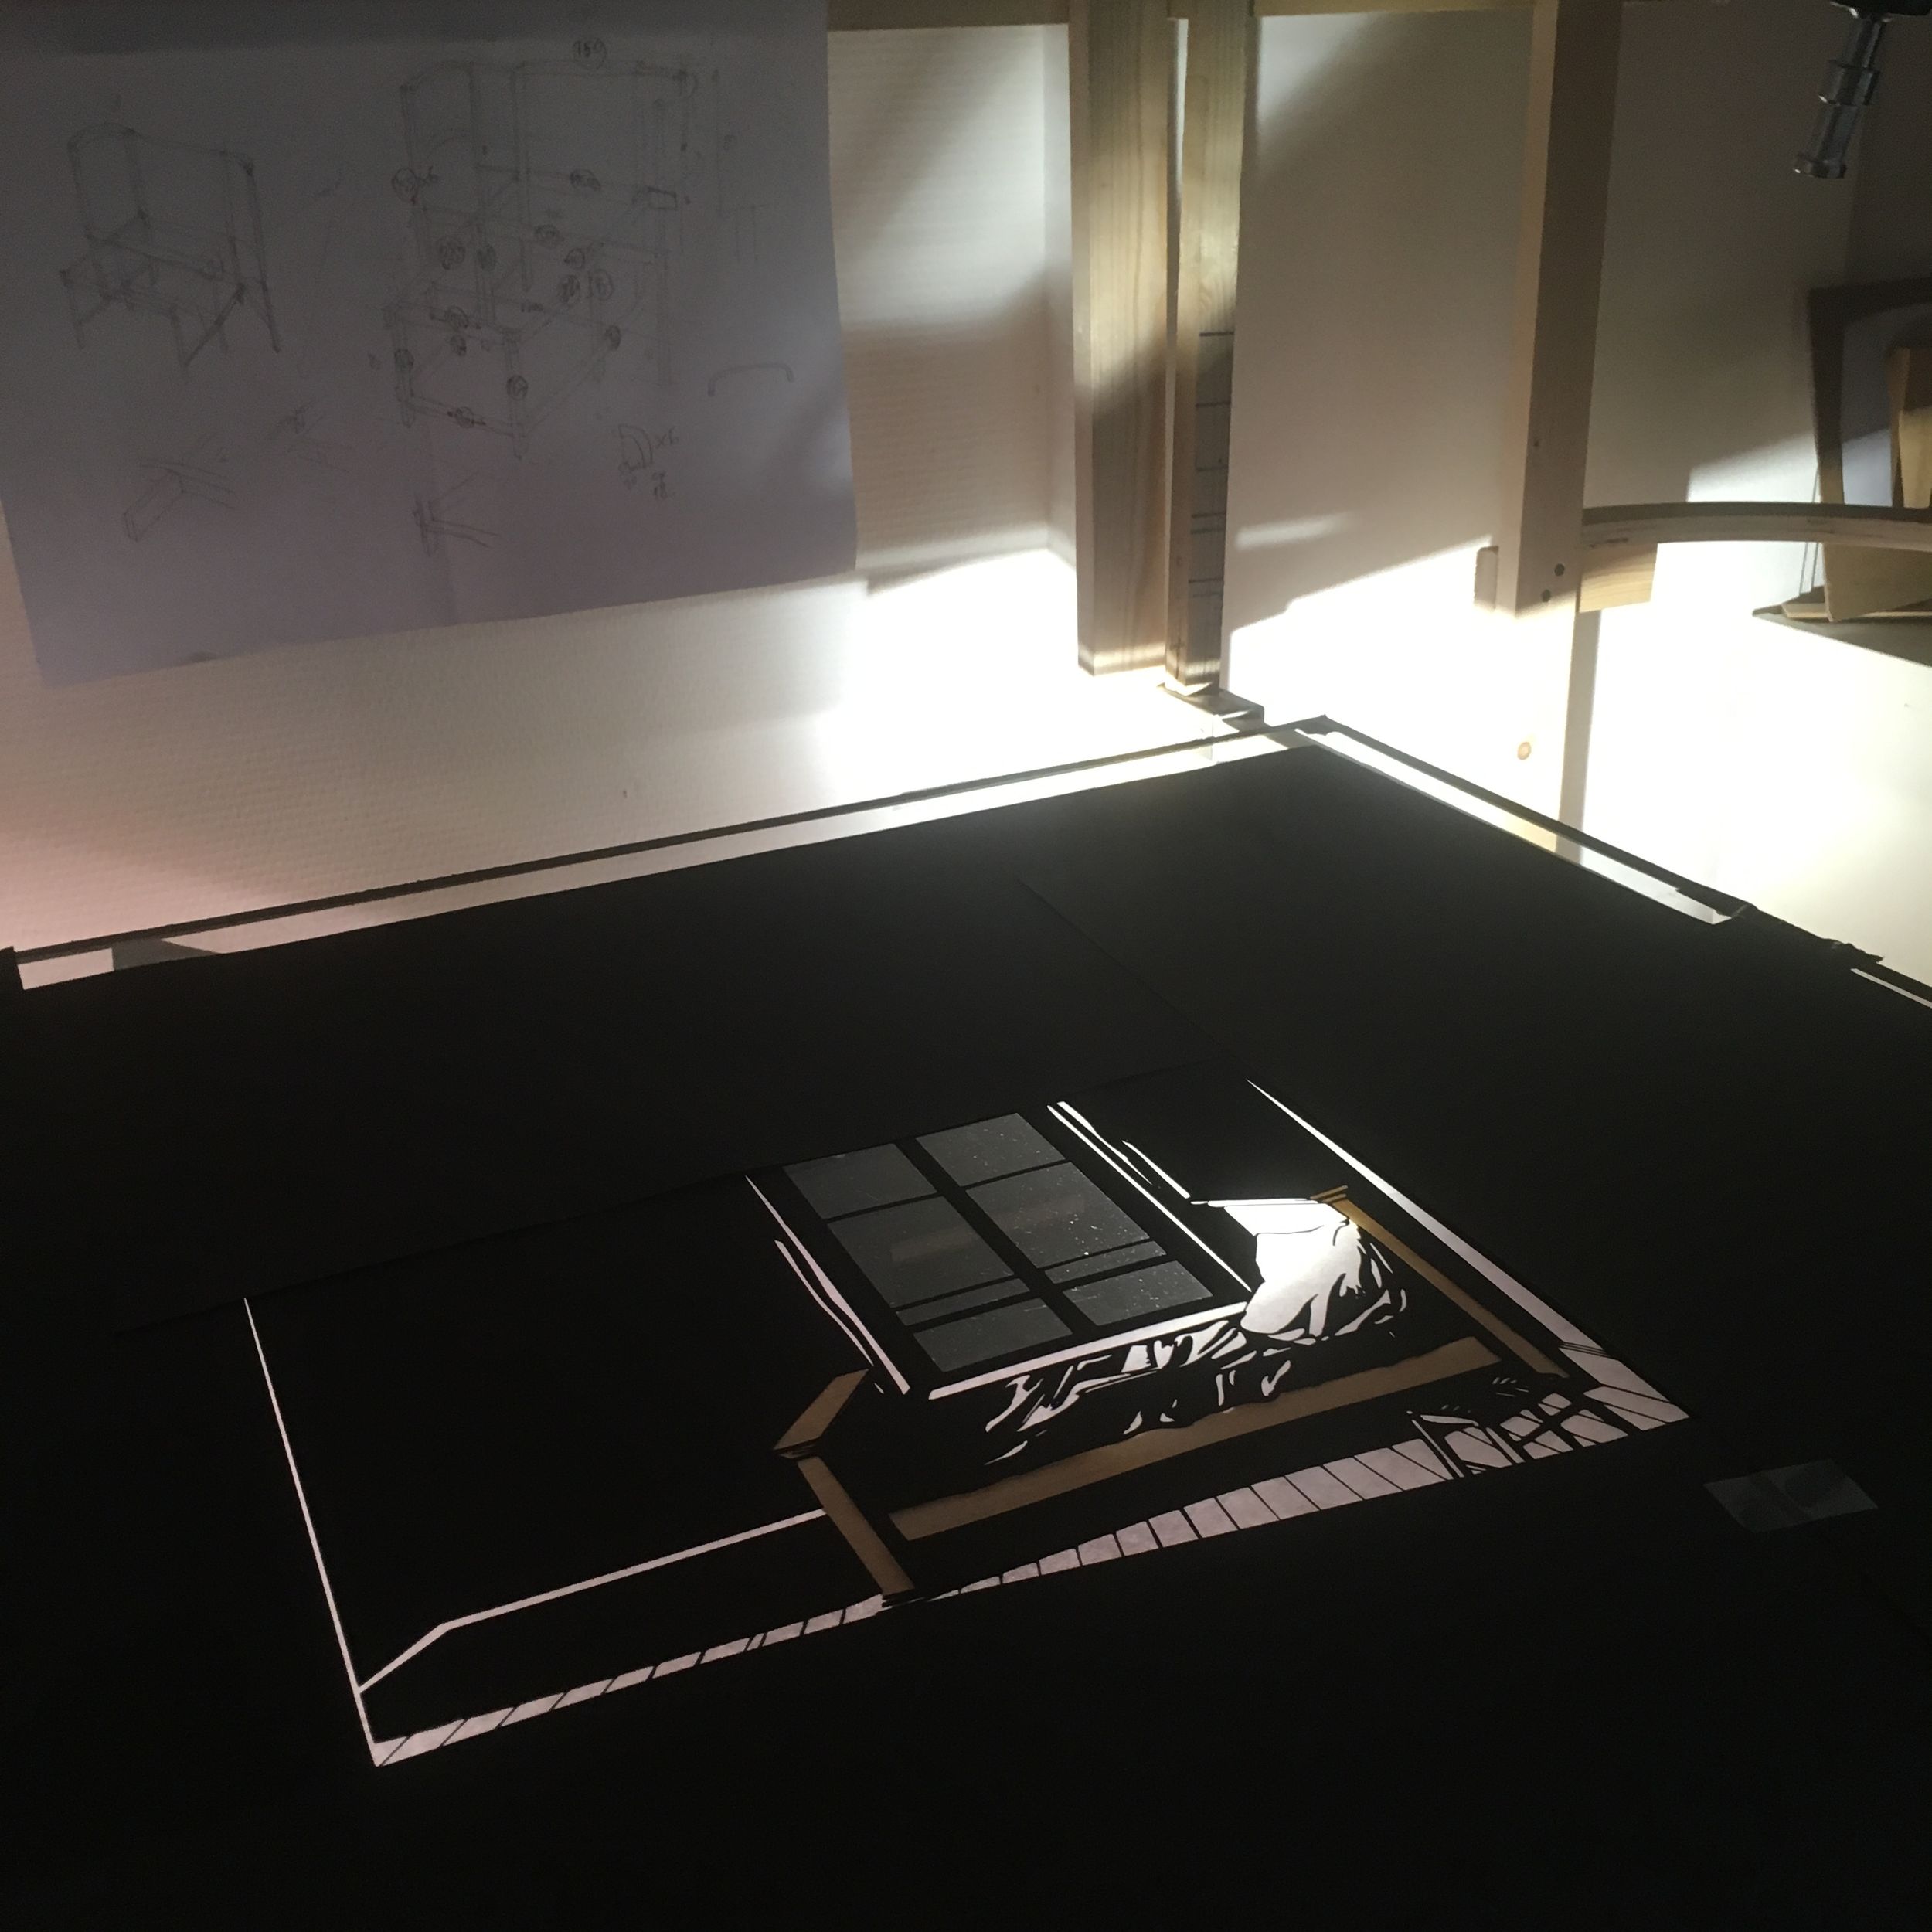
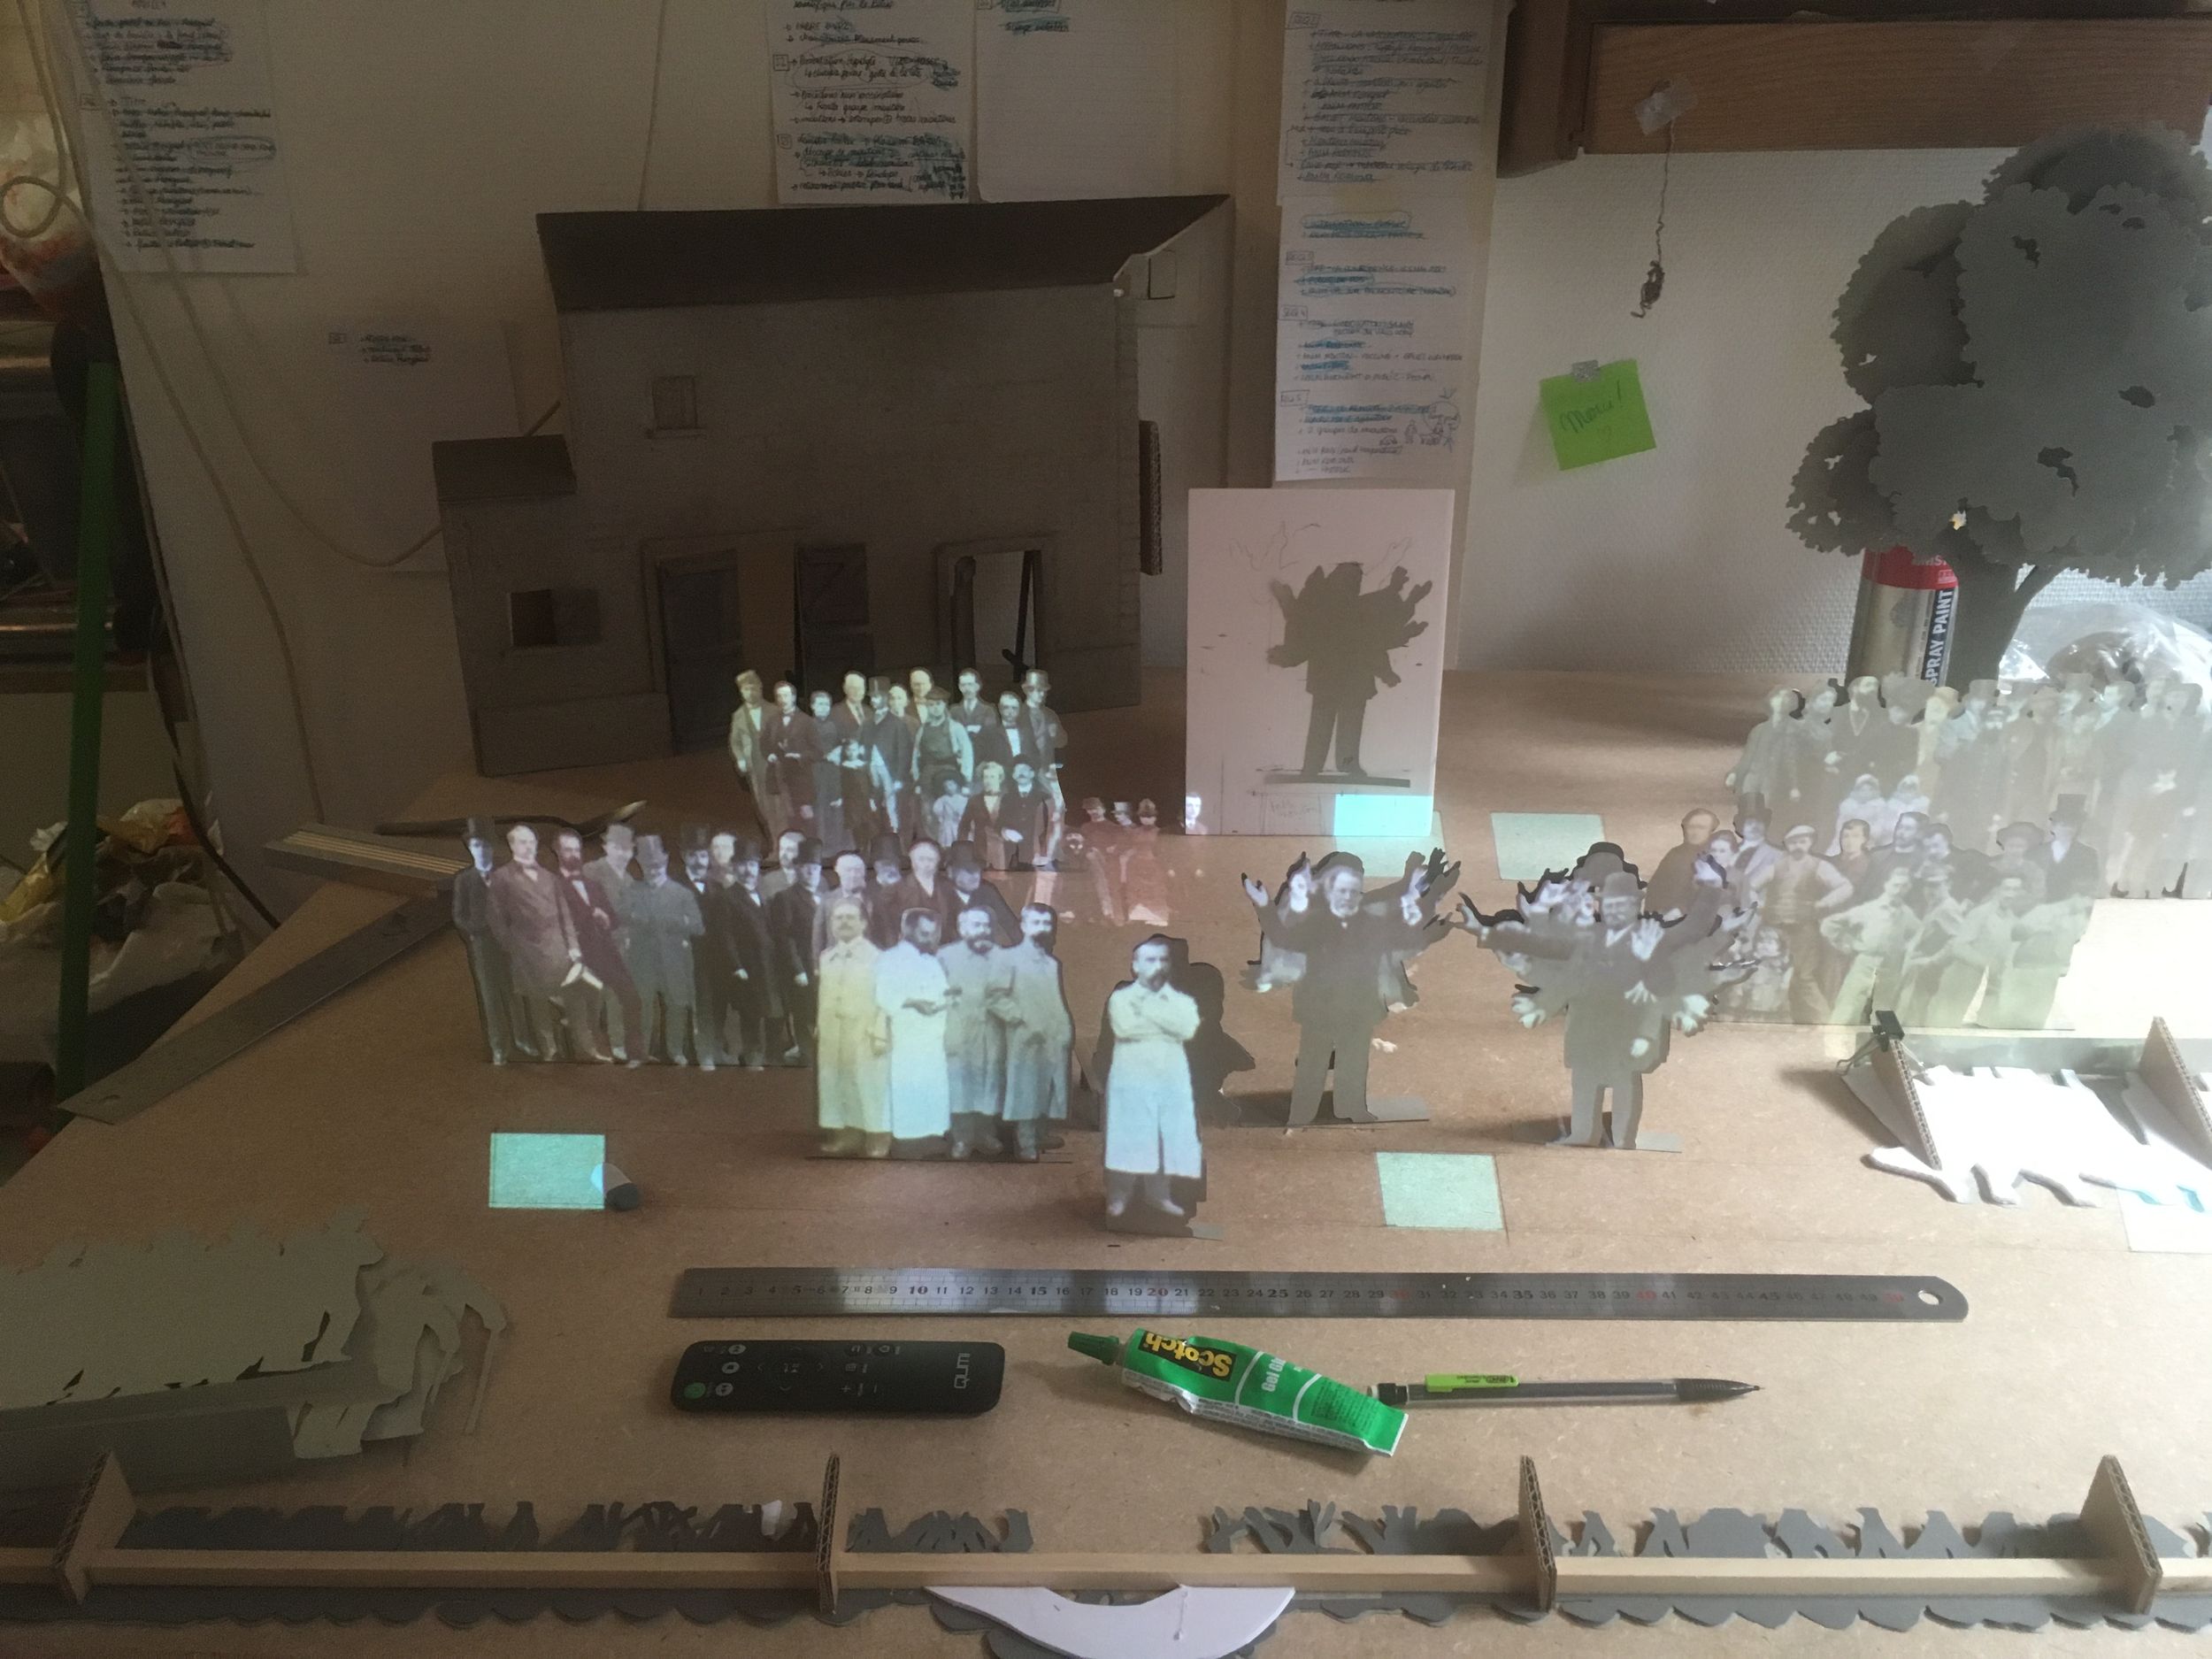
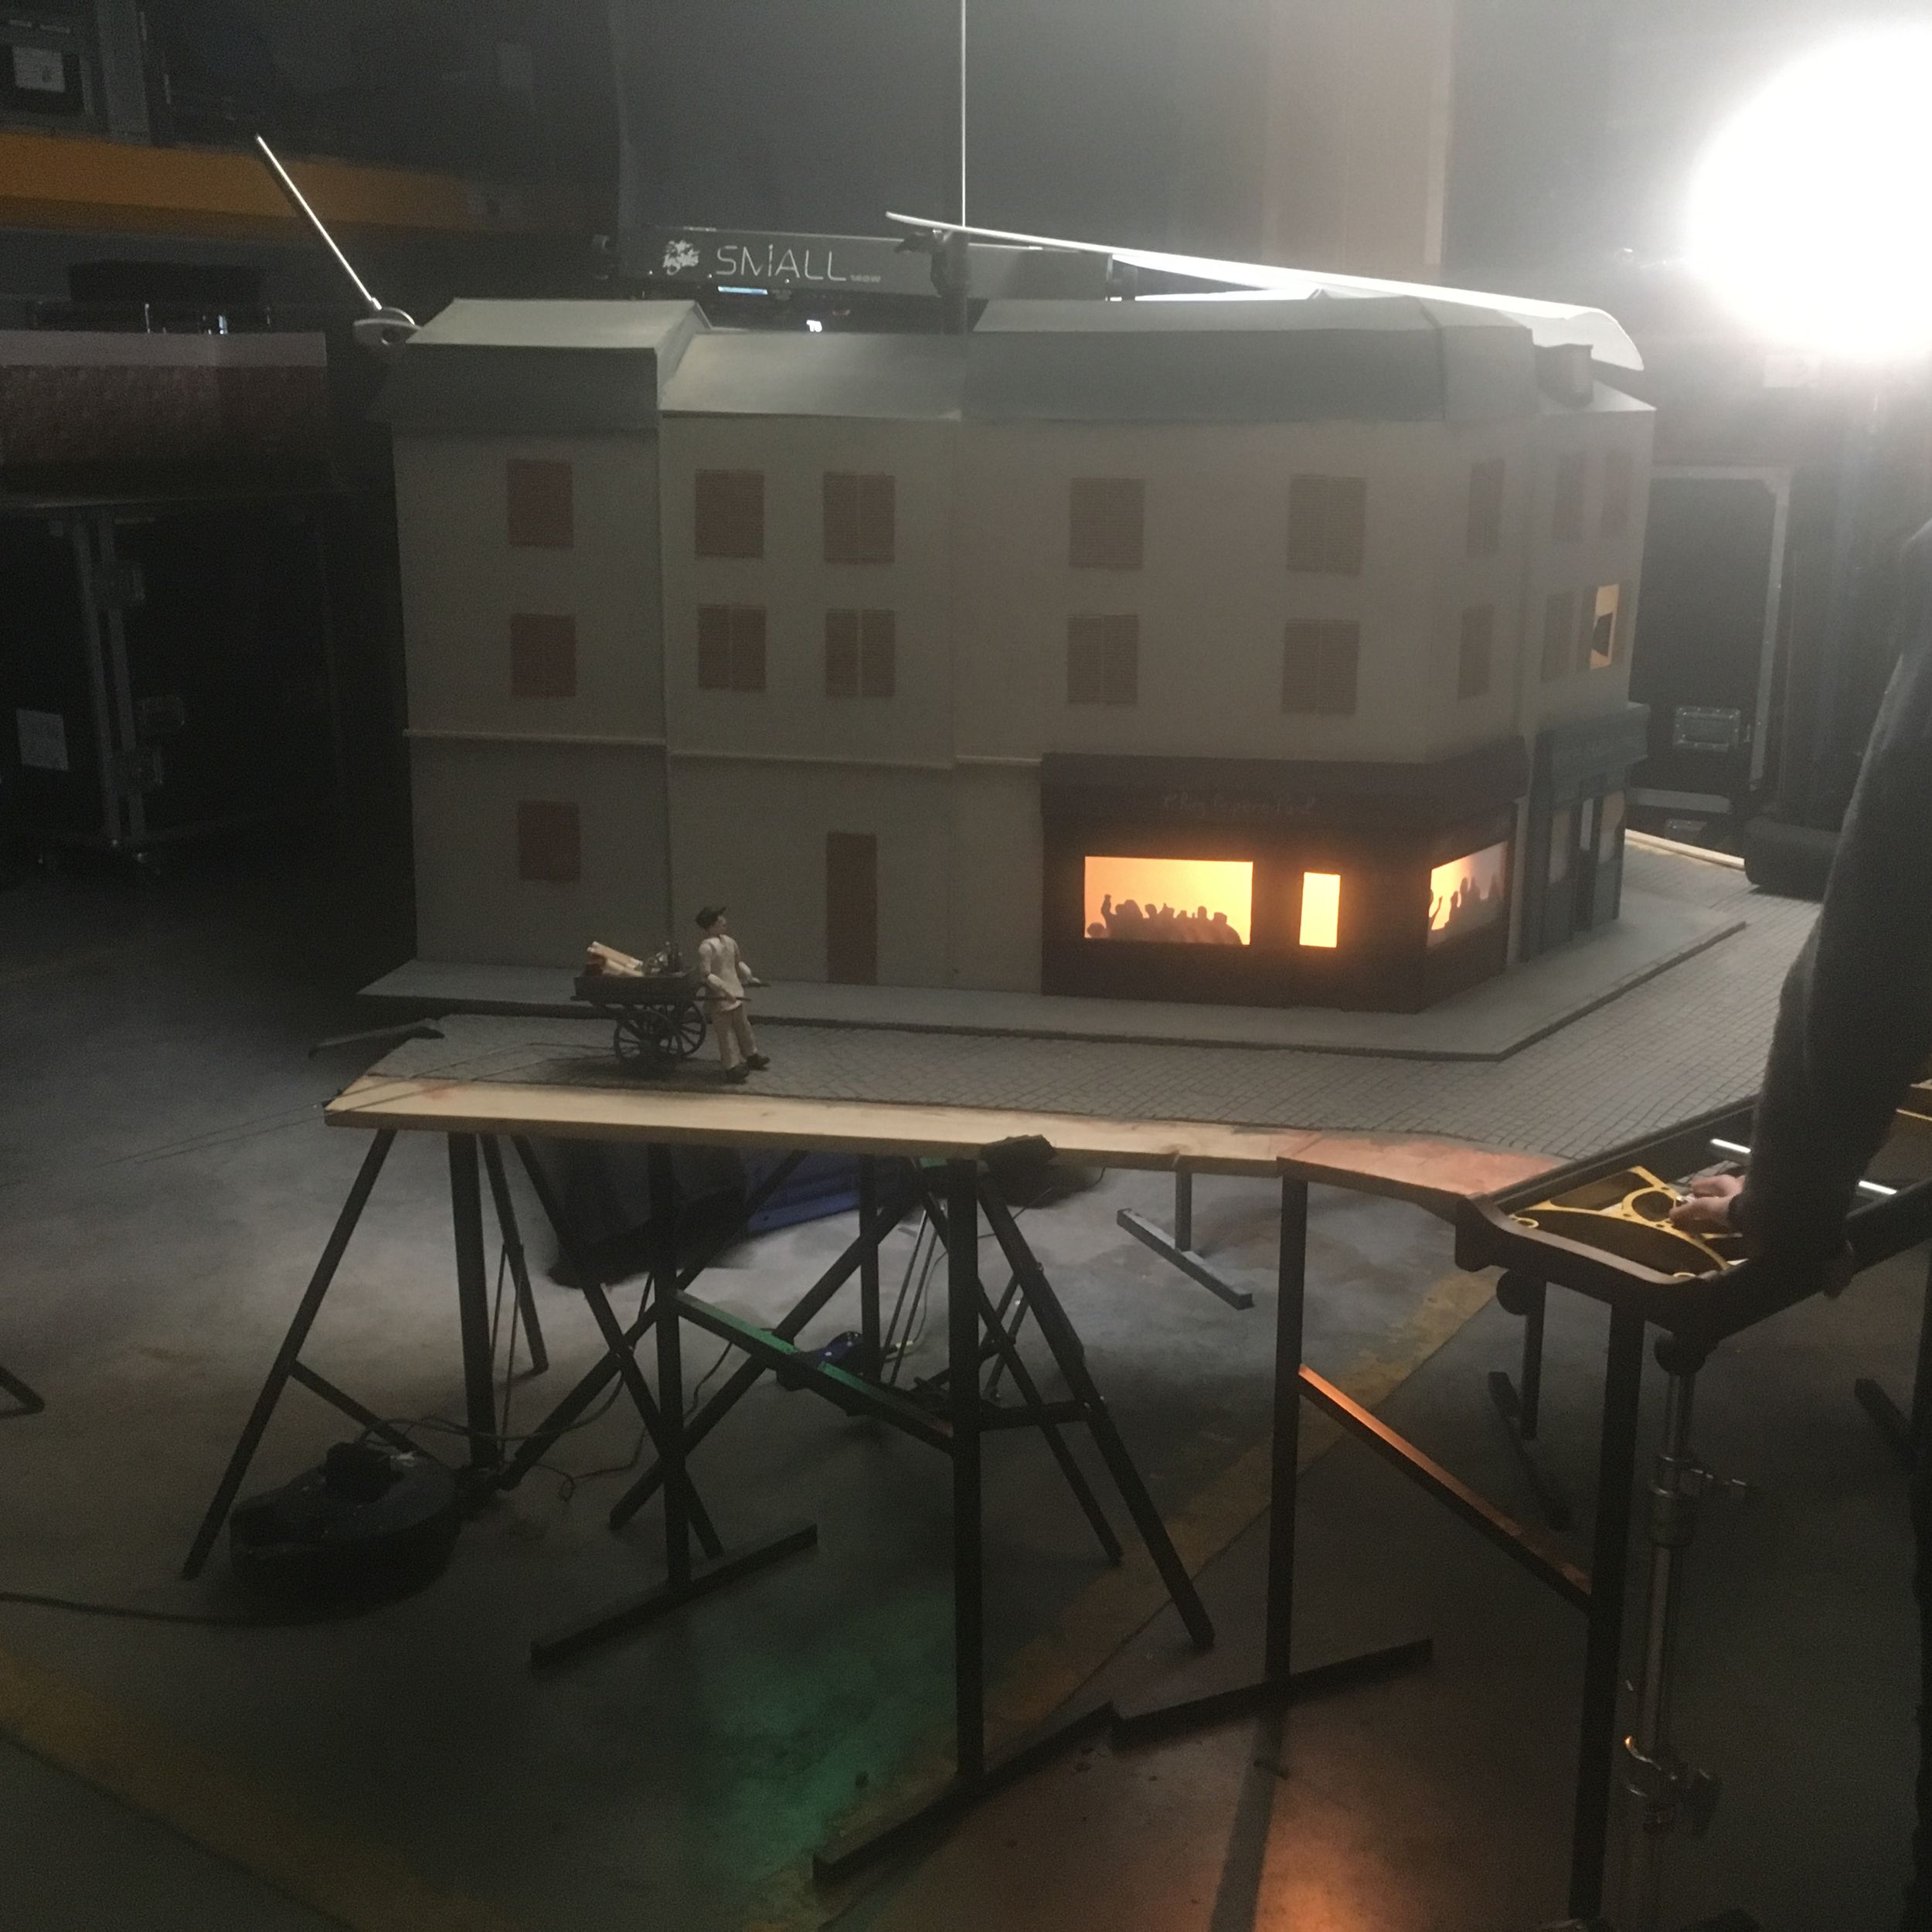
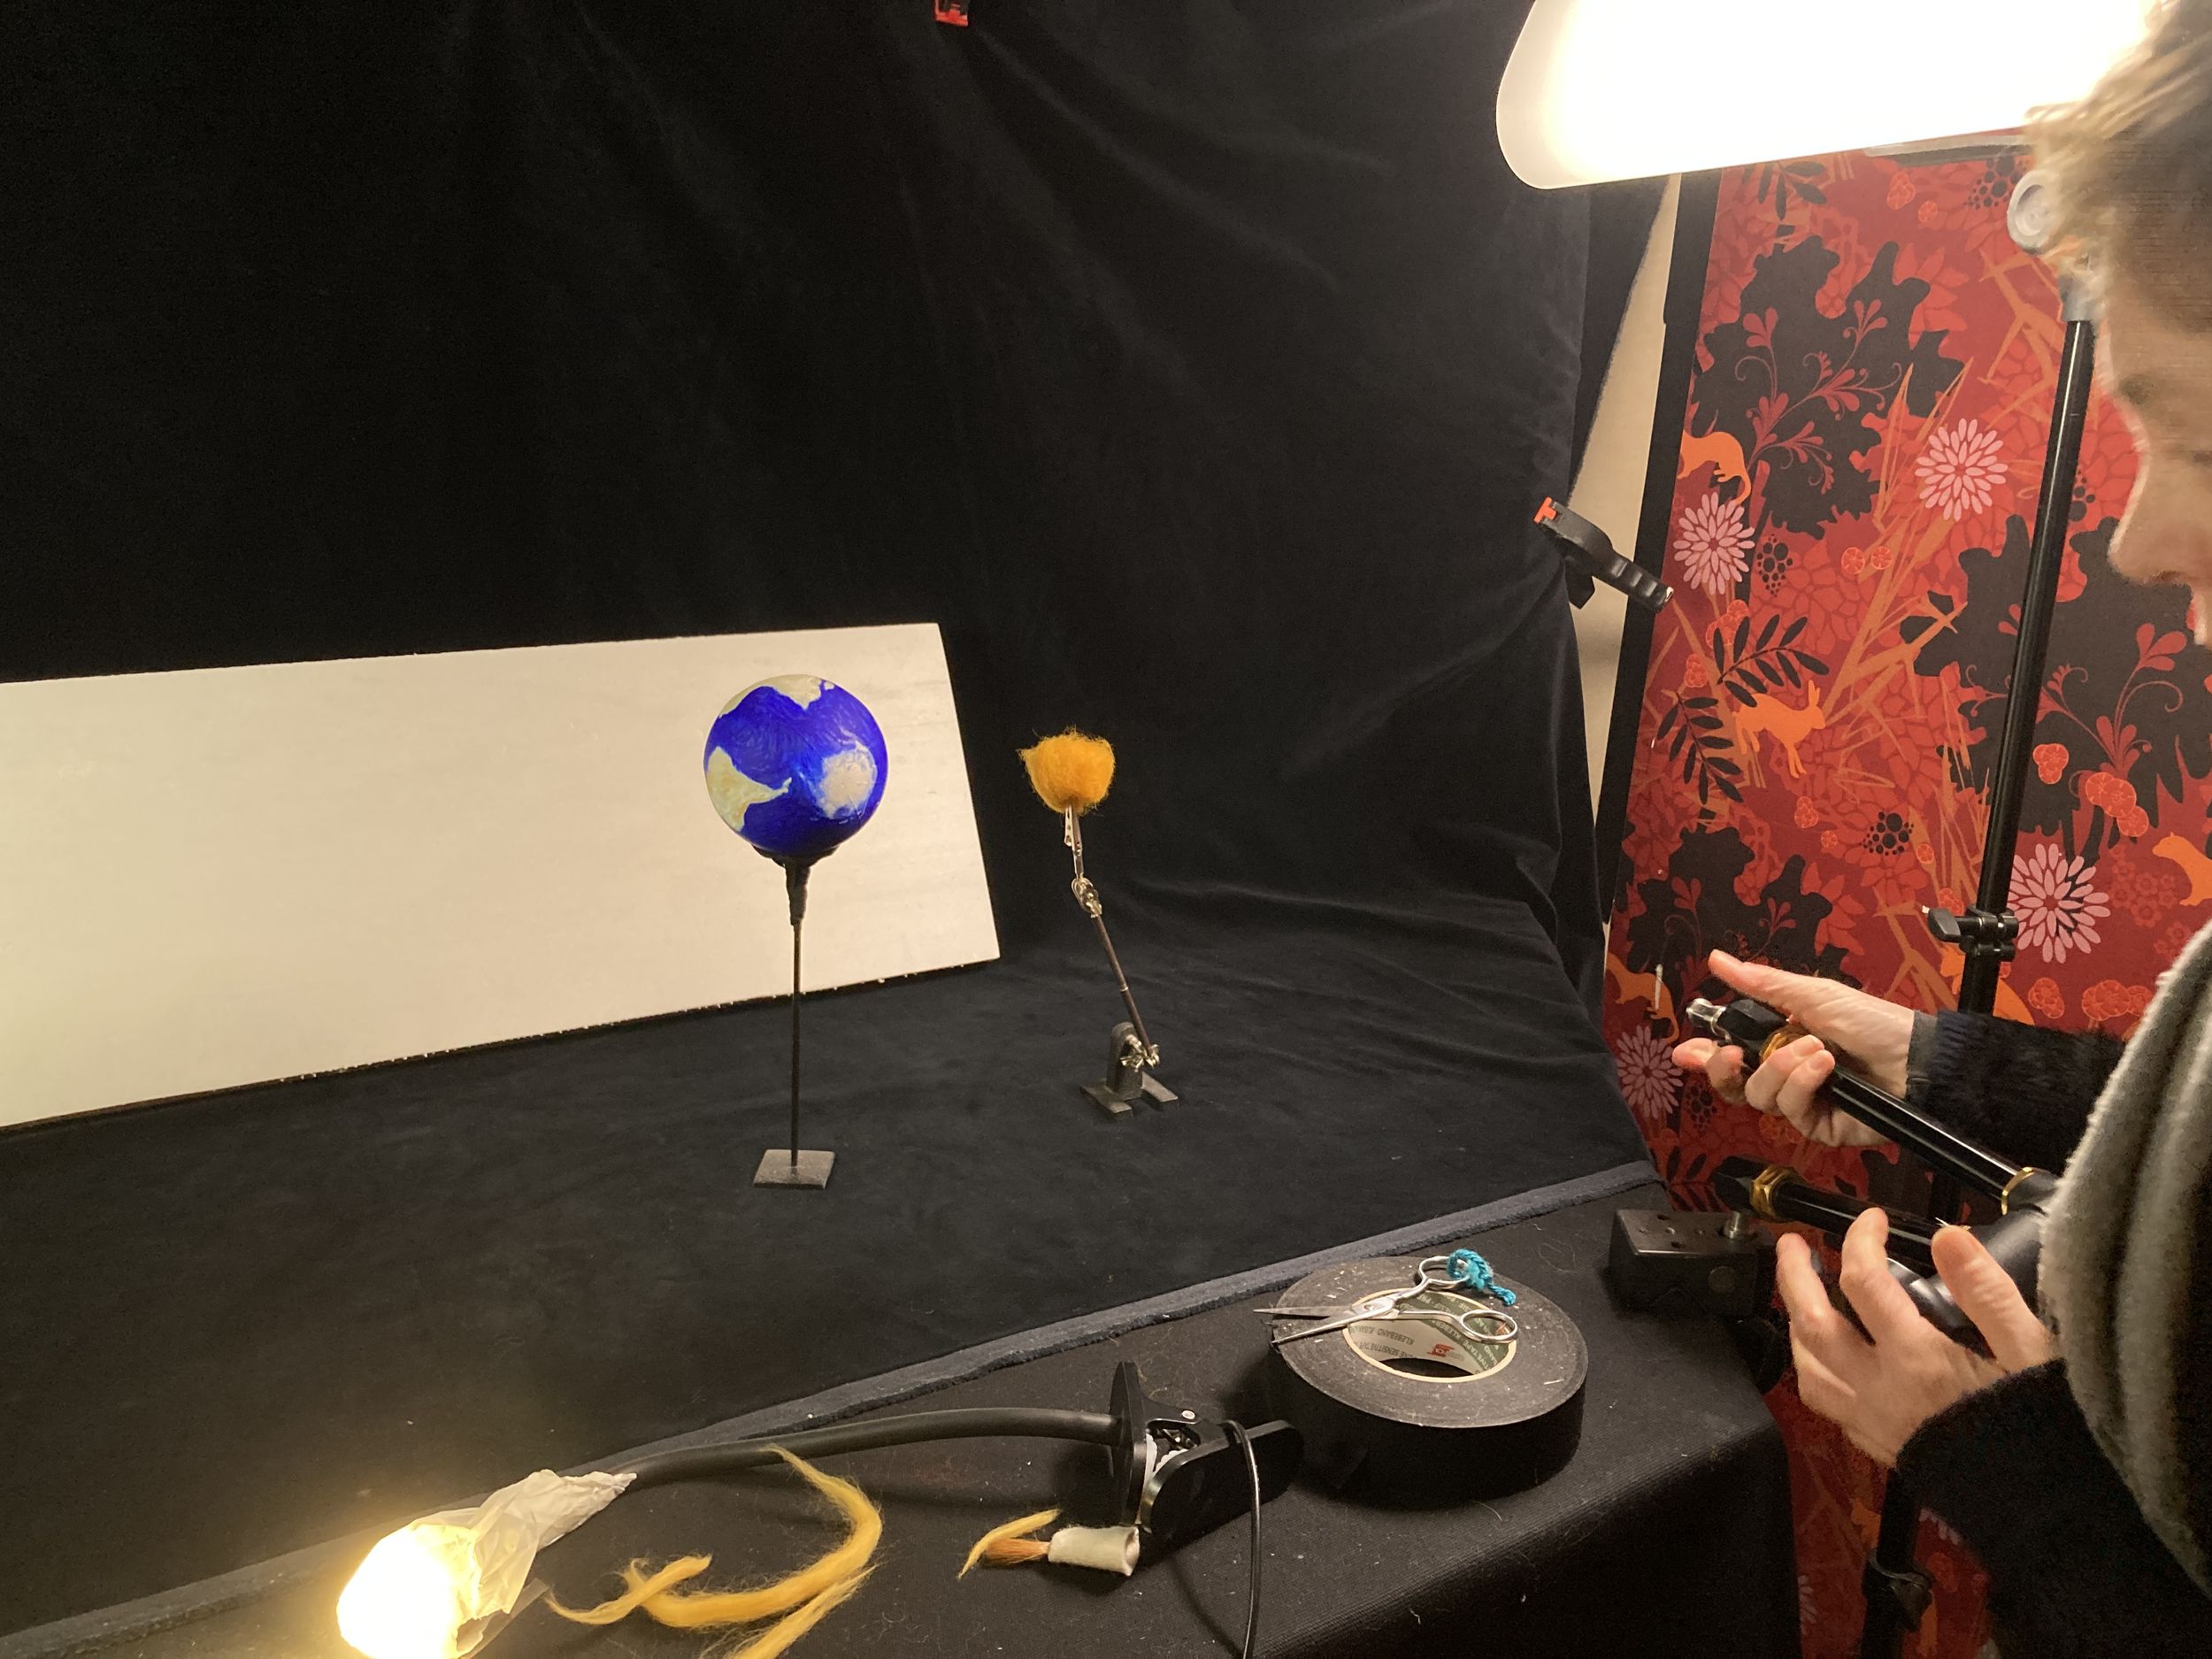
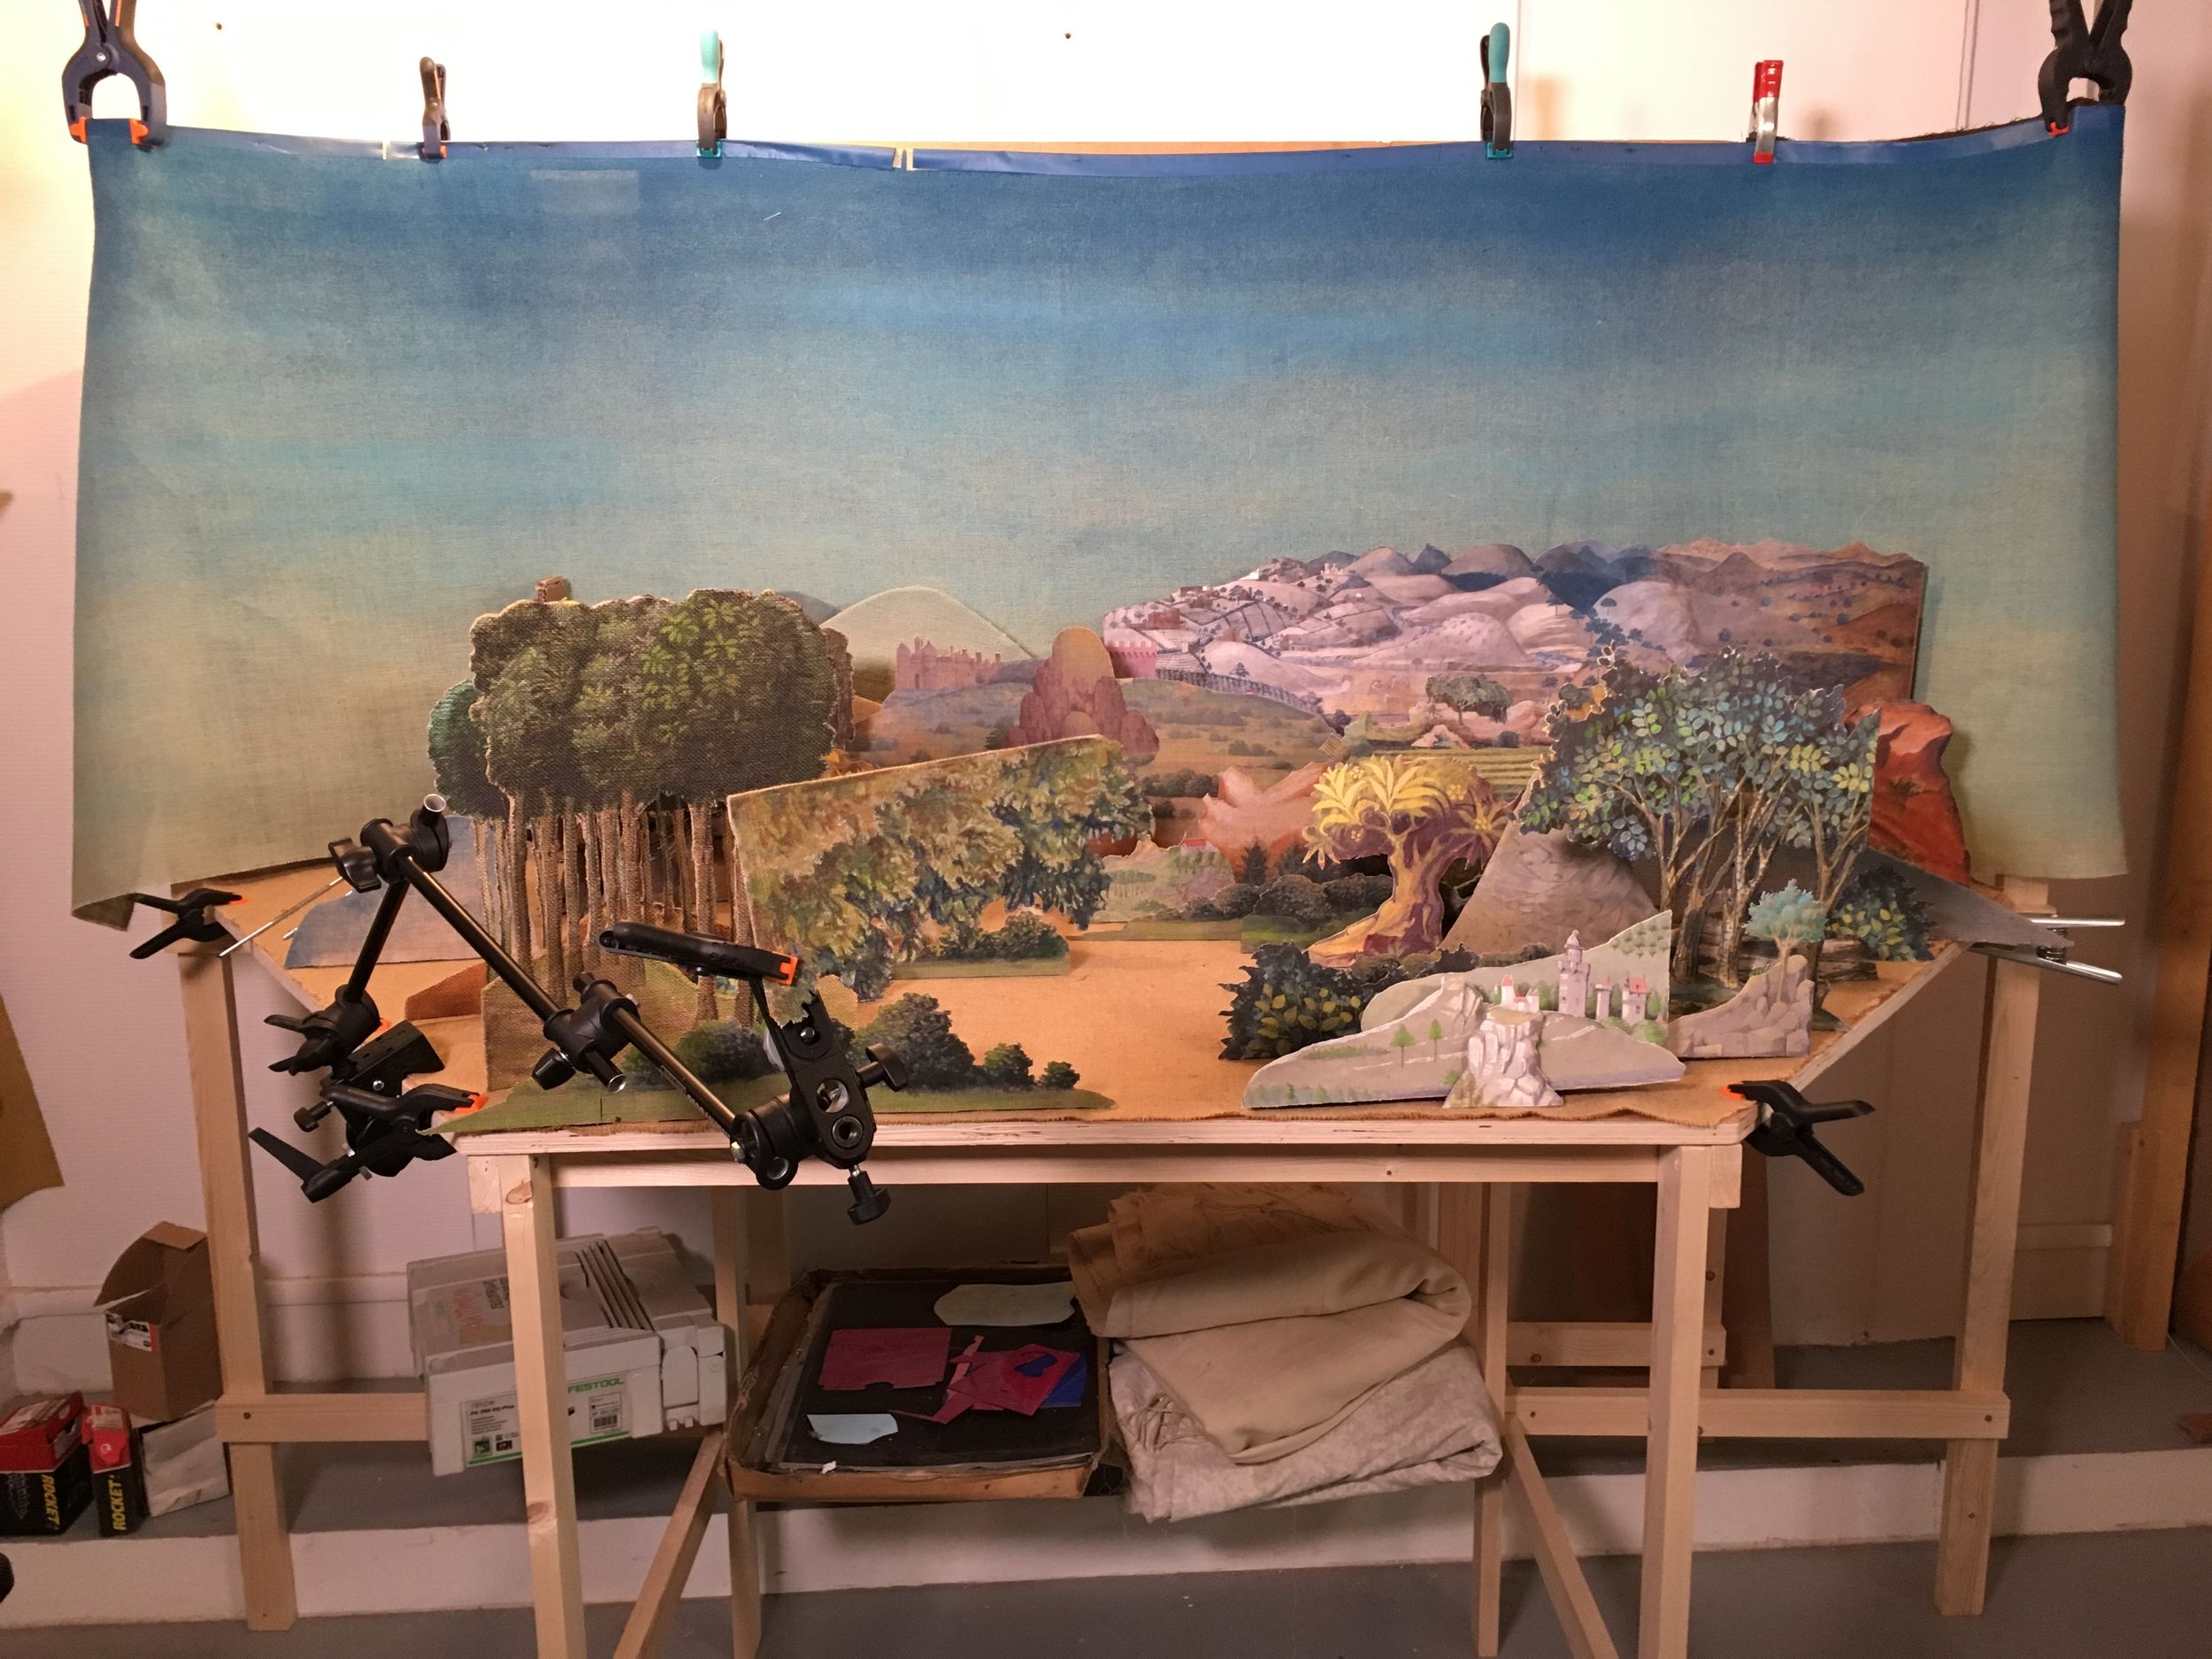
Presentation of the two sets: a title bench and a mini studio
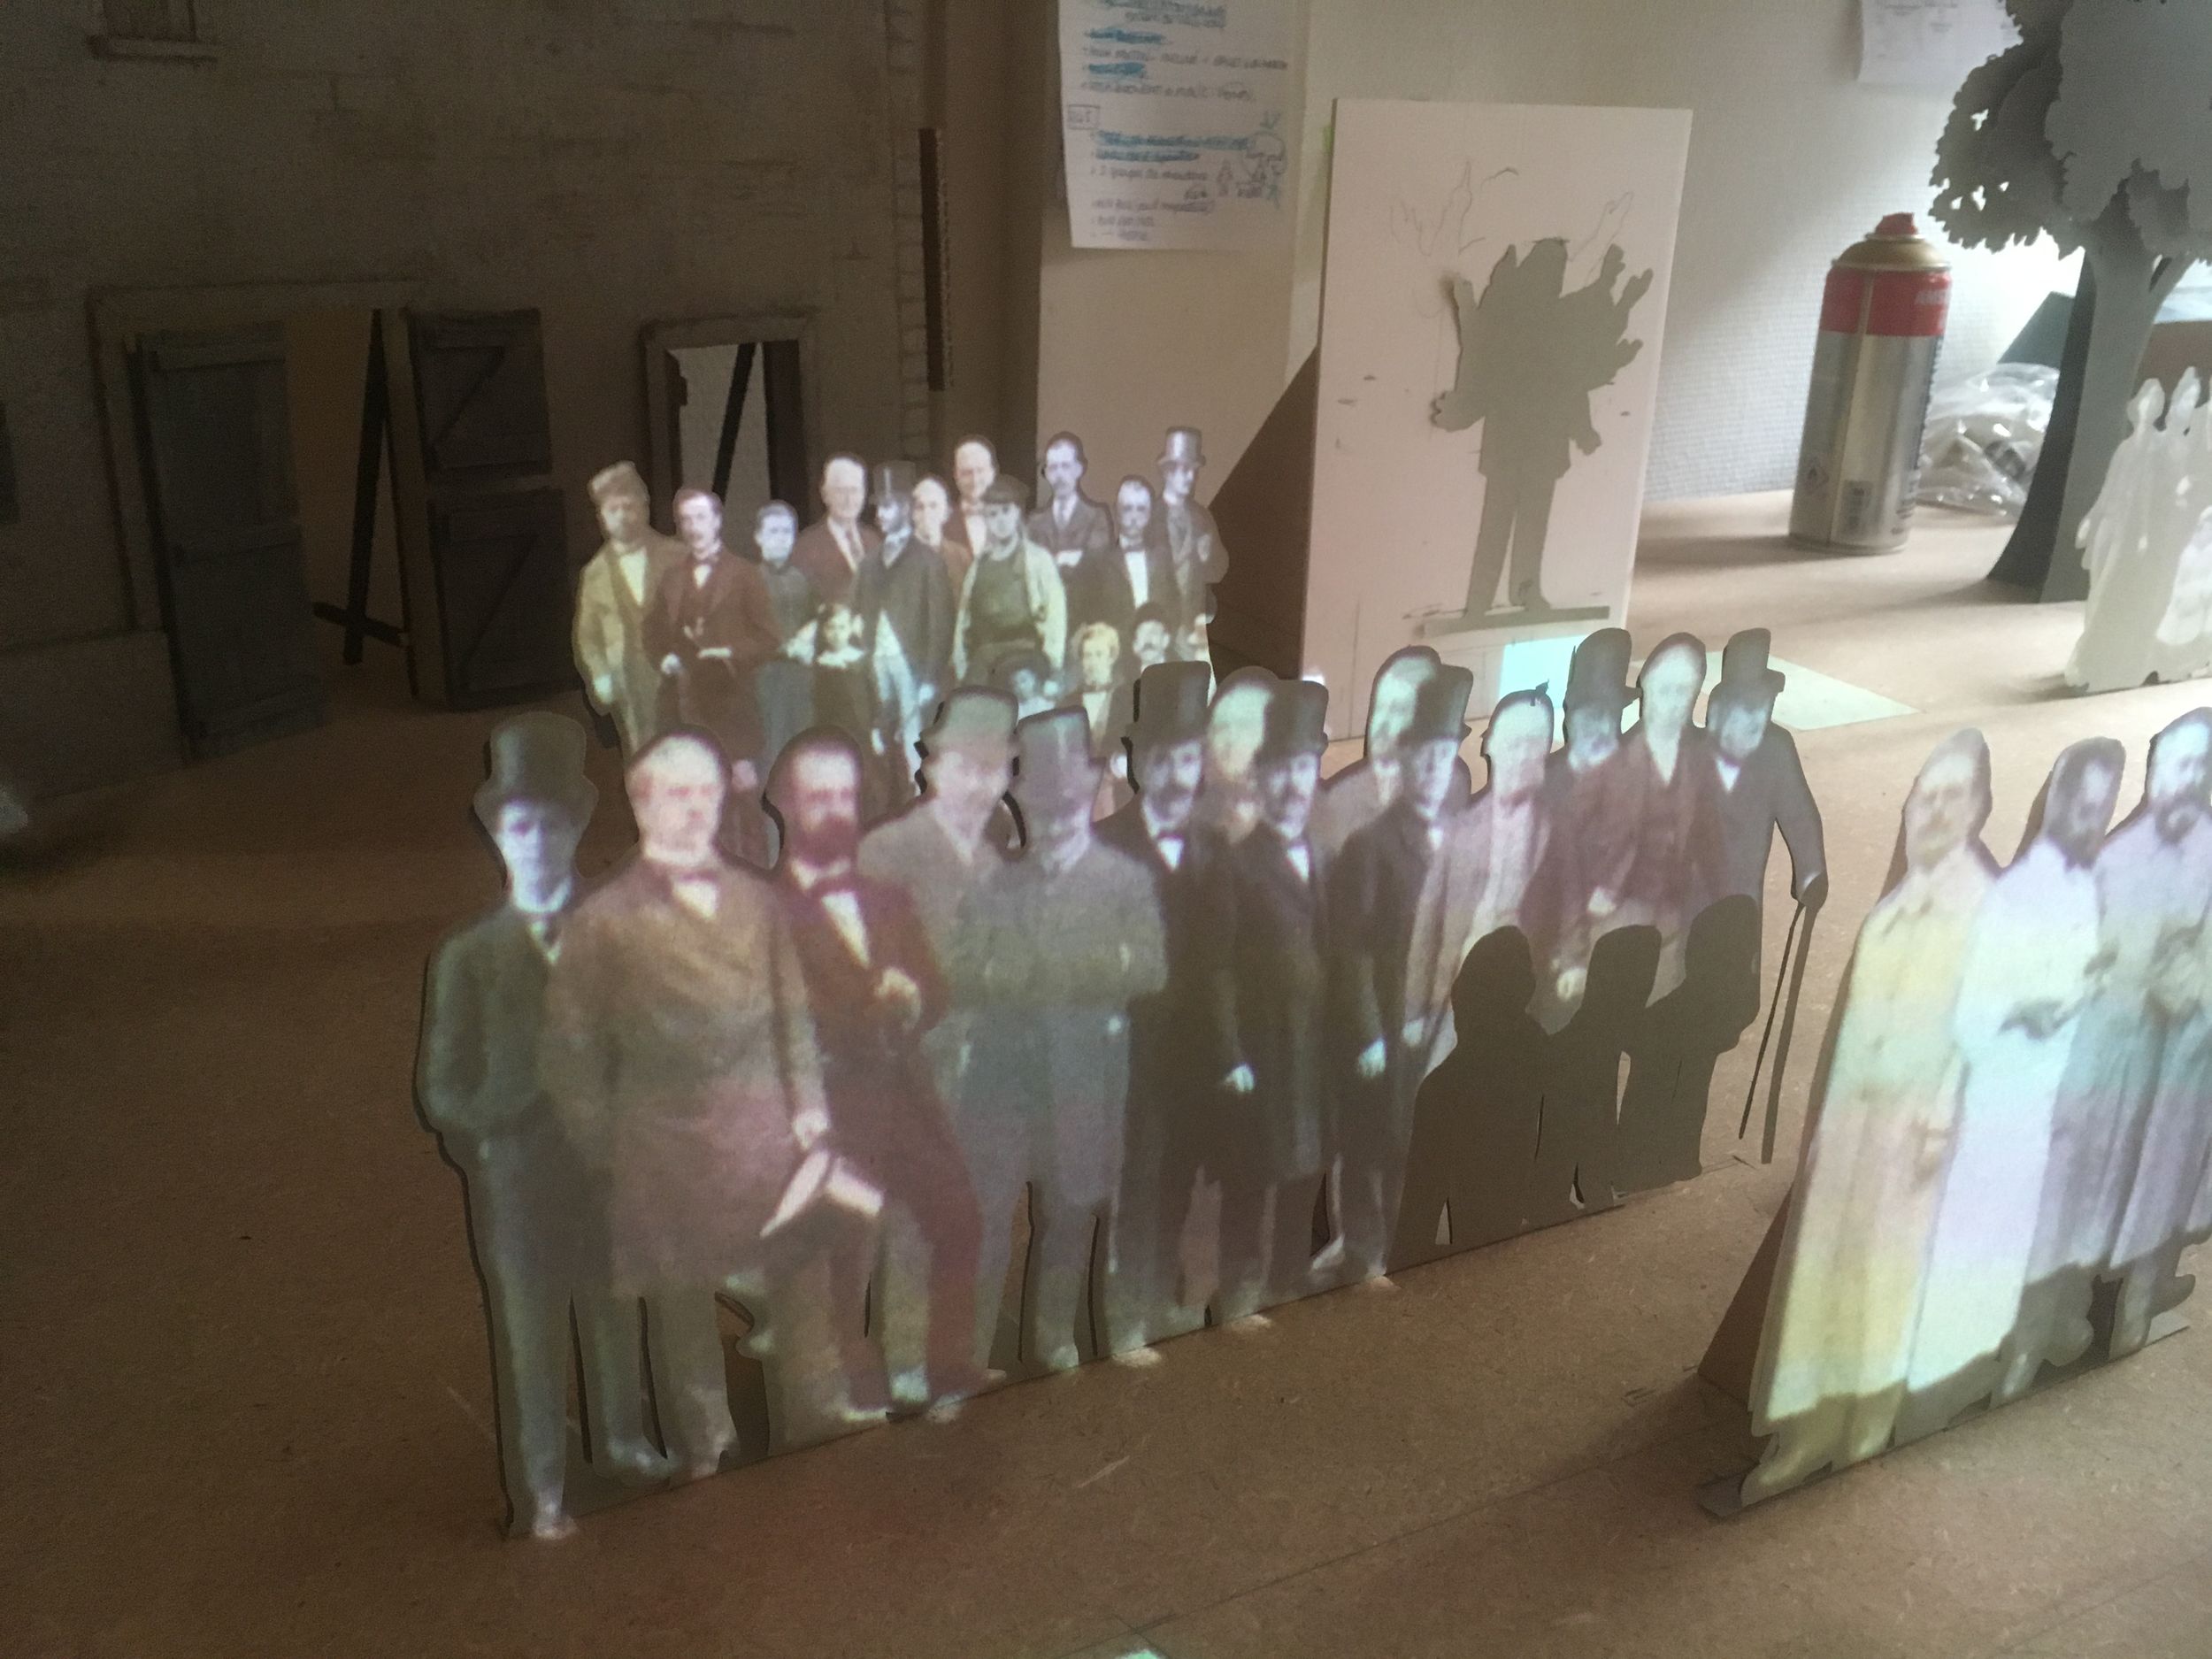
Presentation of the different elements brought and likely to be animated
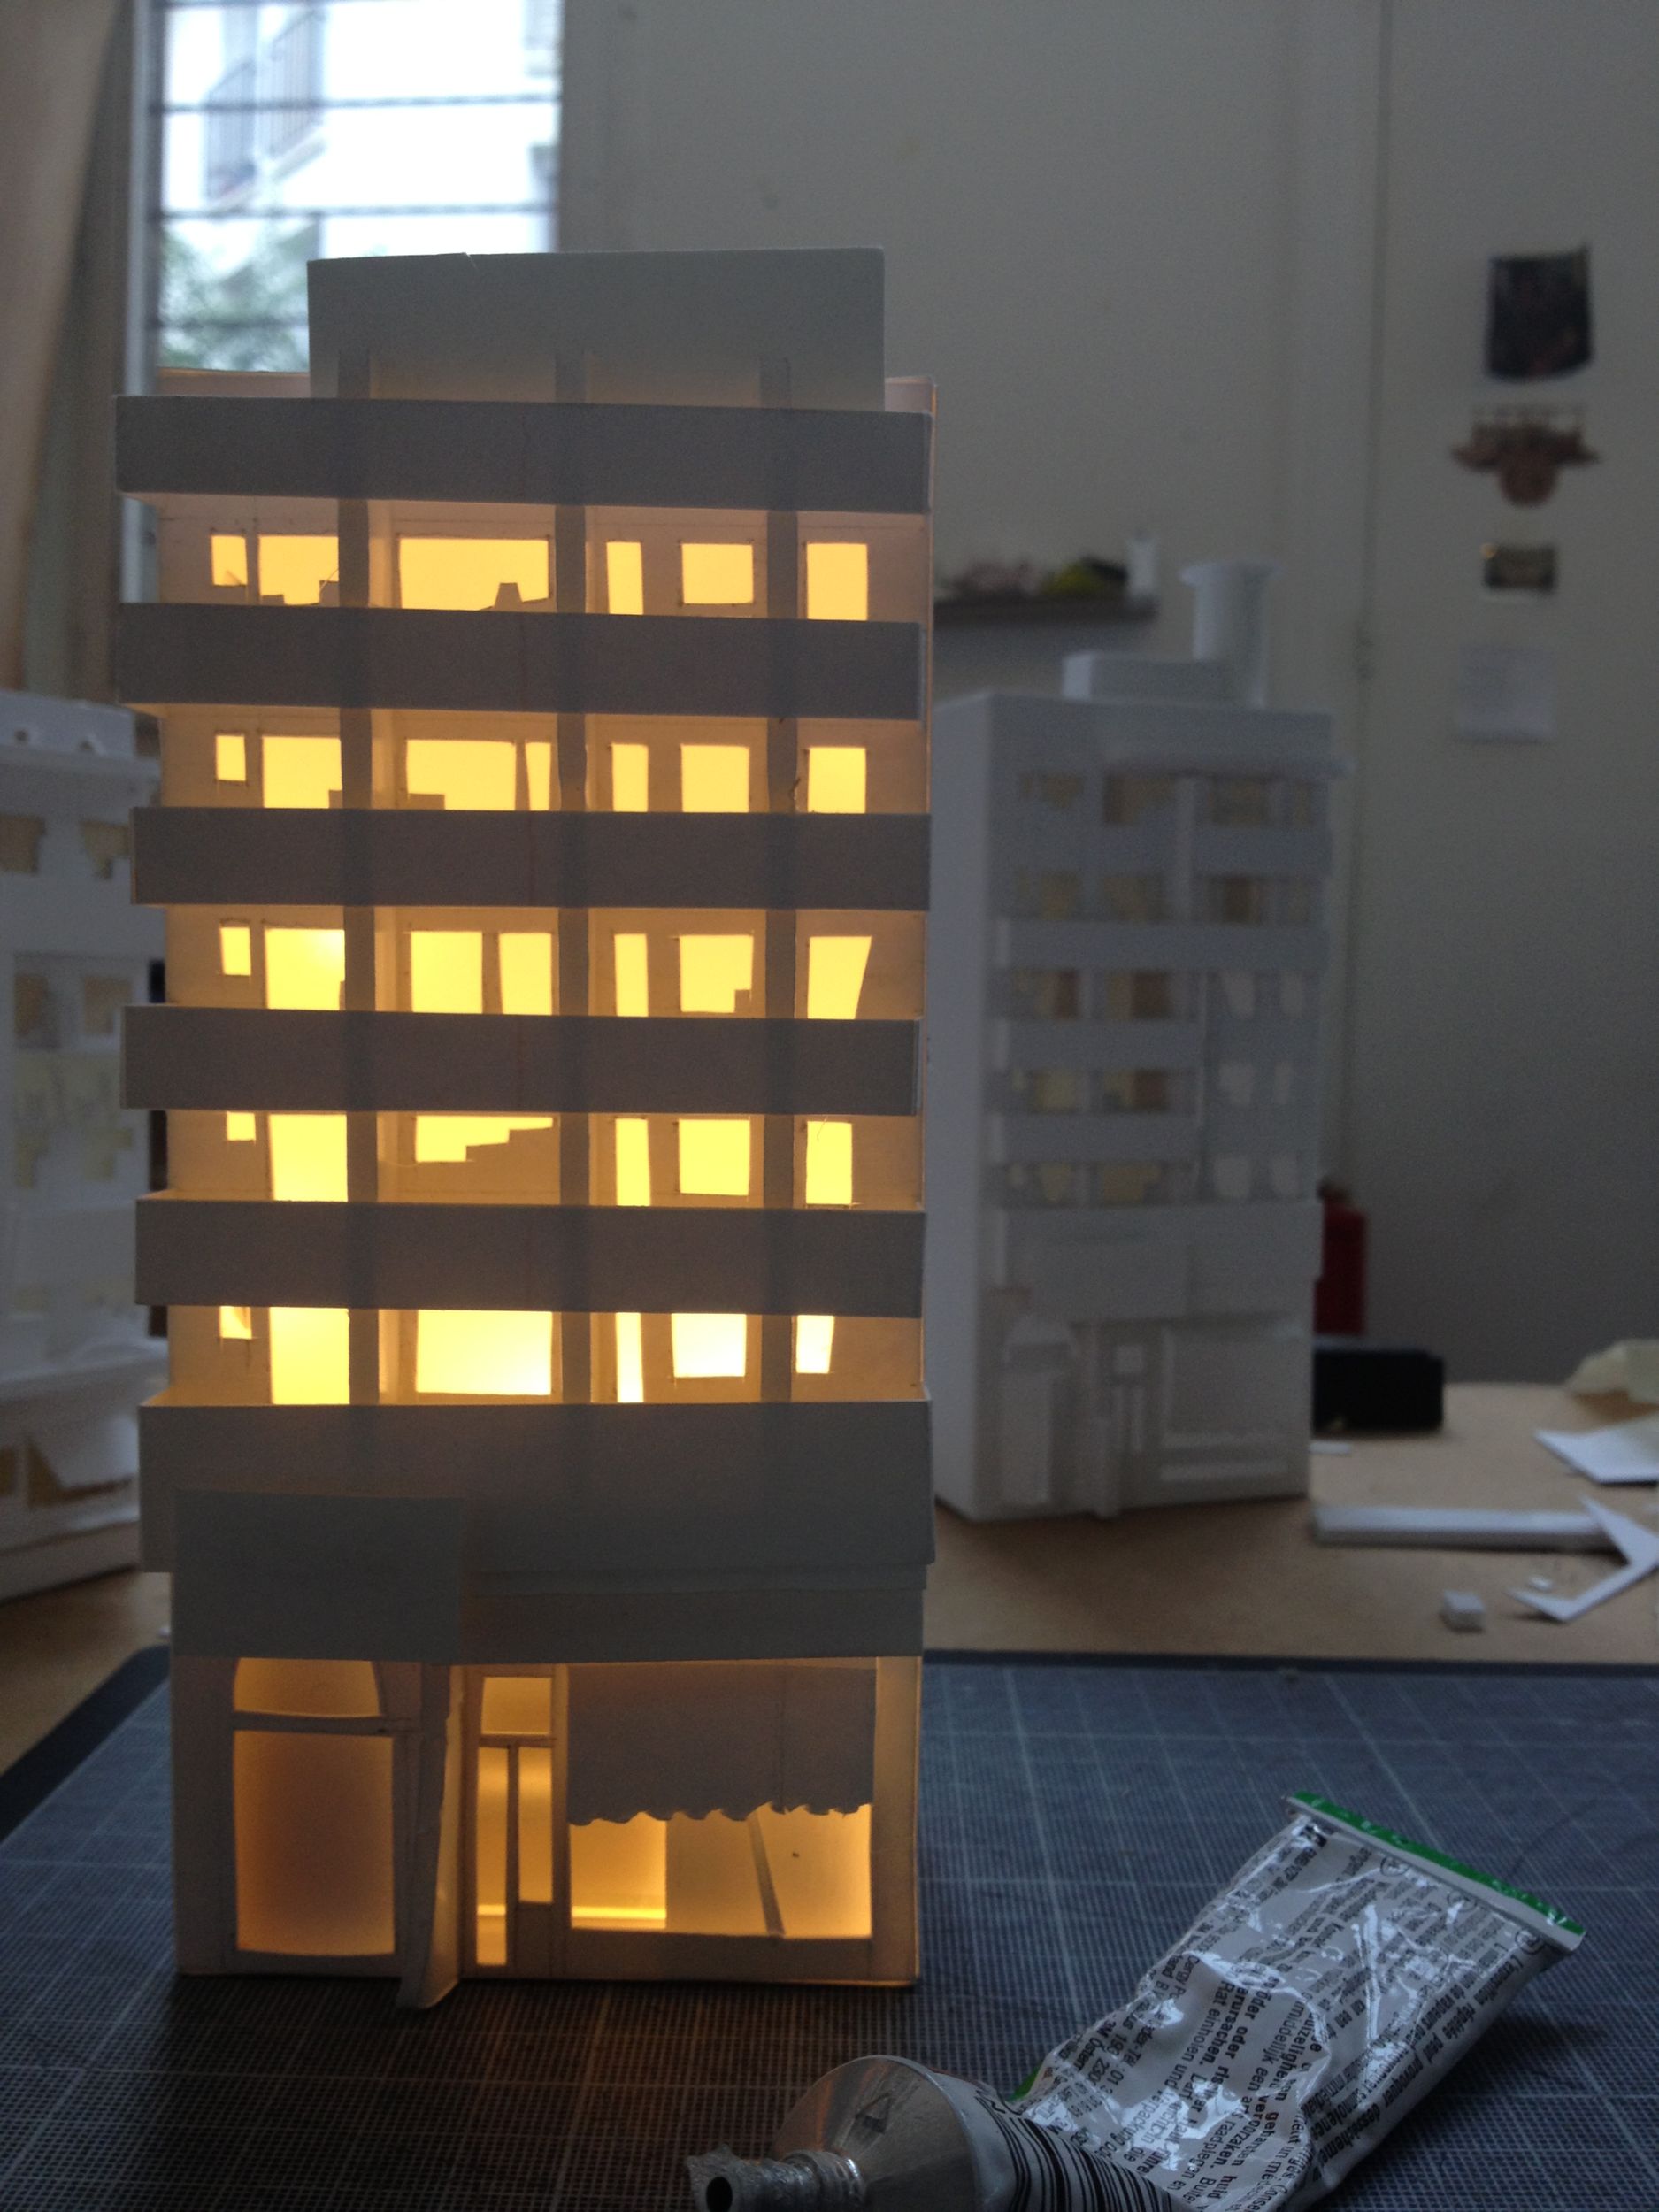
Divide the group into two subgroups: one will work on the title bench therefore more 2D, while the other group will work with 3D characters
Beginning of micro-scriptwriting by groups: structure of the story, creation of storyboard for the project of the week
Afternoon
Making missing sets and/or characters out of modeling clay, paper or other materials
Set-up: arrangement of characters and sets, with placement and movement tests
Day 3: Animation Techniques and Software Getting Started
Morning
Animation techniques: managing space and character movements, synchronizing with the camera
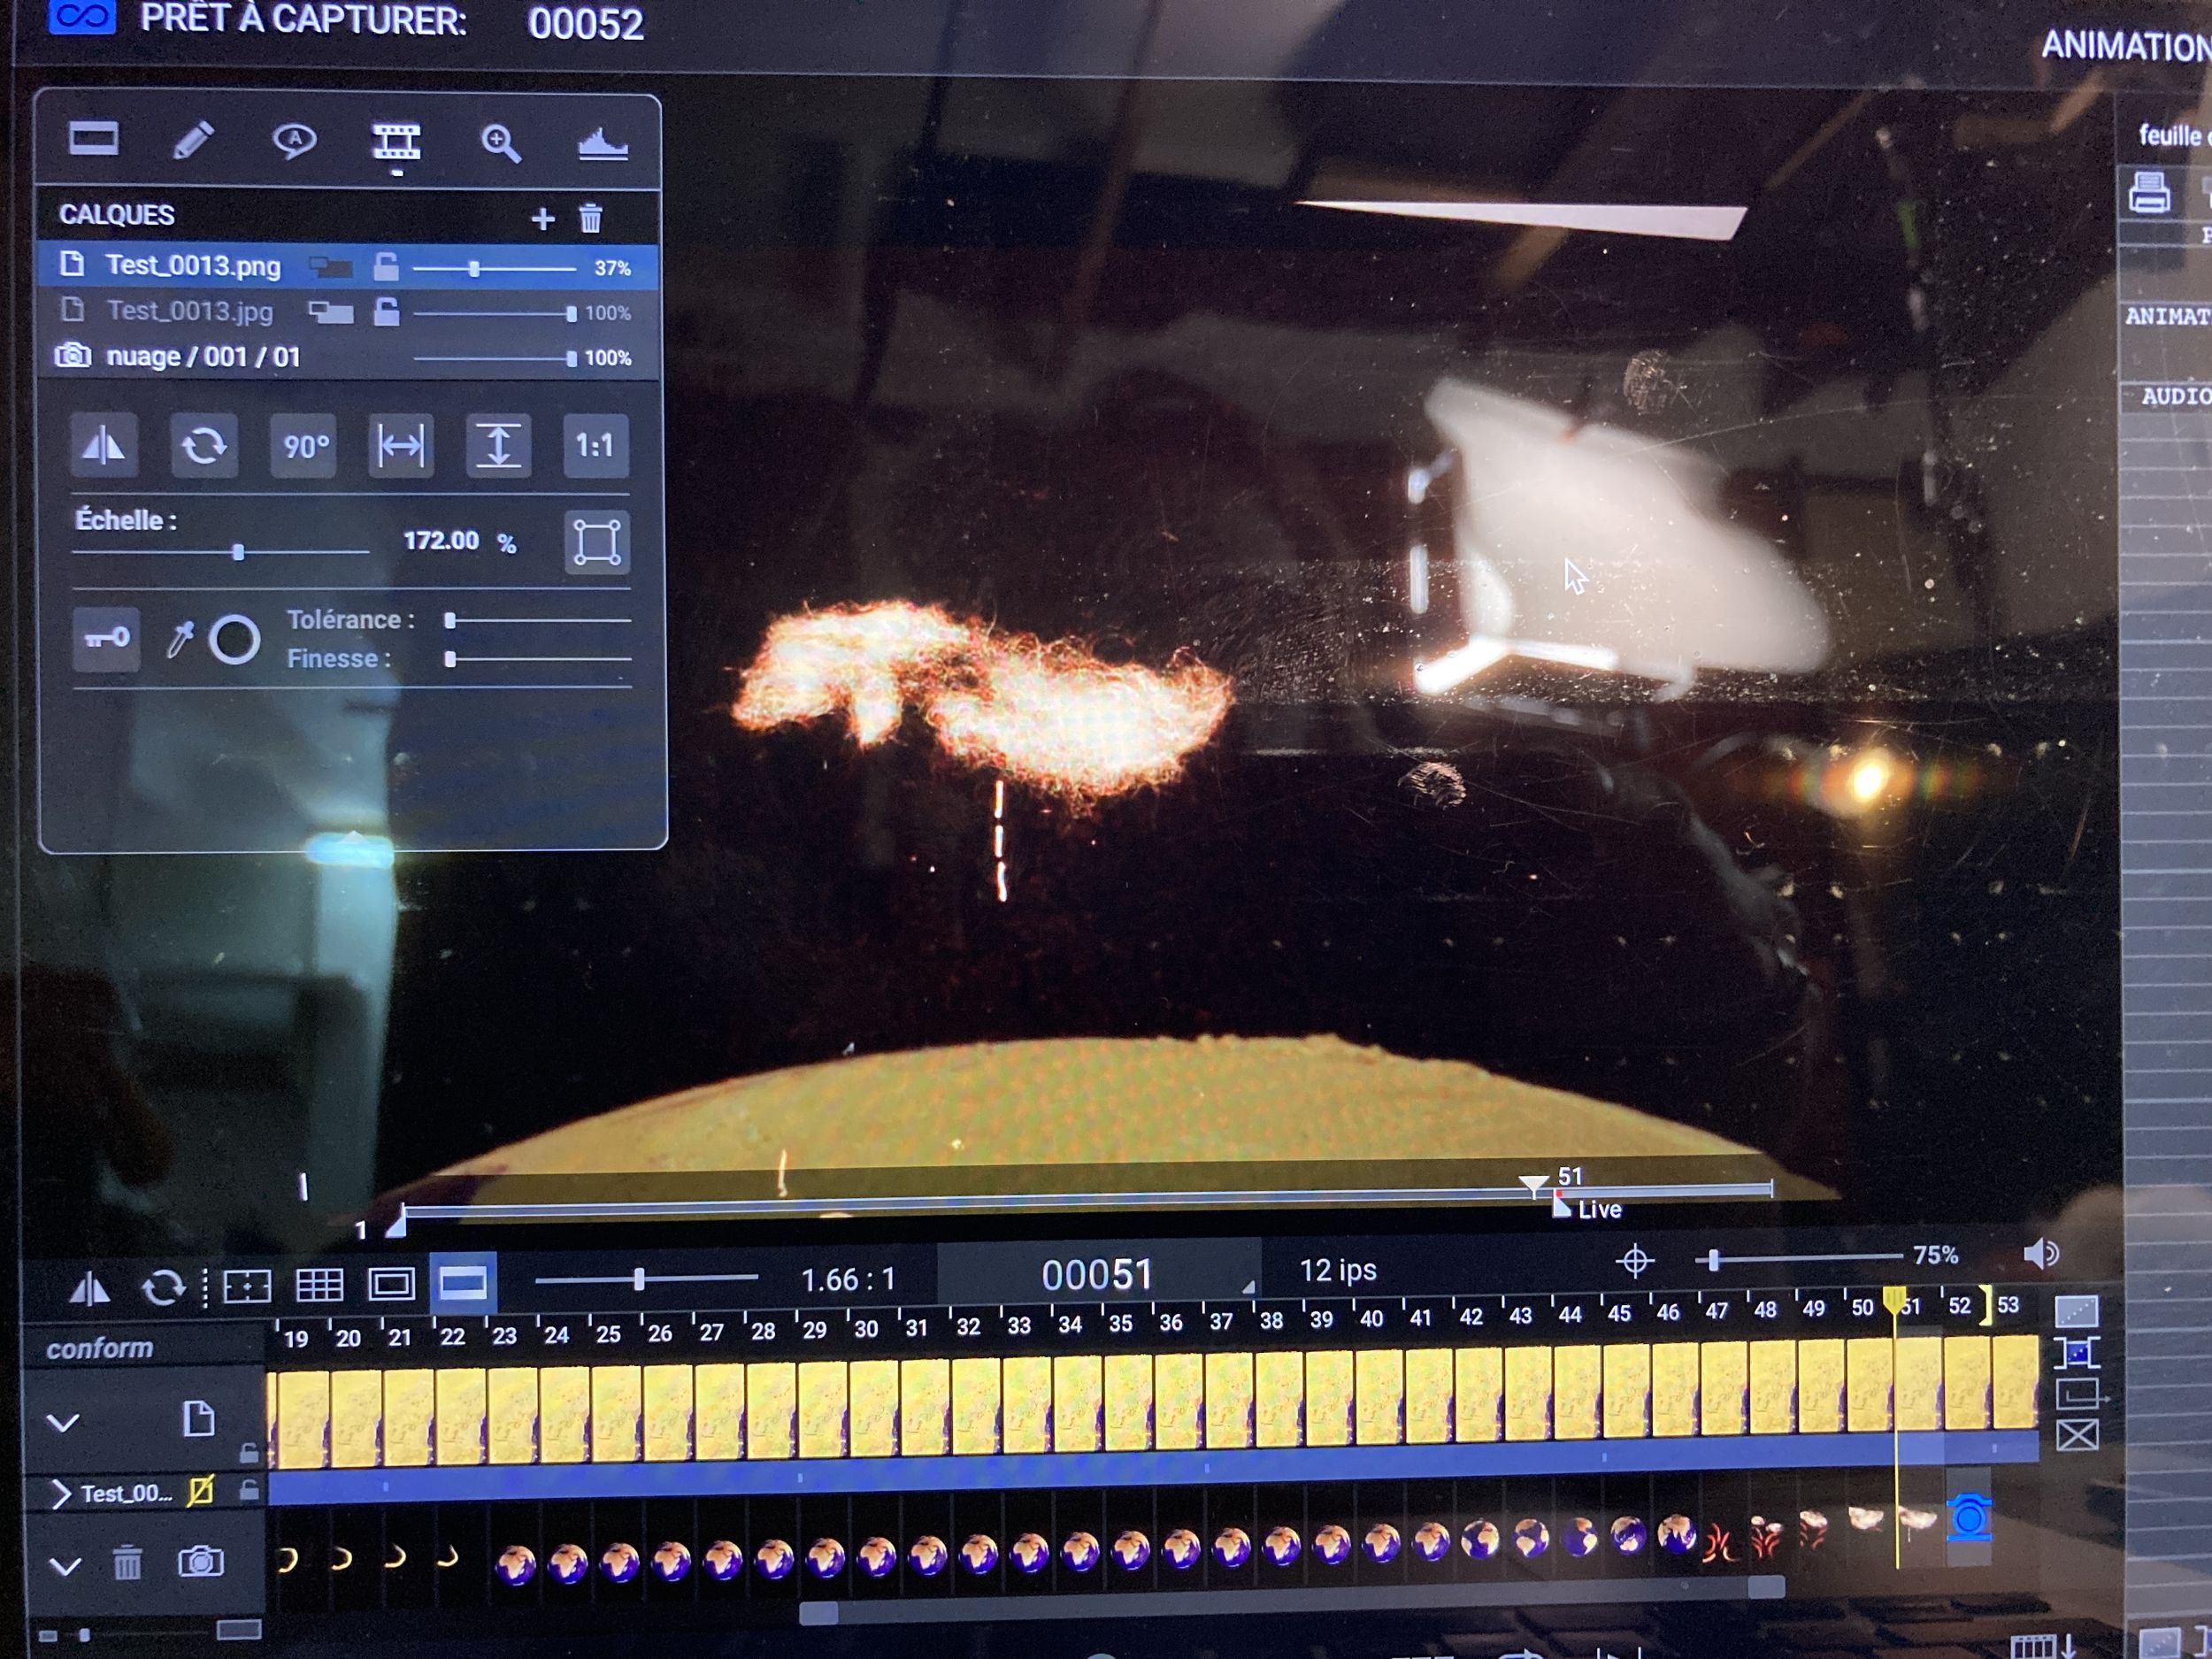
Familiarizing with animation software: getting to grips with the interface, importing images, managing sequences.
Afternoon
Animating a complete sequence.
Day 4: Animation
Morning
Animation continuation
Planning the remaining sequences and adapting if necessary: distribution of tasks, adjusting the storyboard for the final animation.
Afternoon
Stop motion animation: Animation following the storyboard, managing lighting and making adjustments as the shots are taken.
Revisions: viewing the sequences produced and making adjustments if necessary.
Day 5: Editing, Finalization and Presentation
Morning
Editing of sequences: adding transitions, sounds, music, and effects if necessary
Postproduction: colorimetry touch-ups and adding visual effects to enhance the animation
Afternoon
Viewing of final projects: collective presentation, feedback on each project and discussions
Conclusion: assessment of the training, and answers to questions
Although Matthieu Lemarié is best known as a stage designer, he is also recognized as a videographer, a field in which he has long expressed himself. From directing to editing, he stages sets and characters, using stop-motion in particular to breathe life into his creations.
A master of illusion, Lemarié explores the art of decor in all its forms, combining decorative arts and crafts: monumental frescoes, delicate illuminations, enameled ceramic tiles, painted canvases for the Opera, striking trompe-l'oeil and reproductions for the cinema. His unique know-how leads him to collaborate with prestigious institutions, renowned directors and leading museums.
He participates in the design of sets for many operas in emblematic places such as the Paris Opera, the Palace of Versailles and the Rouen Opera. Figures from the art scene such as Ariane Mnouchkine, Zingaro and Cirque du Soleil also call upon his talent for spectacular sets.
Cinema was his first playground after his studies, where he created frescoes for the film Vatel. Since then, he has worked with renowned directors such as Jean-Pierre Jeunet, Roman Polanski, Alain Chabat, Éric Rohmer and Woody Allen, for whom he painted a fake Picasso.
Recognized for his expertise in the arts and crafts, Matthieu Lemarié also works in museum scenography and window design. Since 2019, he has regularly collaborated with the GGSV design agency on major projects, such as at the Villa Medici, where his art and know-how continue to captivate and surprise.
Training 100% financeable by AFDAS, or partially covered by other operators such as FAFCEA, AGEFICE, FIFPL, OPCO EP etc.
If you are concerned, we invite you to contact our sales department in advance via "Request for information" in order to prepare your file, or to register directly via the page of the chosen training course.


89350 Champignelles
T: +33 (0)3 86 45 23 42
contact@campusmana.com